180 How-To Topics
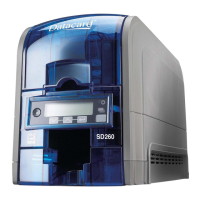
3. Create the card:
• Add graphic elements such as a logo or
background
• Add a photo
• Add text, such
as name, address, or ID
nu
mber
• As you add elements,
place t
hem on
page 1 or page 2
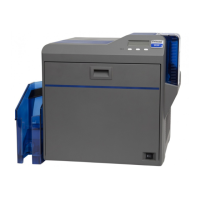
4. O
pen Printing Preferences from the
Start menu. See “Open Printing
Preferences” for the steps to follow.
• O
n the Layout tab, choose Flip on Short
E
dge for the Print on Both Sides setting.
Click Apply. The driver uses the “Short
Edge” setting for both “Flip on Short Edge”
and “Flip on Long Edge” settings.
5. Put a card in the input hopper or single feed
slot.
6. Cl
ick Print to se
nd the card to the printer.
7. The printer processes the first side of the card.
8. The printed card exits t
o the output hopper.
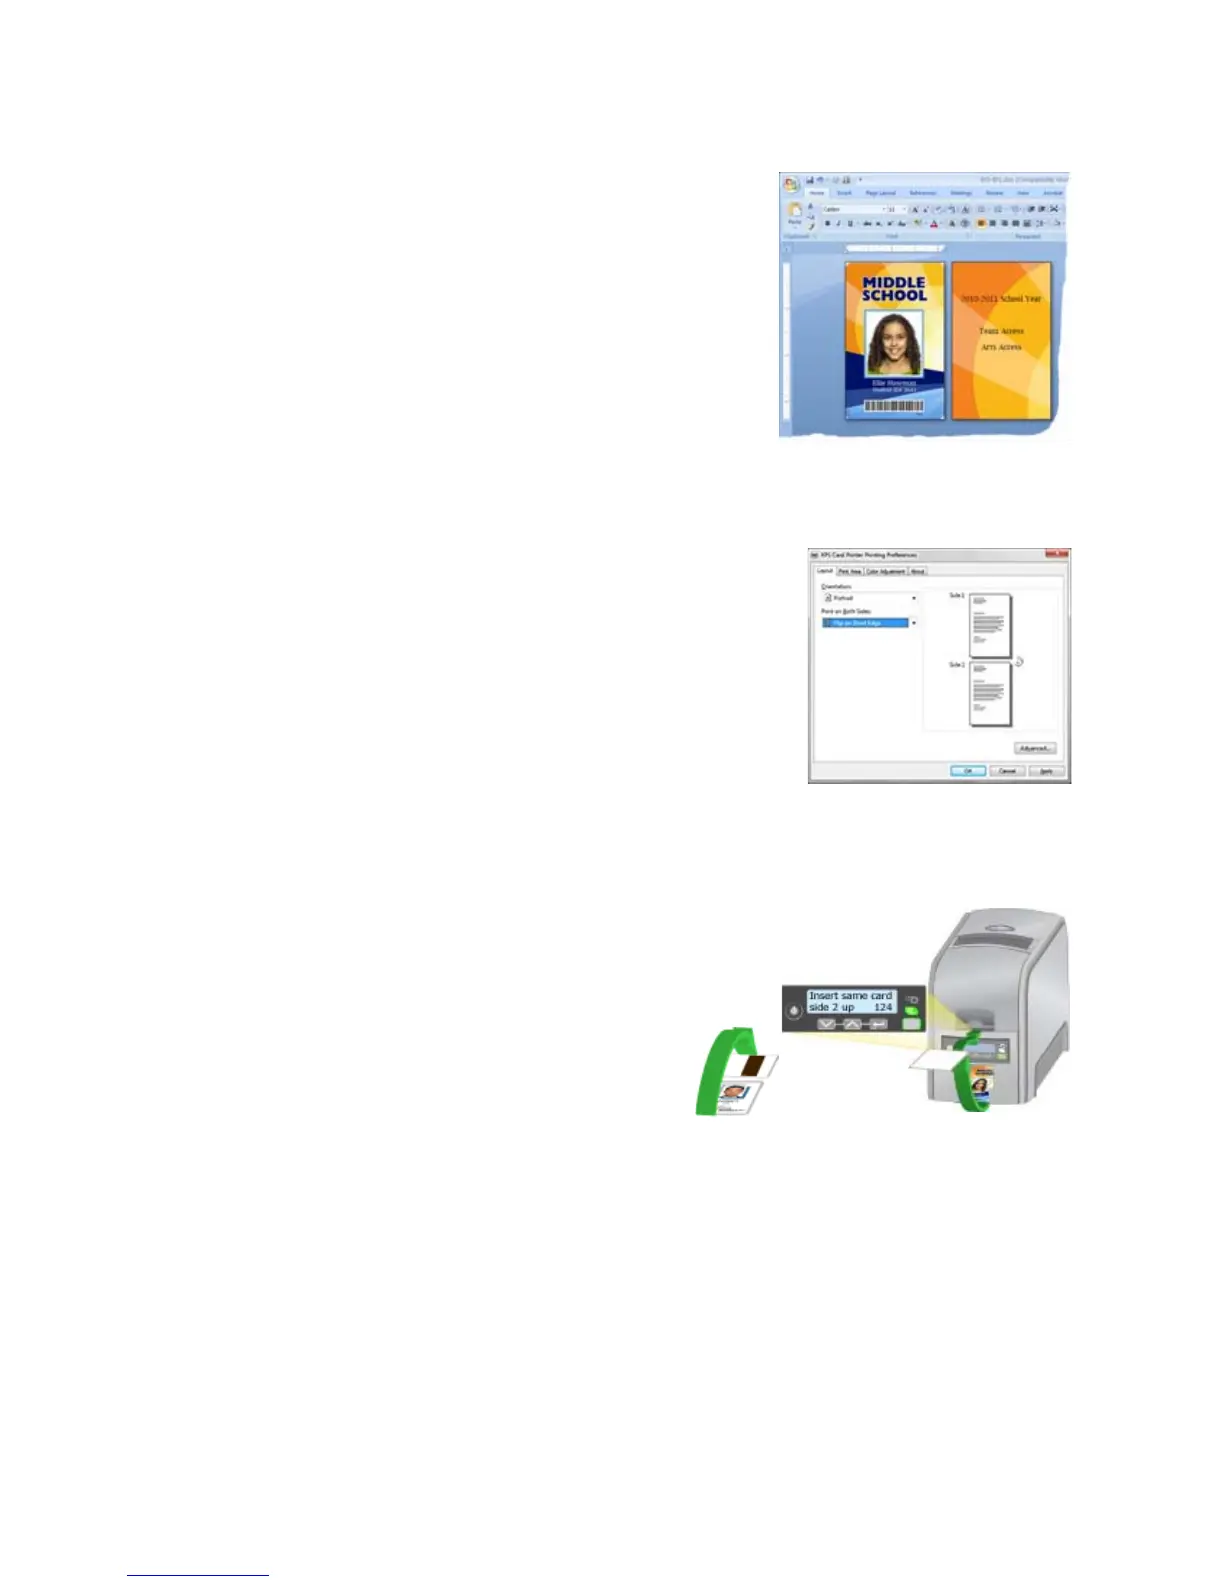
9. The Front Panel shows “Insert same
card side 2 up” and the User and
C
ard lights flash.
10. Pick the card up by the edges and
turn it over. Insert it under all cards
in the input hopper and push until
it drops into place.
11. Press the U
SER button to complete
the card. The printer picks the card again and prints the second side.
H
INTS & TIPS
The driver uses the “Short Edge” setting for both “Flip on Short Edge” and “Flip
on Long Edge” settings.
 Loading...