48 Install the Printer
a. Open Printer Properties and select the Ports tab
b. Confirm that the Enable bidirectional support check box is checked.
Install the Driver on the Client PC, Windows XP, 32-bit
1. Install the driver on the client PC:
The Client PC must have a user account and password that matches an
account on
the Host PC.
A. Login to the client PC with an account that has administrator privileges
and
matches an account on the host PC.
B. From the Windows Start menu, select Printers and Faxes.
C. Ch
oose File> Add
printer.
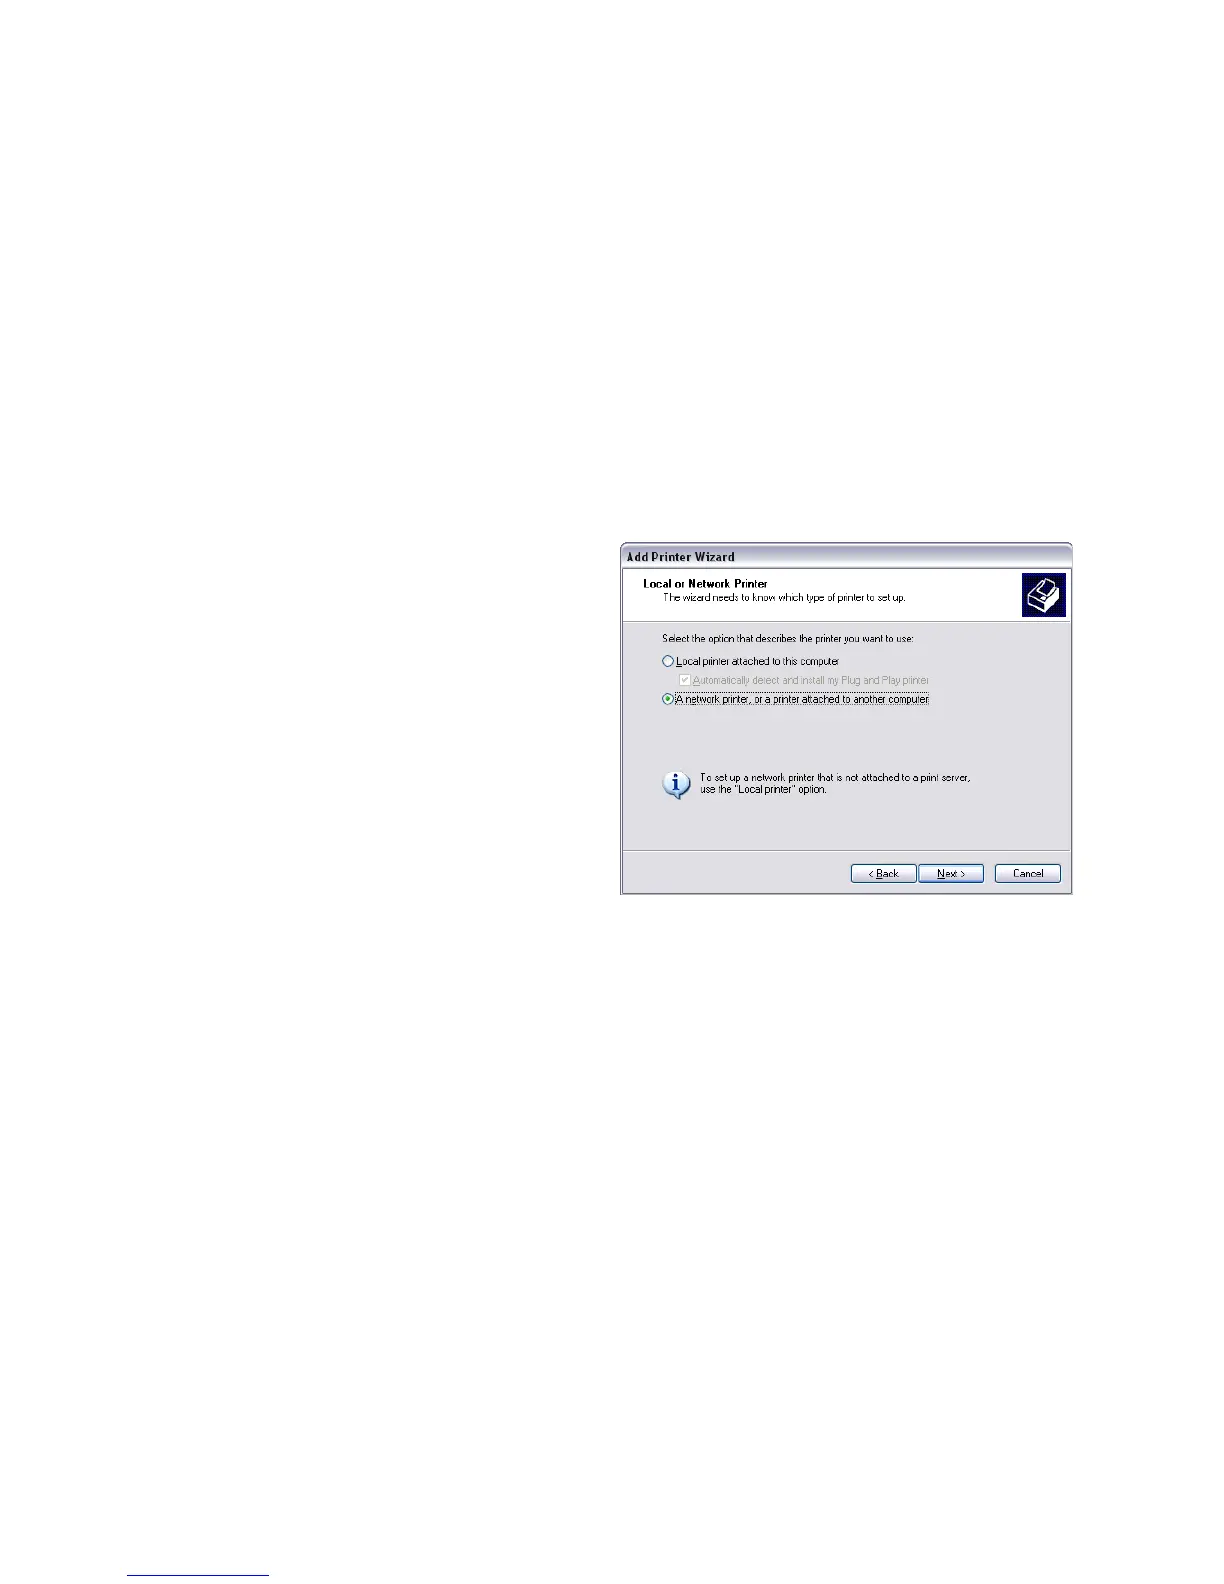
D. Click Next on the Add
Printer Wizard window.
E. Click the “A network
printer, or a
printer
attached to another
computer” radio button.
F. Click Next.
G. In the
Searching for
available printers
window, choose
Connect to
this printer and click Next.
H. Type the name of the Host PC and the shared printer name following this
format: \\host PC name\s
hared printer name.
I. Choose the shared printer from the drop-down list and then
click Next .
J. Click Yes in the Connecting to printer wi
ndow.
K. In the Default printer window, click Next.
L. Click
Finish
to close the wizard.
2. Install the following support files from the d
river CD, if needed:
• Install magnetic stripe fonts if the client PCs will be proc
essing magnetic
stripe cards.
• Copy the printer
documentation folder to each client PC.
• In
stall the ID Works XPS Card Printer Plug-in, if necessary.
 Loading...