3. Select the scheduling mode as follows:
1. In the top section of the Data Migration wizard, click Options.
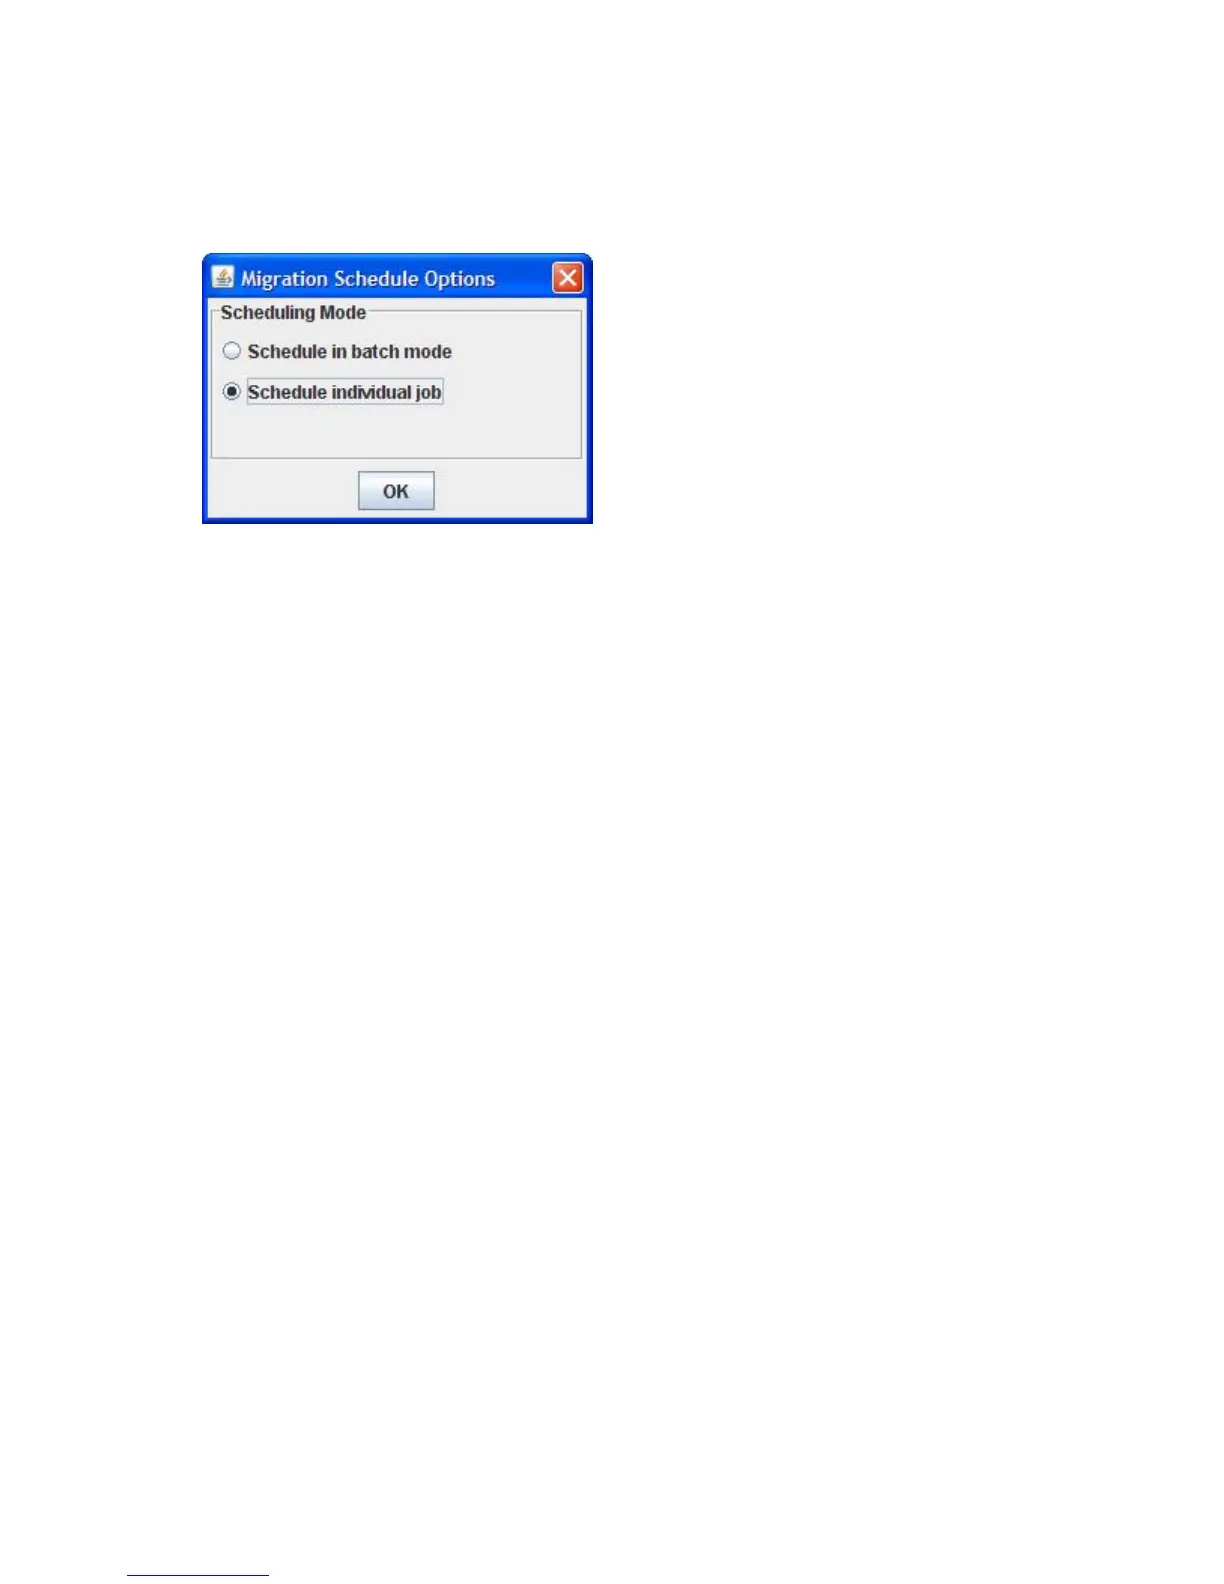
2. In the Migration Schedule Options dialog box, select either Schedule in batch mode or
Schedule individual job, as shown in Figure 91.
3. Click OK.
Figure 91 Migration Schedule Options: individual job
.
4. Depending on your selection in the preceding step, continue with either Scheduling an individual
data migration job in the GUI or “Scheduling data migration jobs in batch mode” on page 161.
Scheduling an individual data migration job in the GUI
Follow these steps to schedule an individual data migration job in the HP StorageWorks mpx Manager.
(To perform this operation in the CLI, see Scheduling an individual data migration job in the CLI.)
1. Start the Data Migration wizard by following the steps specified in “Starting the Data Migration
Wizard” on page 155.
2. In the Migration Schedule Options dialog box, click Schedule individual job, and then click OK.
The right pane of the Create Data Migration Job dialog box shows the type of array (Source,
Destination, or Src+Dest) for each of the arrays available for configuring the data migration job.
Offline Data Migration156
 Loading...