3.35
Engine/Cooling/Exhaust
3
Engine Removal
NOTE: Inspect all parts for wear or damage during
disassembly. Replace all seals, o-rings, and gaskets
with Genuine Pure Polaris parts during assembly.
Torx screws are used throughout the engine
c
ompartment. Always use good-quality Torx
wrenches when removing or installing these screws.
Do not use worn or damaged tools.
1. Remove the left and right door panels. Remove the
ho
od assembly.
2. Remove the drive belt, fender screw, drive clutch, and
dr
iven clutch.
3. Remove the oil tank/clutch cover assembly.See “Oil
Tank/Clutch Cover Service” on page 2.14.
4. Remove the exhaust pipe, and exhaust silencer.
NOTE: Disconnect the exhaust temperature sensor
pr
obe wiring harness. Do not remove probe from pipe
unless service is required.
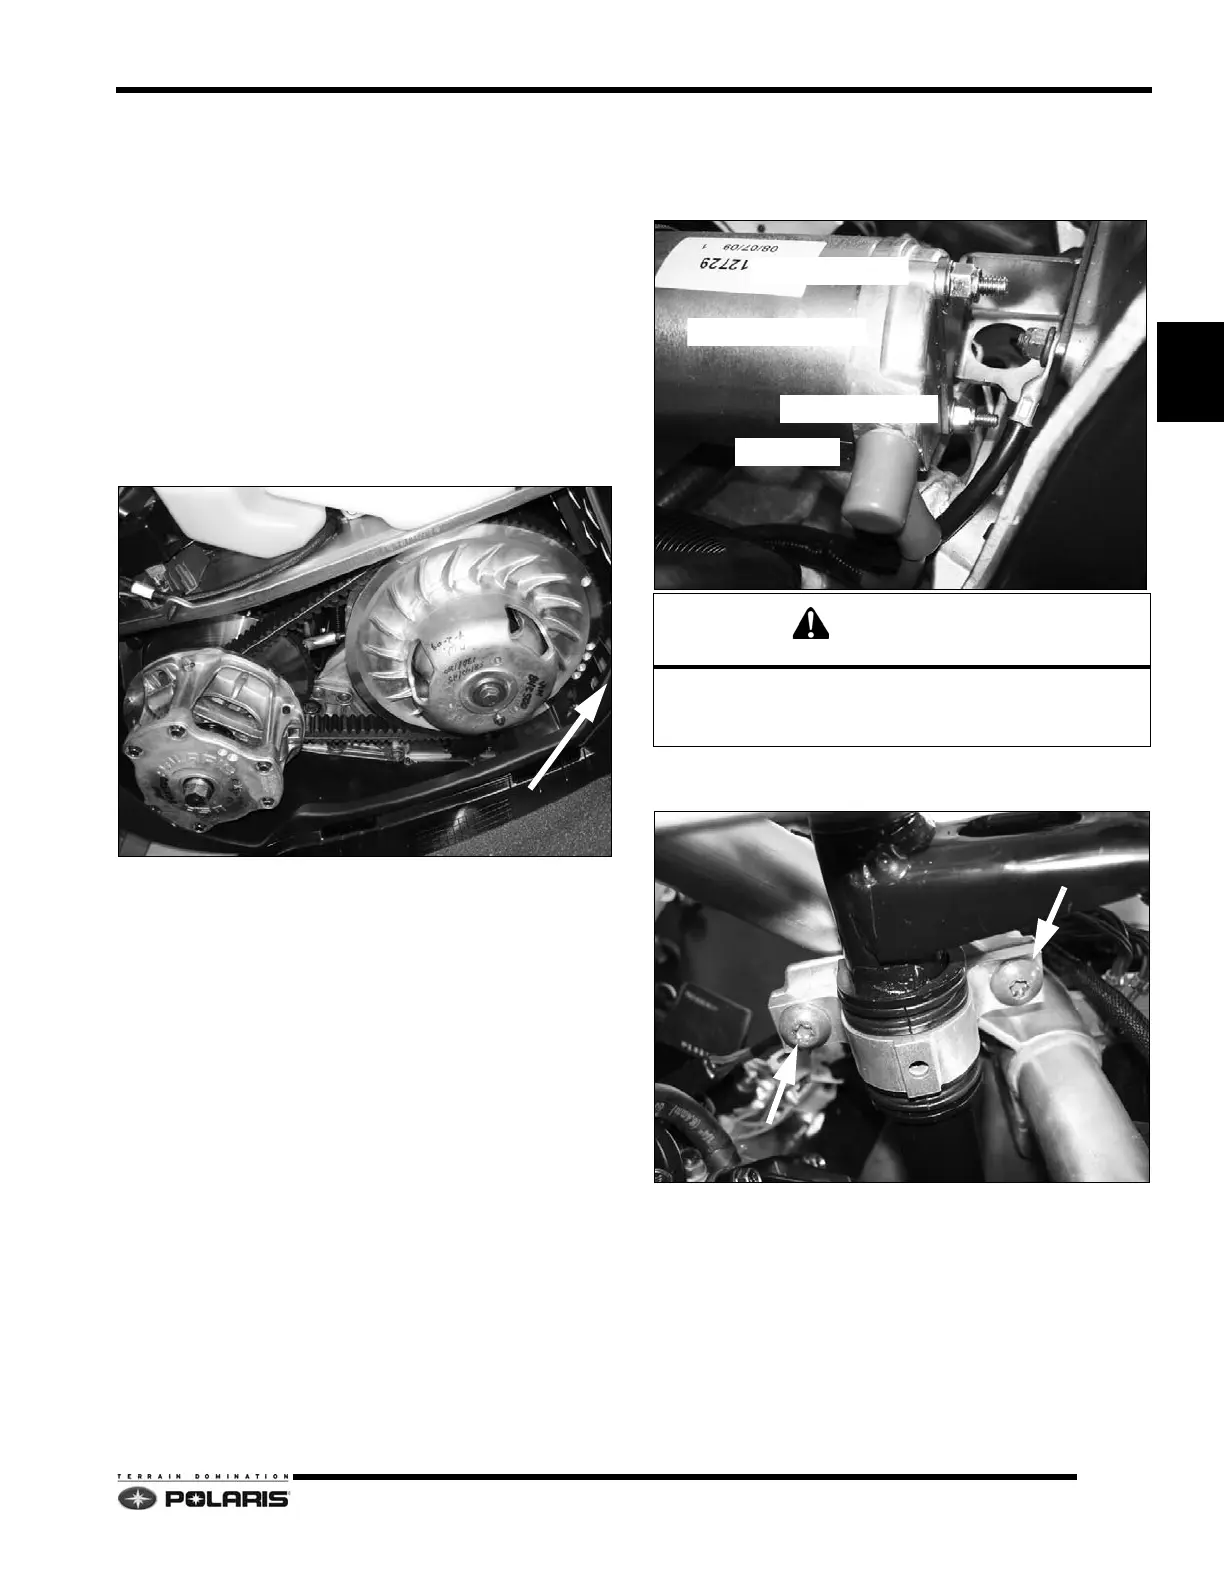
5. If the snowmobile is equipped with electric start,
disc
onnect the battery. Remove the starter motor from
the motor bracket. Remove the worm drive shaft from
the case-mounted drive gear.
6. Remove the two screws securing the lower steering
sh
aft bushing clamp shaft to the over structure.
Remove the BLACK (-) battery cable first, and then the
RED (+) cable last. Reverse order when attaching
cables to battery.
STARTER MOTOR
MOUNTING NUT
MOUNTING NUT
 Loading...


