5.27
Final Drive/Brake System
5
5. Position the caliper over the steel plate with the plate
firmly against one of the retracted pistons.
6. Insert a rubber-tipped air nozzle into the brake hose
in
let port and apply compressed air to push out the
piston.
7. To remove the second piston, lay a rubber sheet on
th
e steel plate and position the caliper over the rubber
sheet to seal the open piston bore. Repeat STEP 7.
8. Using a plastic or wood pick, remove both piston seals
fro
m the caliper bores. Discard the seals.
9. Clean the caliper and pistons with denatured alcohol
an
d dry with either compressed air or a lint-free rag.
10. Inspect the caliper bores an
d pistons for pitting, heavy
scoring or corrosion. Replace parts if heavily scored
or pitted.
11. To assemble the caliper, lubricate two new piston
se
als with new brake fluid. Install each seal by
inserting one point of the seal into the bore groove,
and then work the seal around the groove with your
index finger. Do not twist, or rip the seals.
12. Coat the piston thoroughly with new brake fluid.
Even
ly insert each piston into the bores, working each
in by hand carefully and slowly. Push each piston
down until bottomed out.
13. Reinstall the brake caliper on to the chaincase.
T
orque fasteners to specification.
14. Inspect both brake pads prior to installation. If they are
within
the pad wear specification, reinstall into caliper.
15. Install the brake hose using the same routing and
o
rientation noted during removal. Torque fitting to
specification.
16. Fill and bleed the brake system of air. See “Brake
Fluid Replacement & Bleeding” on page 5.22.
17. Test brake system prior to returning vehicle to service.
Phantom Brake Pad
Replacement
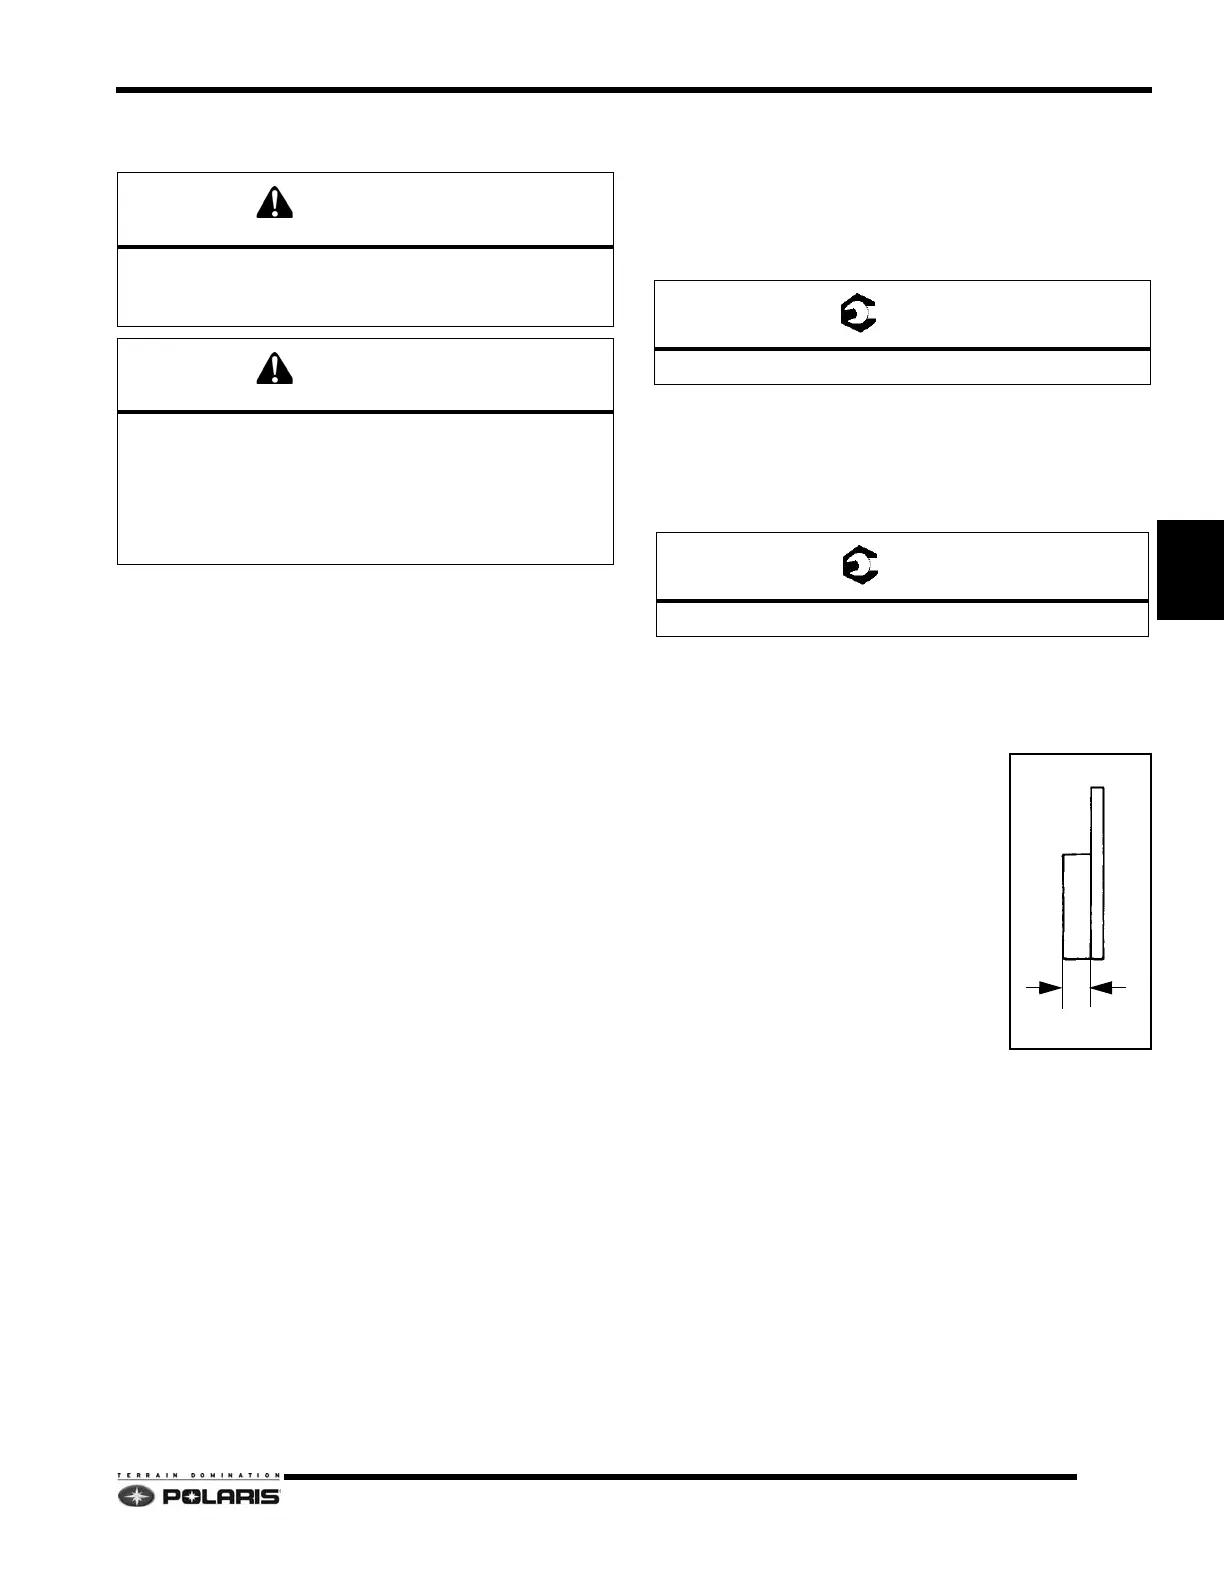
Brake pads need to be replaced if the
thickness of the friction material is less
than 1/16" (.0625") / 1.5mm.
1. Remove brake pad retaining pin.
2. Remove the brake pads.
3. Inspect the brake disc for any wear.
4. Replace brake pads in reverse
or
der of removal.
5. Test brake system prior to returning
ve
hicle to service.
DO NOT PUSH ON THE CALIBER BORE PLUG.
DOING SO WILL BREAK THE PLUG SEAL AND
REQUIRE CALIPER REPLACEMENT.
TO AVOID POSSIBLE INJURY, DO NOT PLACE
FINGERS BETWEEN PISTONS TO ATTEMPT TO
CATCH THEM WHEN APPLYING COMPRESSED
AIR.
WEAR EYE PROTECTION WHEN APPLYING
COMPRESSED AIR TO CALIPER.
Caliper Mounting Screws: 18-20 ft-lbs (24-27 Nm)
Caliper Banjo Bolt: 240-264 in-lbs (27-30Nm)
1/16(.0625") / 1.5mm
Brake Pad
 Loading...


