8.75
Steering and Suspensions
8
PROGRESSIVE REAR SUSPENSION
REMOVAL AND INSTALLATION
Removal
1. Place a large mat, shop blanket, or piece of
cardboard on the floor next to the snowmobile. The
piece should be large enough to protect the plastics
when the unit is laid on its side.
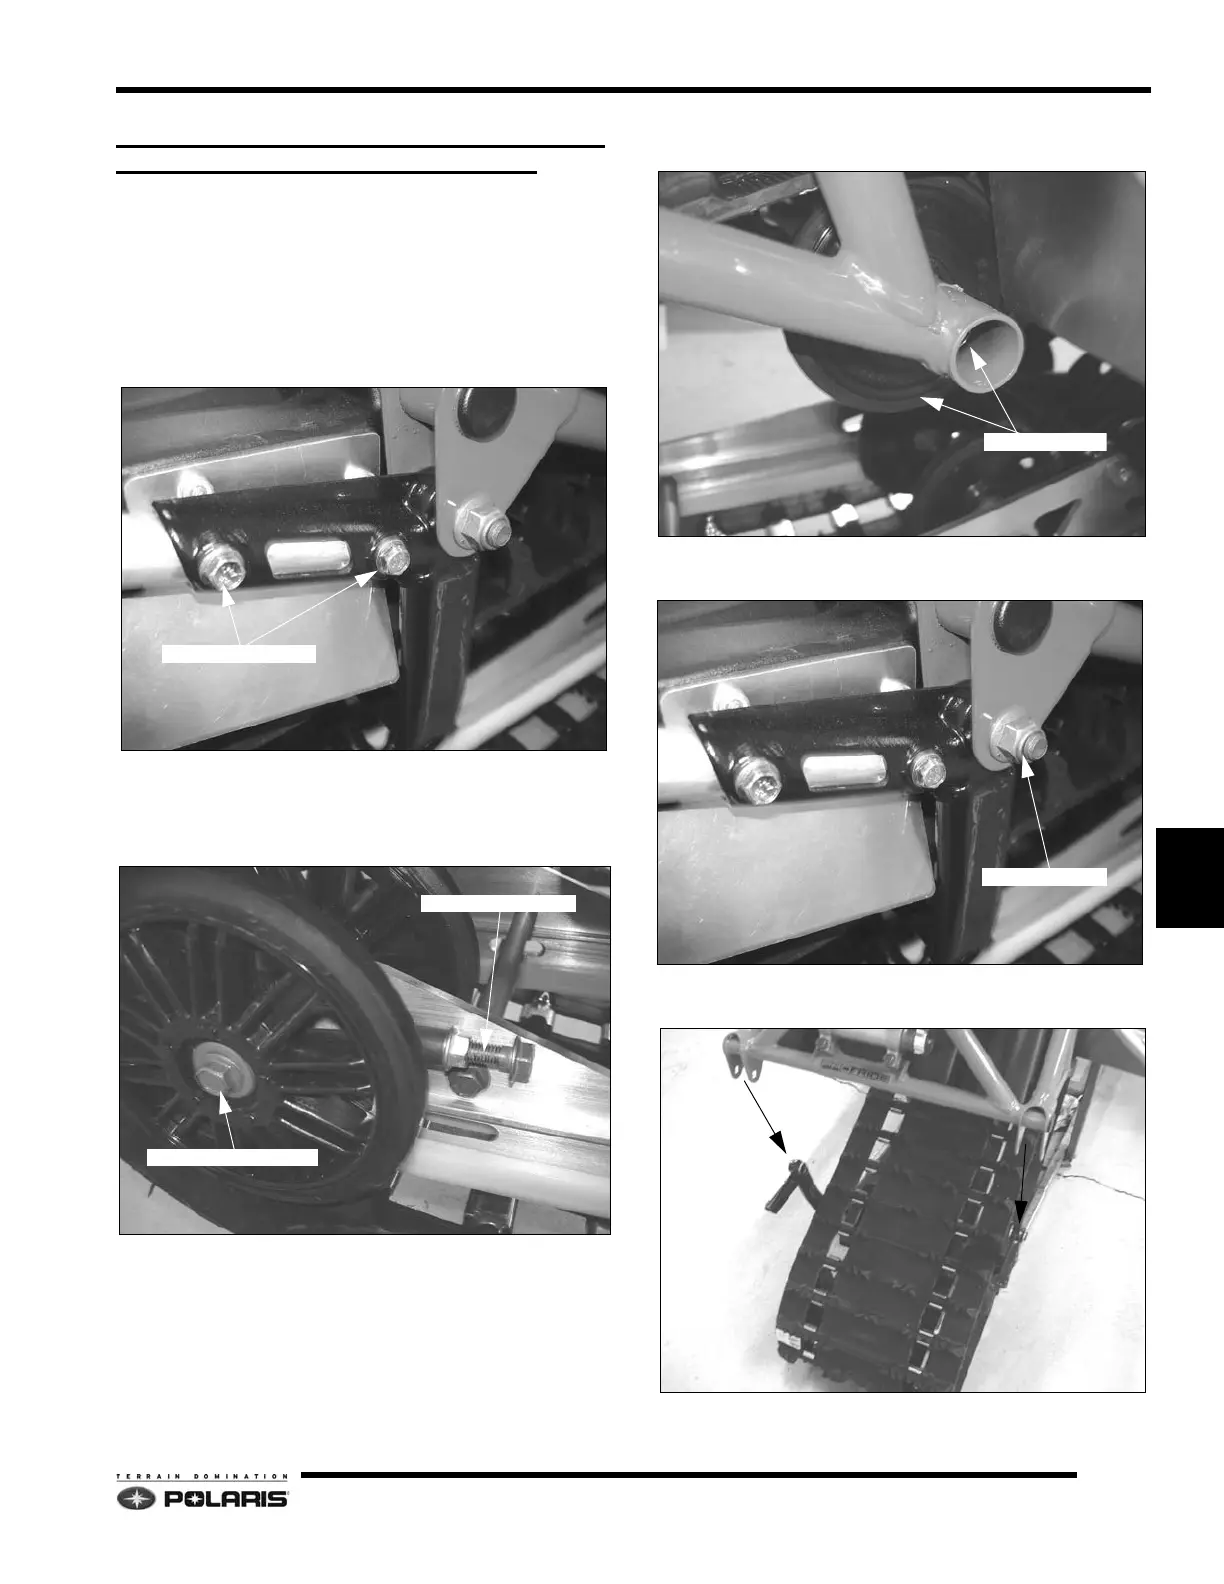
2. Remove the rear bumper assembly from the rear
crank.
3. Loosen, but do not remove, the rear idler wheel
fastene
rs.
4. Loosen the track tension adjuster jam nuts. Back out
th
e threaded adjusters until flush with adjuster blocks.
5. Using a snowmobile lift, raise the vehicle high enough
o
ff the ground to remove the vehicle weight from the
rear suspension.
6. Remove the upper carrier wheel assembly from the
re
ar crank.
7. Remove the two fasteners and nuts securing the rear
pivot to
the rear crank.
8. The rear of the suspension is now free to drop out of
th
e tunnel if required.

 Loading...


