5.22
Final Drive/Brake System
Brake Fluid Replacement & Bleeding
Each hydraulic brake is fitted with a bleeder valve and a
banjo bolt. The bleeder valve is a special screw, which
seals when tightened to the correct torque, but which
allows air and/or fluid to pass out through a hole in the
valve stem when loosened one turn.
NOTE: A second person is usually needed to assist in
ble
eding the brakes.
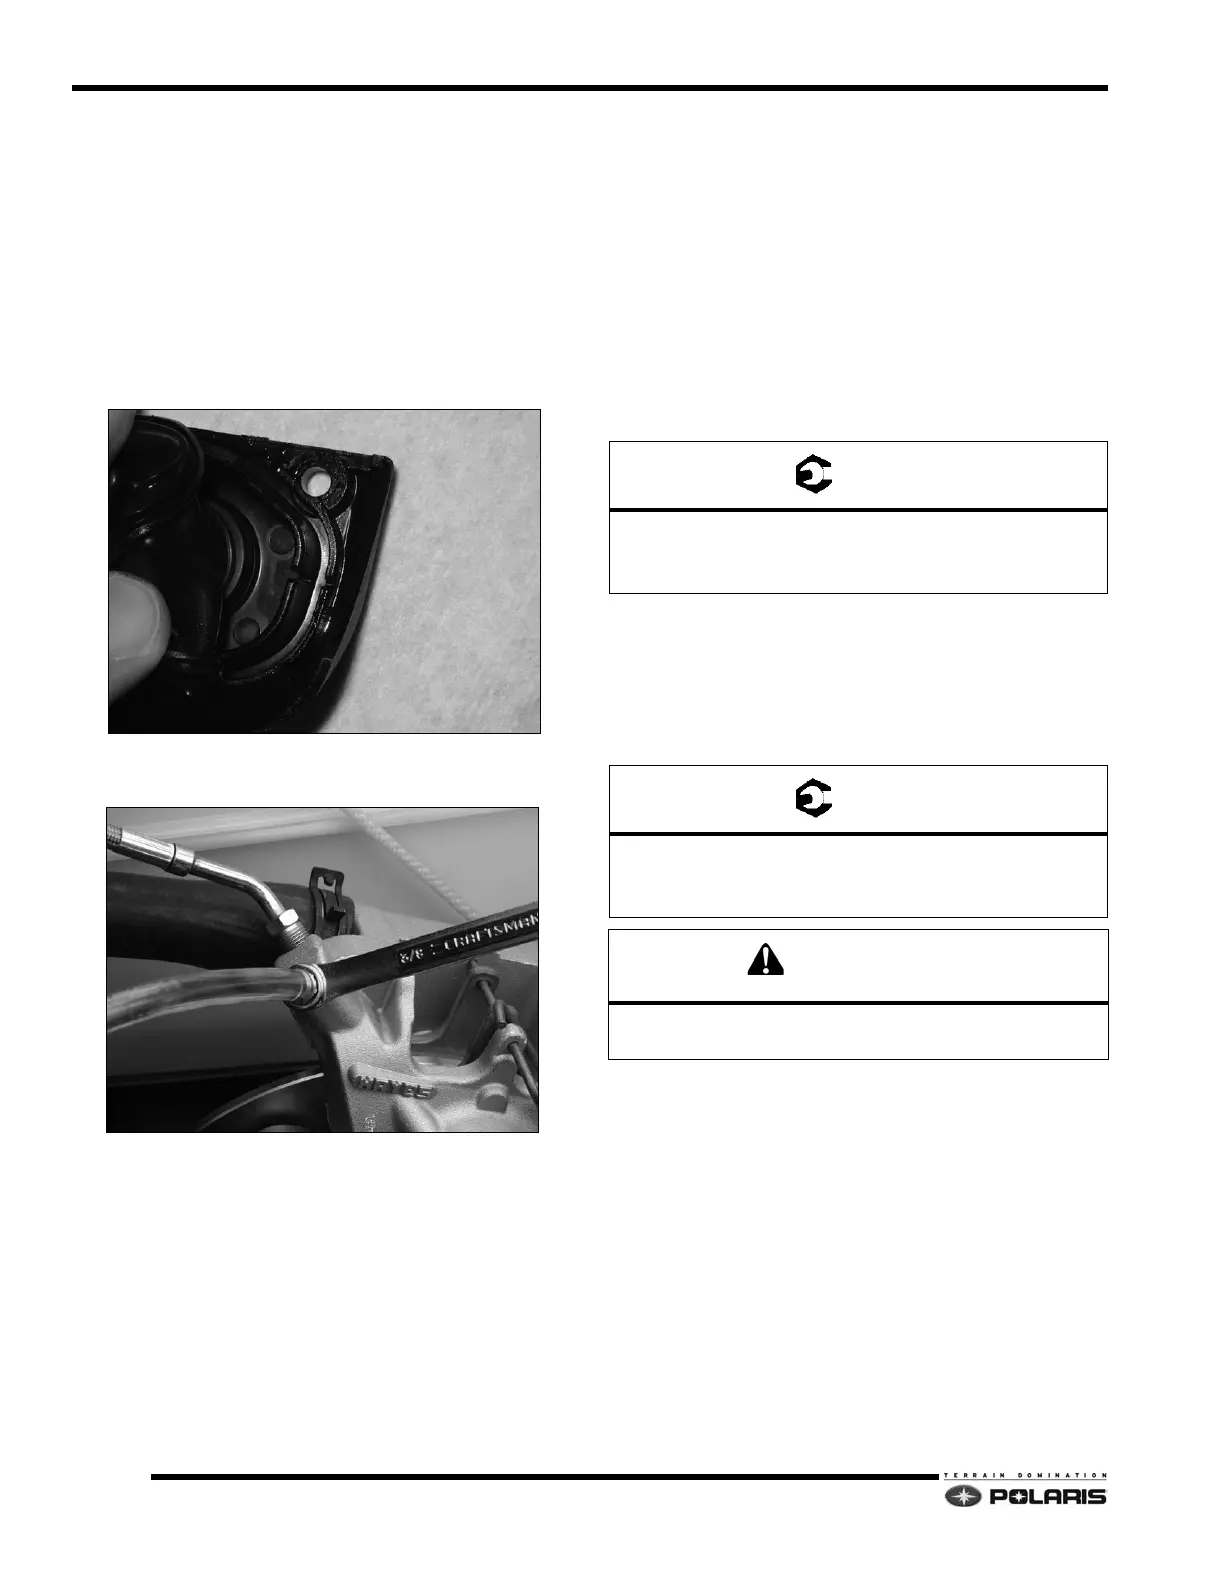
1. Clean the master cylinder cover and remove.
2. Attach one end of a flexible tube over the stem of the
blee
der valve.
NOTE: A 'box end' wrench placed on the bleeder
valve
before attaching the flexible tubing is a
convenient method for loosening and tightening the
bleed valve.
3. Place the other end of flexible tube into a jar
co
ntaining a small amount of clean fluid. See that the
end of the tube is below the fluid surface to prevent
breathing/sucking air back into the system.
4. Loosen bleeder valve one turn.
5. Fully apply the brake and hold, check for air bubbles
rising
in the fluid, indicating that air is being forced out
of the system.
6. Continue actuating the brake until air
bubbles stop.
This indicates that the brake has been bled
successfully.
NOTE: Add new fluid to the master cylinder reservoir
as
needed.
7. Retighten the bleeder valve when the brake lever has
re
ached the end of its stroke. Torque bleeder to
specification.
8. Evaluate the brake system for proper operation, and
inspe
ct for leaks. The brake lever should feel firm,
without excessive travel and sponginess.
9. Add new fluid to the master cylinder reservoir to bring
t
he fluid level back up to a level between the maximum
and minimum fill lines. Replace master cylinder cover.
10. Test brake system prior to returning vehicle to service.
Brake Caliper Bleeder Screws:
Phantom: 100-135 in-lbs (11-15Nm)
Phantom Lite: 36-46 in-lbs (4-5Nm)
Master Cylinder Cover Screws:
Combined: 16-20 in-lbs (1.8-2.3Nm)
Cyclone: 6-8 in-lbs (.7-.9Nm)
Caution: Take care not to get brake fluid on pads or disc.
If brake fluid gets on disc, fully clean disc with alcohol.
 Loading...


