2.20
Maintenance
FUEL/INTAKE SYSTEM
Fuel Filter - DC-CFI-4 Models
1. The fuel filter should be replaced as outlined in the
periodic maintenance table.
2. Open the left and right door panels. Remove the hood
a
nd drive belt.
3. Disengage the rubber strap securing the oil tank to the
clutch c
over. Remove the oil tank mount screw.
4. Remove the two harness connectors from the ECU.
Remove the oil tank fill cap, and then
the ECU bracket.
5. Remove the four nuts that mount the clutch cover to
the
chassis. Slide the oil tank down to open access to
the two rear nuts.
6. Carefully release the clutch cover from the studs and
the
n pull it away from the airbox.
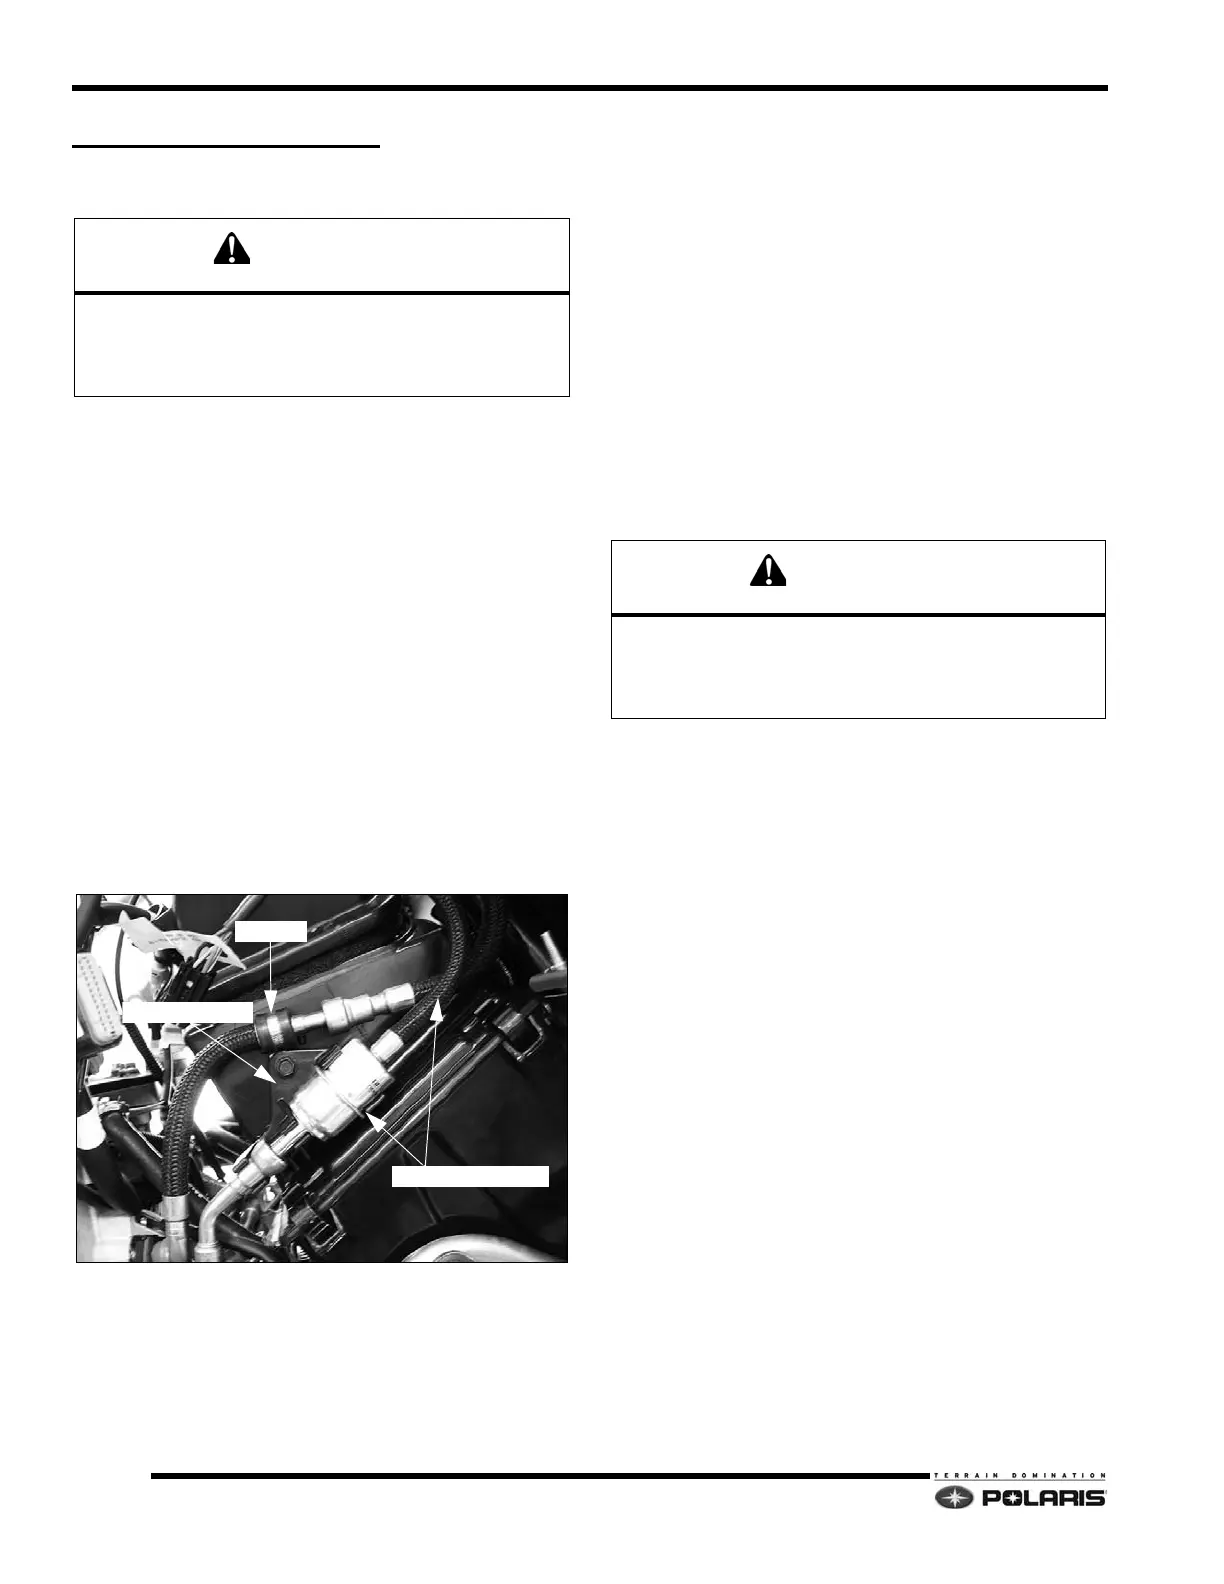
7. De-pressurize the fuel system. Remove the
filter from
the airbox bracket. Disconnect the fuel filter from the
pump flange and supply fuel hose using a 3/8" fuel line
disconnect tool.
8. Drain any fuel in the hoses/filter into an appropriate
con
tainer, and then discard filter in accordance with
local rules and regulations.
9. When re-connecting the fuel hoses, verify an audible
“
click” is heard and the connections are secure by
firmly pulling on the two hose connections. Push the
filter cartridge back into the bracket.
10. If the filter bracket was removed for any reason, note
th
at the fuel return hose p-clamp is installed behind
the filter bracket.
11. Inspect the hoses making sure none are worn or
dam
aged.
12. Reinstall the clutch cover. Torque cover nuts to
s
pecification.
13. Reconnect the ECU wiring harness connectors.
14. Install the ECU bracket onto the oil tank. Reins
tall the
oil tank. Torque mount screw to specification.
15. Reinstall the drive belt. Replace the hood and door
pan
els.
Fuel Filter - DC-CFI-2 Models
1. The fuel filter should be replaced as outlined in the
periodic maintenance table.
2. Open the left and right door panels. Remove the hood
and
drive belt.
3. Disengage the rubber strap securing the oil tank to the
c
lutch cover. Remove the oil tank mount screw.
4. Remove the two harness conn
ectors from the ECU.
Remove the oil tank fill cap, and then the ECU bracket.
5. Remove the four nuts that mo
unt the clutch cover to
the chassis. Slide the oil tank down to open access to
the two rear nuts.
6. Carefully release the clutch cover from the studs and
th
en pull it away from the airbox.
When removing the fuel filter fuel spillage will occur. Be
sure to work in a well-ventilated area away from
anything which may cause the fuel to ignite such as an
open flame, heaters, trouble lights or cigarettes.
When removing the fuel filter fuel spillage will occur. Be
sure to work in a well-ventilated area away from
anything which may cause the fuel to ignite such as an
open flame, heaters, trouble lights or cigarettes.
 Loading...


