9.29
Chassis
9
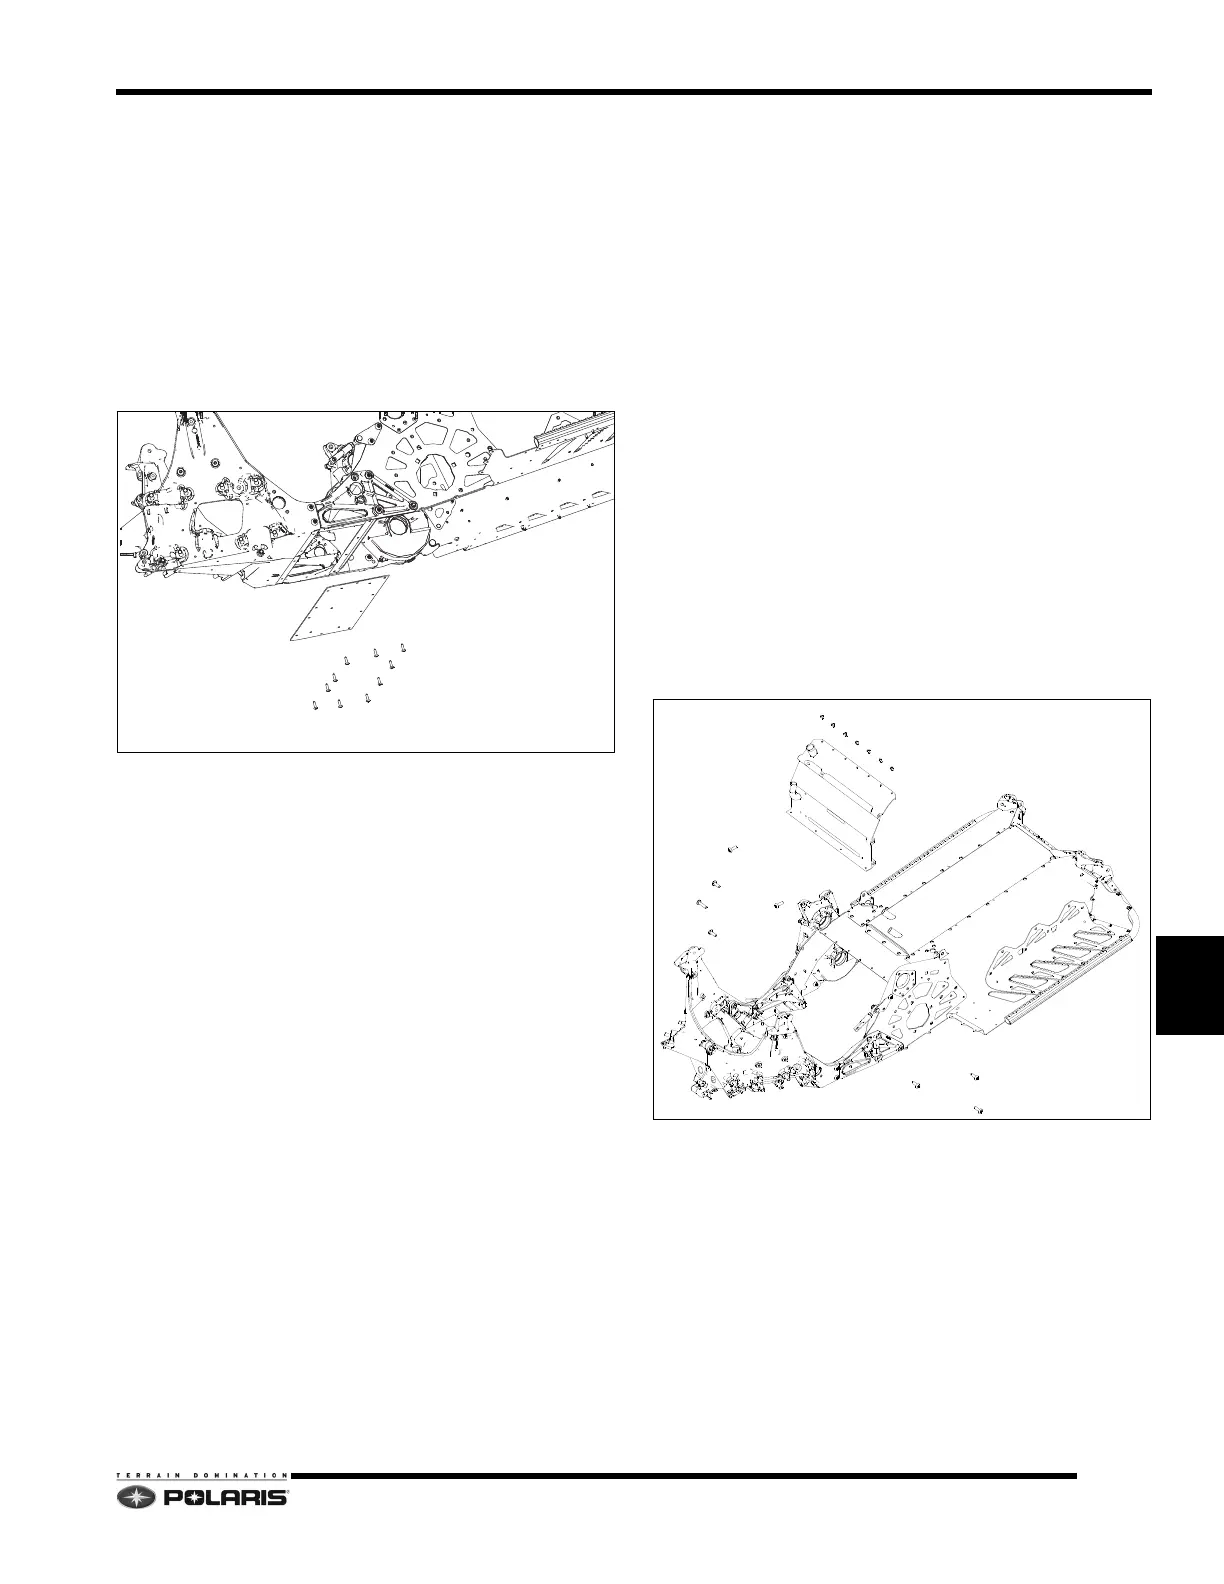
Bulkhead Floor Plate Removal
1. Follow the procedures for removing the engine. See
Engine chapter.
2. Remove the fender from the chassis on the side of the
ve
hicle that requires service.
3. The bulkhead floor plate is riveted and bonded to the
chas
sis.
4. Locate and drill-out the rivets securing
the plate to the
bulkhead clips, support plates and bulkhead cooler.
Drill out the rivet in the center of the plate that secures
the cooling hose p-clamp.
5. Insert the blade of a flat blade screwdriver into one of
th
e plate’s corners. Pry the plate away from the
chassis.
6. Continue working the screwdriver along the edge of
the
plate until the plate can be grasped with a Vise
Grip pliers.
7. Using the Vise Grip pliers, pull/peel the plate away
fro
m the chassis. Discard the plate.
8. Thoroughly clean the chassis mating surfaces where
the
plate attaches to the chassis. Reference the
Bonded Component Surface Preparation section.
Bulkhead Floor Plate Installation
1. Clean the new bulkhead floor plate with warm, soapy
water. Allow the plate to completely dry.
2. The next assembly step is applying the adhesive.
Th
oroughly read and understand the Adhesive
Applicator Tool and Adhesive Application sections
before proceeding.
3. Apply the adhesive to the plate. Reference the
illus
tration in the Adhesive Application Patterns
section.
4. Install the plate using new rivets.
5. Reinstall the fender.
6. Install the rivet securing the cooling hose p-clamp to
the
plate from inside engine compartment.
7. Reinstall the engine assembly.
NOTE: Allow the adhesive to cure for 24 hours at 68°
F
(20° C) before placing the snowmobile back into
service.
Front Tunnel Bulkhead Cooler Removal
1. Remove the following components:
• Right/left engine compartment door
•Hood
• Exhaust pipe/silencer
• Oil tank/clutch cover assembly
• Airbox assembly
• Engine assembly
• Driven clutch
• Bulkhead floor plate
• Fuel tank assembly
2. Drill out the rivets securing the c
ooler to the top of the
tunnel.
3. Remove the fasteners securin
g the cooler to the sides
of the tunnel.
4. Remove the fasteners securing the engine support
br
aces to the cooler.
5. Remove the cooler from the chassis.
 Loading...


