3.50
Engine/Cooling/Exhaust
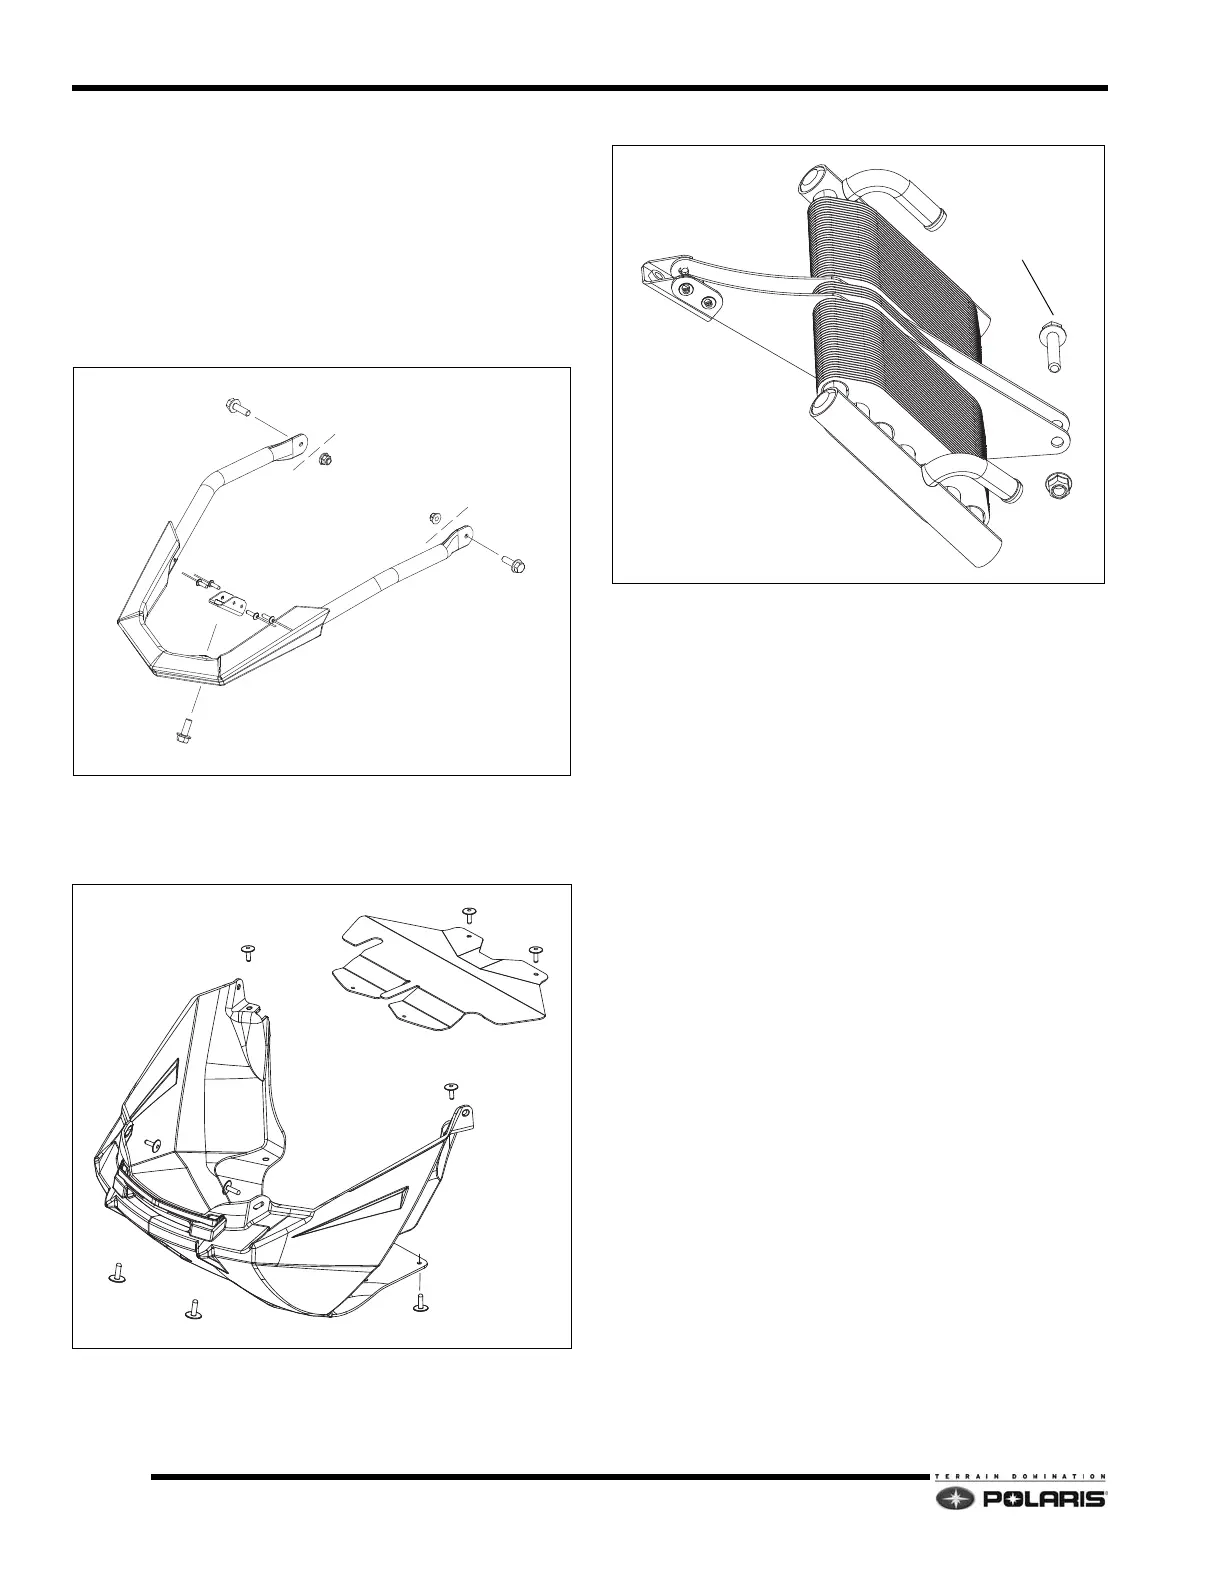
Front Heat Exchanger Service
1. Remove the left and right door panels. Remove the
hood assembly.
2. Remove the exhaust pipe.
3. Drill out and remove the rivets that attach the air dam
p
late to the bulkhead, and the two rivets that attach
the nosepan to the plate.
4. Remove the screw attaching the bumper to the heat
e
xchanger. Loosen the two rear bumper screws.
5. Drill out the rivets that attach the bumper to the
n
osepan.
6. Rotate the bumper up and away from the nosepan.
7. Locate the lower exchanger fastener.
8. Remove the bottom heat exchanger fastener.
9. Pinch-off the coolant in and out hoses using dedicated
hose pi
nchers or soft-jawed pliers.
10. Remove the two heat exchanger hose clamps.
Re
move the heat exchanger from the bulkhead.
11. Reverse the disassembly process to install the heat
exch
anger and bumper.
12. Add engine coolant to the surge bottle. Bleed the
c
ooling system. See “Cooling System Bleeding” on
page 2.10.
LOOSEN REAR SCREWS
REMOVE THIS SCREW
 Loading...


