DS1067-062C 23 LBT20063
2.4.2 Total arming from proximity key reader
IMPORTANT! This procedure can only be used if all zones are disarmed.
2.4.2.1 System in use mode = Mode 3 (EN50131 grade 3 compliant)
Proceed as follows to arm all zones assigned to the reader and to the key using the proximity key:
1. Approach the proximity key to the transponder. The red LED will blink to indicate that the key is being read and the
green LED will light up after a few instants to indicate that the key was recognised. All the green LEDs will blink rapidly
if the key is not recognised.
2. The green LEDs corresponding to the armed zones, if any, will appear if the key is recognised. The red LED will keep
blinking.
3. Move the key away.
4. Approach the proximity key again when the red LED switches off.
5. Move away the proximity key when the red LED starts blinking.
6. The green LEDs will blink for a few seconds and the zones associated to the reader and to the key will be armed.
IMPORTANT! The key will arm only the assigned zones and not necessarily all the zones even with this procedure.
2.4.2.2 System in use mode = Mode 2 or Mode 0
Proceed as follows to arm all zones assigned to the reader and to the key using the proximity key:
1. Approach the proximity key in the reader when all the green LEDs are off (the procedure will disarm the zones if any
LEDs are green). The red LED will blink to indicate that the key is being read. All the green LEDs will blink rapidly if the
key is not recognised.
2. Move away the proximity key when the red LED starts blinking.
3. The green LEDs indicate the status of the zones assigned to the reader. LED on fixed = zone armed, LED off = the key
is not assigned to the zone and cannot arm it.
IMPORTANT! The key will arm only the assigned zones and not necessarily all the zones even with this procedure.
2.4.3 Total arming from 1067/026 keypad
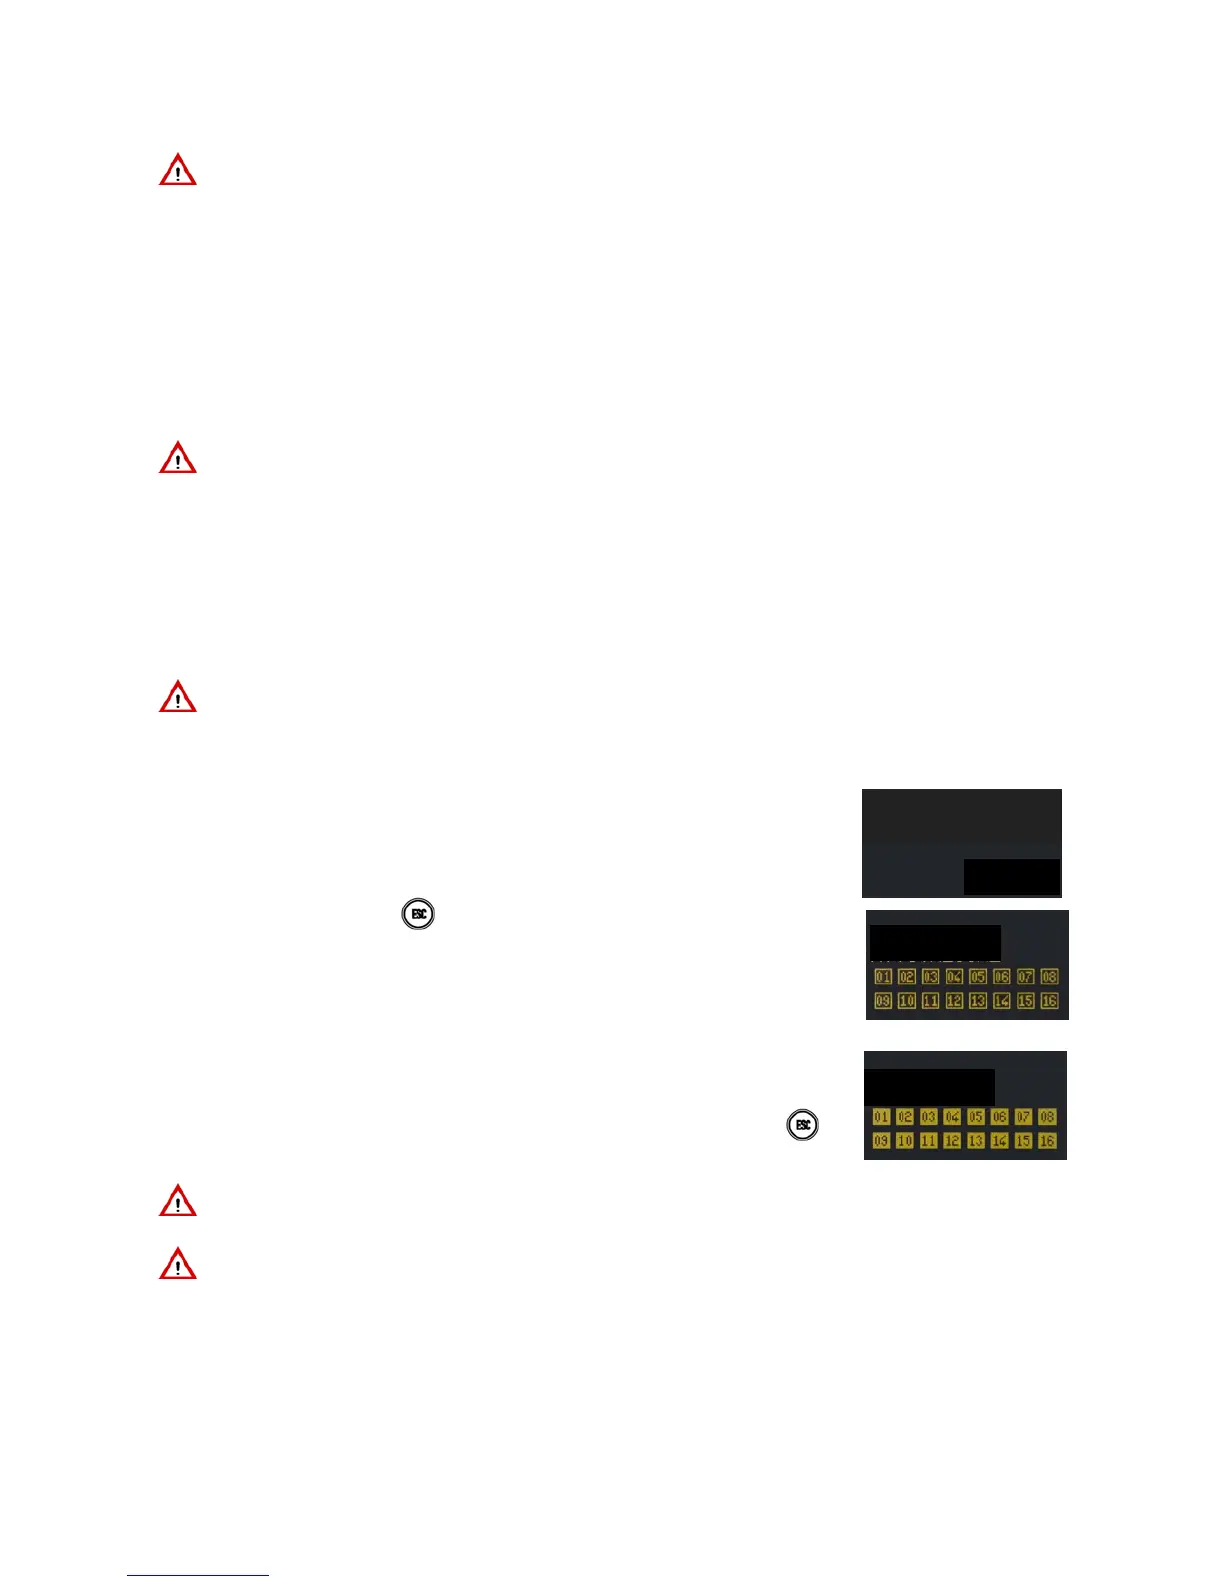
Proceed as follows to arm all zones using the proximity key on a 1067/026 keypad:
1) Approach the proximity key to the keypad.
2) The keypad will beep. Press
to exit without arming.
3) The status LED will light up after 5 seconds (fixed if all zones are armed, blinking if
only some zones are armed). The square will appear full indicating the zones which
have been armed. The following will appear on the display:
4) The display will go back to standard view automatically after one minute. Press
to
go to standard view immediately.
IMPORTANT! The key will arm only the assigned zones and not necessarily all the zones even with this procedure.
IMPORTANT! The LED H (see Figure 3 – 1067/026 keypad) will light up and the buzzer will sound to indicate an
error (long beep) if a key which can be not been acquired (the key is not recognised) or which has not been enabled
is used.
 Loading...