 Loading...
Do you have a question about the Yamaha Tracer MT09TRAH 2017 and is the answer not in the manual?
| Brand | Yamaha |
|---|---|
| Model | Tracer MT09TRAH 2017 |
| Category | Motorcycle |
| Language | English |
Vehicle identification number and model label.
Key characteristics and technologies of the motorcycle.
General warnings and advice for service procedures.
Fundamental procedures and guidelines for servicing.
Required tools for specific maintenance tasks.
Basic dimensions, weight, and loading capacities.
Detailed technical data for engine components.
Technical data for chassis, wheels, tires, and brakes.
Technical data for electrical system components.
Standard and specific torque values for fasteners.
Recommended lubricants for various points.
Visual representation of the cooling system layout.
Guide for proper routing of electrical wires and cables.
Schedule of recommended maintenance tasks by mileage.
Procedures for inspecting fuel lines and components.
Inspection and maintenance of spark plugs.
Procedure for setting valve clearances.
Inspection of brake operation.
Inspection of tire condition and pressure.
Checks and adjustments for drive chain slack and lubrication.
Procedures for adjusting spring preload and rebound damping.
Step-by-step guide for oil and filter replacement.
Procedure for verifying coolant level.
Procedures for removing seats and battery.
Procedures for removing body panels and headlight assembly.
Procedures for removing fuel tank covers and air filter case.
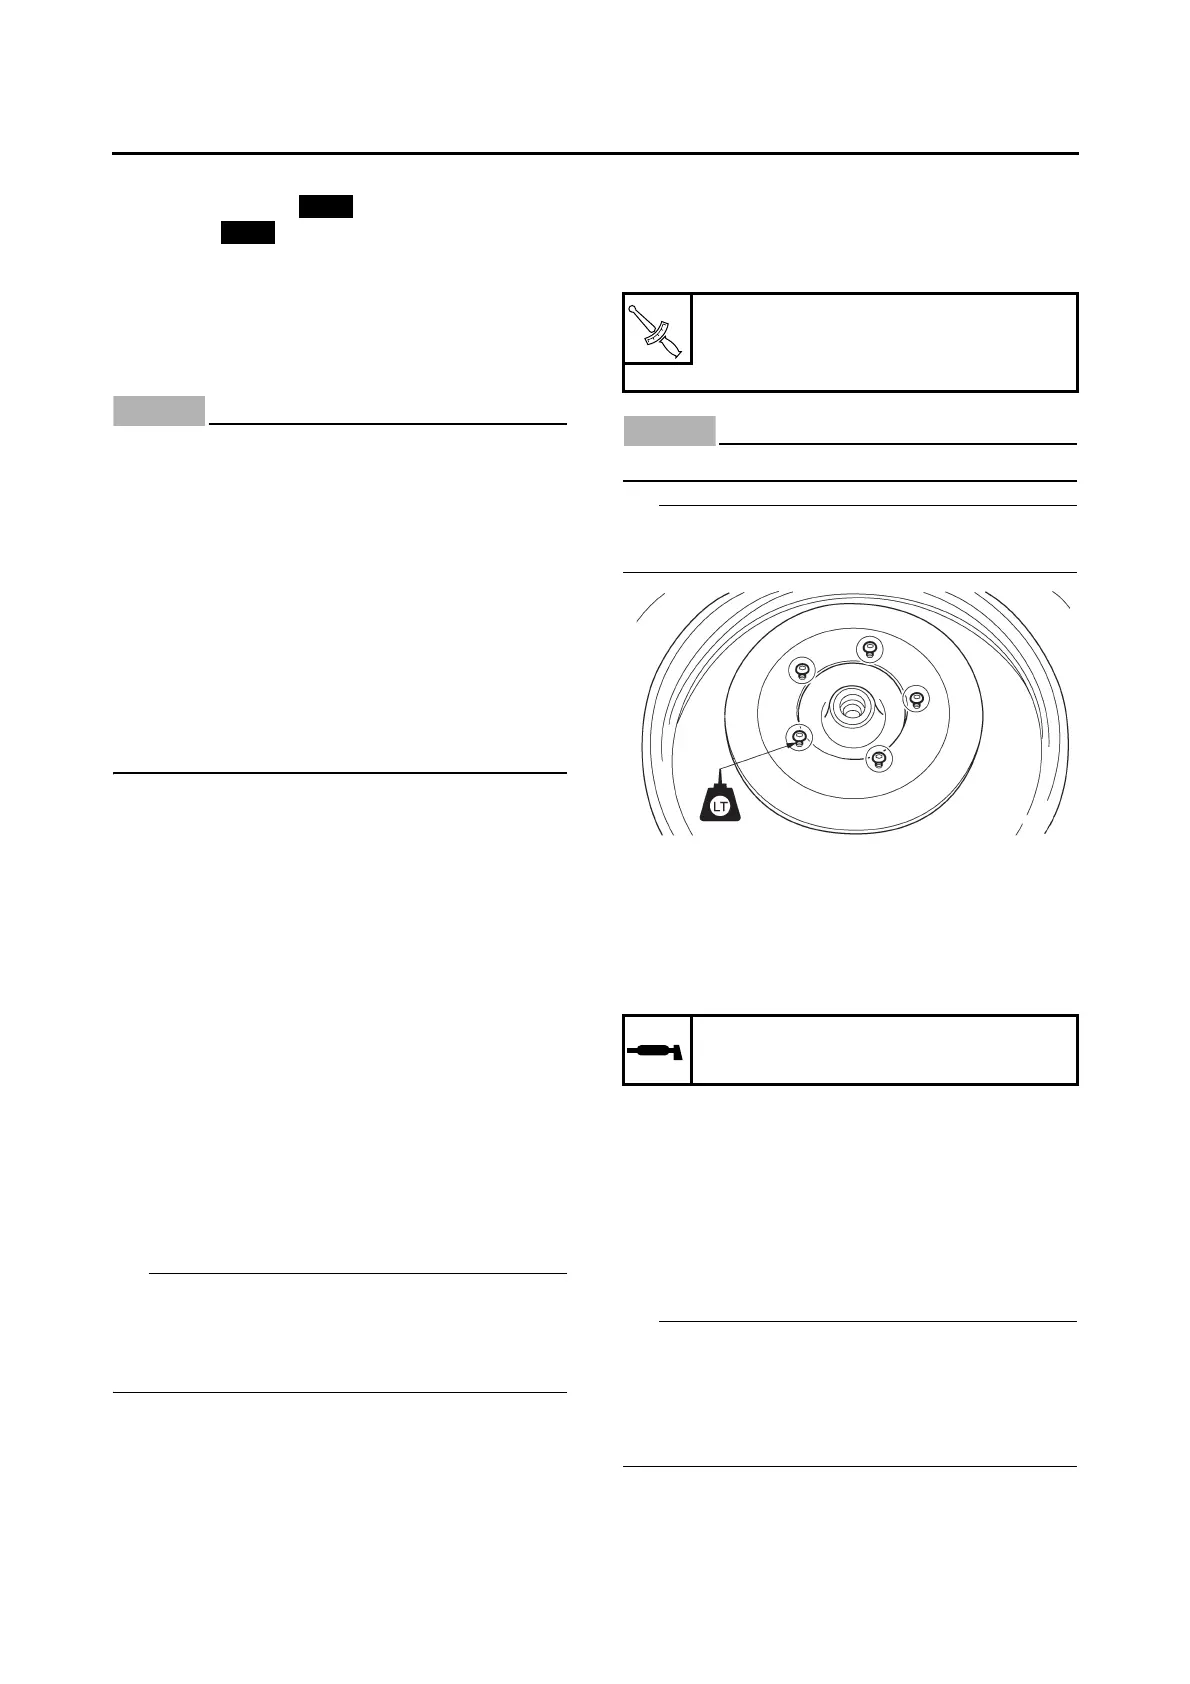
Removal, disassembly, and assembly of the front wheel.
Removal, disassembly, and assembly of the rear wheel.
Procedures for checking and servicing front brake components.
Procedures for checking and servicing rear brake components.
Information and troubleshooting for the ABS system.
Removal, adjustment, and installation of handlebar components.
Removal, disassembly, and assembly of front fork legs.
Removal, checking, and installation of the steering head.
Handling, removal, and checking of the rear shock absorber.
Removal, checking, and installation of the swingarm.
Removal, checking, and installation of the drive chain and sprockets.
Procedures for inspecting engine health, including compression.
Steps for removing the engine from the motorcycle.
Removal, checking, and installation of camshafts.
Removal, checking, and installation of the cylinder head.
Removal, checking, and installation of valves and springs.
Removal and checking of generator and starter clutch.
Removal and checking of the starter motor.
Removal, checking, and installation of clutch components.
Removal, checking, and installation of the shift shaft.
Removal, disassembly, checking, and installation of the oil pump.
Separating, checking, and assembling the crankcase.
Removal, checking, and installation of connecting rods and pistons.
Removal and checking of crankshaft and balancer shaft.
Removal, disassembly, and assembly of the transmission.
Removal, checking, and installation of the radiator.
Removal and installation of the oil cooler.
Checking and installation of the thermostat assembly.
Removal, disassembly, checking, and assembly of the water pump.
Removal and installation of the fuel tank and pump.
Removal, checking, cleaning, and adjustment of throttle bodies and sensors.
Checking and installation of the air induction system.
Circuit diagram and troubleshooting for the ignition system.
Circuit diagram and troubleshooting for the electric starting system.
Circuit diagram and troubleshooting for the charging system.
Circuit diagram and troubleshooting for the lighting system.
Circuit diagram and troubleshooting for the signaling system.
Circuit diagram and troubleshooting for the cooling system.
Circuit diagram, ECU diagnostics, and troubleshooting.
Circuit diagram and troubleshooting for the fuel pump system.
Circuit diagram, general information, and troubleshooting.
Circuit diagram, component chart, and troubleshooting.
Identification and checking of various electrical components.
Basic guide for troubleshooting.
Common issues related to engine starting.
Troubleshooting for abnormal engine idling.
Troubleshooting for performance issues at higher speeds.
Troubleshooting for difficulties in shifting gears.
Causes and troubleshooting for engine overheating.
Troubleshooting for braking system issues.
Troubleshooting for issues with the front forks.
Troubleshooting for handling instability.
Troubleshooting for lighting and signaling system failures.
Specific troubleshooting for ABS warning light issues.