Version 5.8 49 September 2009
SIP User's Manual 3. Web-Based Management
3.1.8.1.1 Replacing the Corporate Logo with an Image
You can replace the logo that appears in the Web interface's title bar, using either the Web
interface or the ini file.
¾ To replace the default logo with a different image via the Web interface:
1. Access the device's Web interface (refer to ''Accessing the Web Interface'' on page
27).
2. In the URL field, append the case-sensitive suffix ‘AdminPage’ to the IP address (e.g.,
http://10.1.229.17/AdminPage); the 'Admin' page appears.
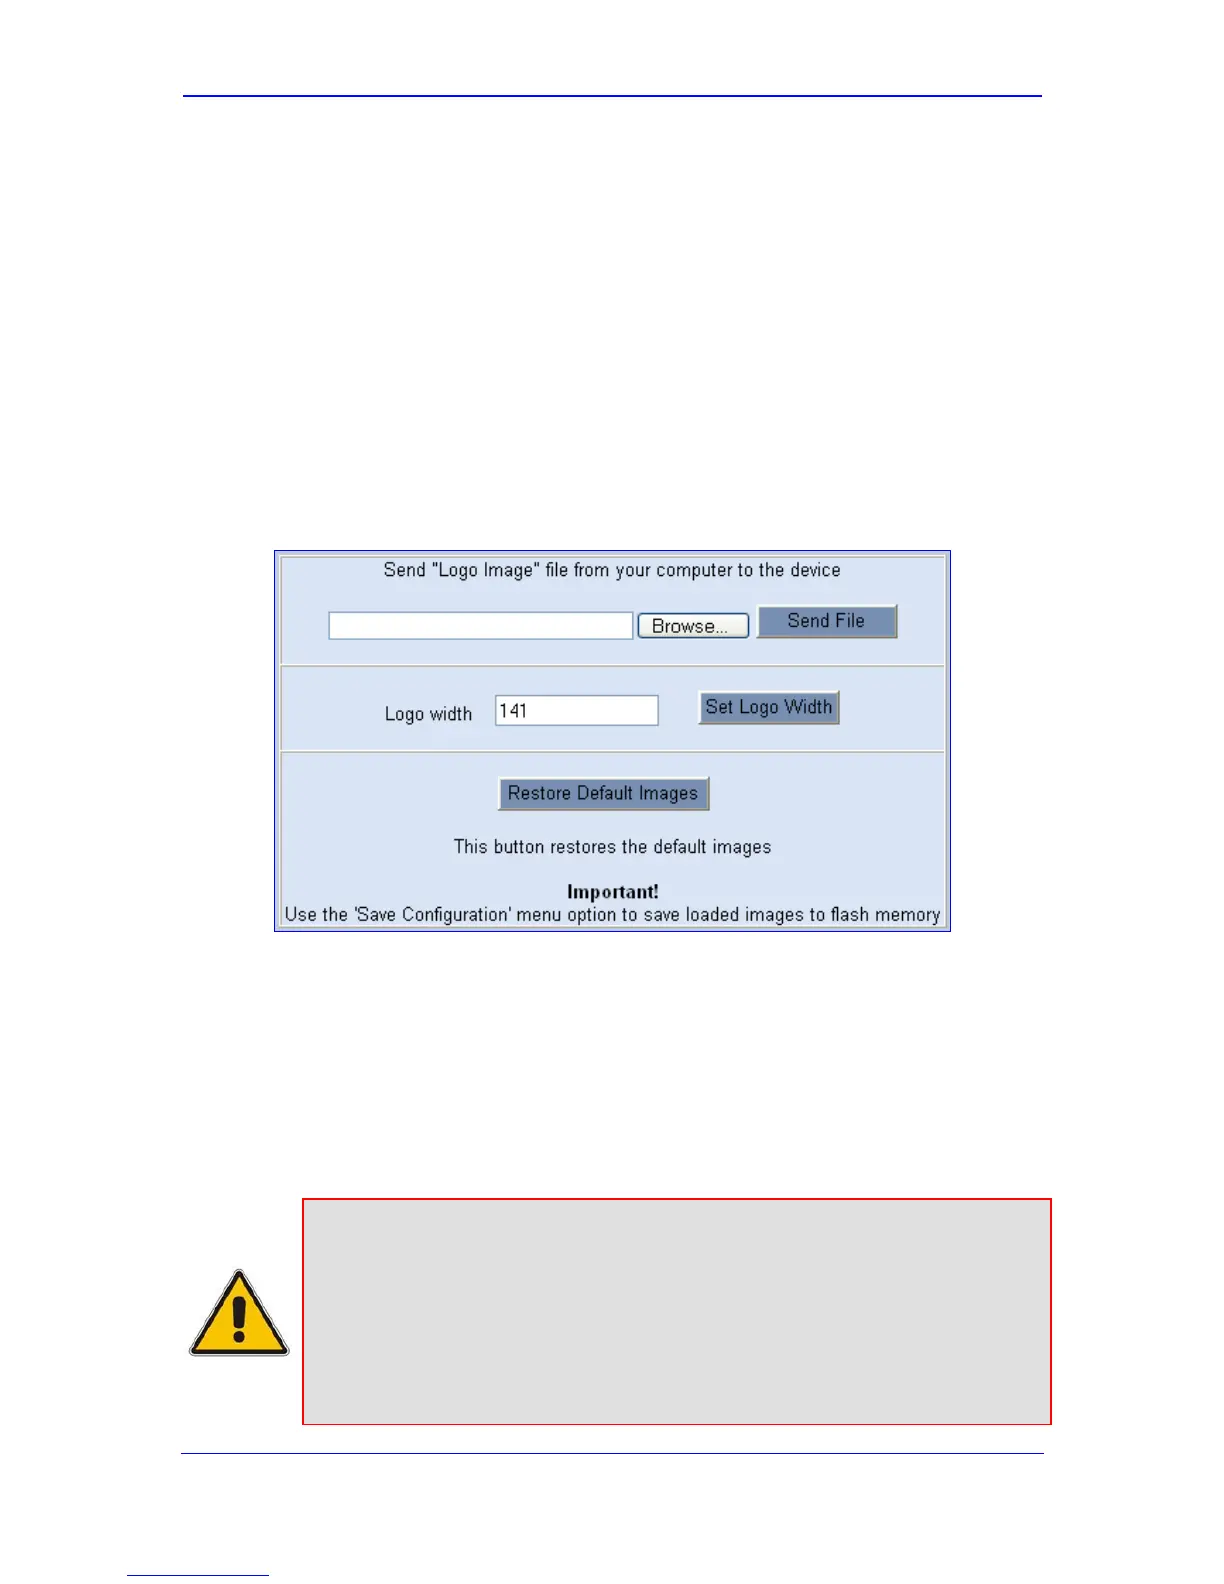
3. On the left pane, click Image Load to Device; the 'Image Download' page is
displayed, as shown in the figure below:
Figure 3-23: Image Download Screen
4. Click the Browse button, and then navigate to the folder in which the logo image file is
located.
5. Click the Send File button; the image file uploads to the device. When loading is
complete, the page is automatically refreshed and the uploaded logo image is
displayed in the Web interface's title bar.
6. If you want to modify the width of the image, in the 'Logo Width' field, enter the new
width (in pixels) and then click the Set Logo Width button.
7. To save the image to flash memory, refer to ''Saving Configuration'' on page 167.
Notes:
• The logo image must be a GIF, PNG, JPG, or JPEG file.
• The logo image must have a fixed height of 24 pixels. The width can be
up to 199 pixels; the default being 145 pixels.
• The size of the image file can be up to 64 Kbytes.
• If you encounter any problem during the loading of the file or you want to
restore the default image, click the Restore Default Images button.
 Loading...


