Set IPv6 TFTP Server 2 Field
Procedure
Step 1
Unlock the CTL or ITL file if necessary. If both the CTL and ITL files exist, unlock either of the files.
Step 2
Unlock network configuration options.
Step 3
Enter an IP address for the IPv6 TFTP Server 1 option.
Step 4
Scroll to the IPv6 TFTP Server 2 option, press Edit, and then enter a new backup TFTP server IP address.
Step 5
Press Validate, and then press Save.
DHCPv6 and Autoconfiguration
You can choose to configure the IP address and other network settings, such as the TFTP server, DNS server,
domain, and name on an IP Phone manually or by using a router or a DHCP server to automatically assign
the IP address and other network information. For more information on how the Auto IP Configuration and
DHCPv6 settings determine where the IP Phone acquires its IPv6 address and other network settings, see the
following table.
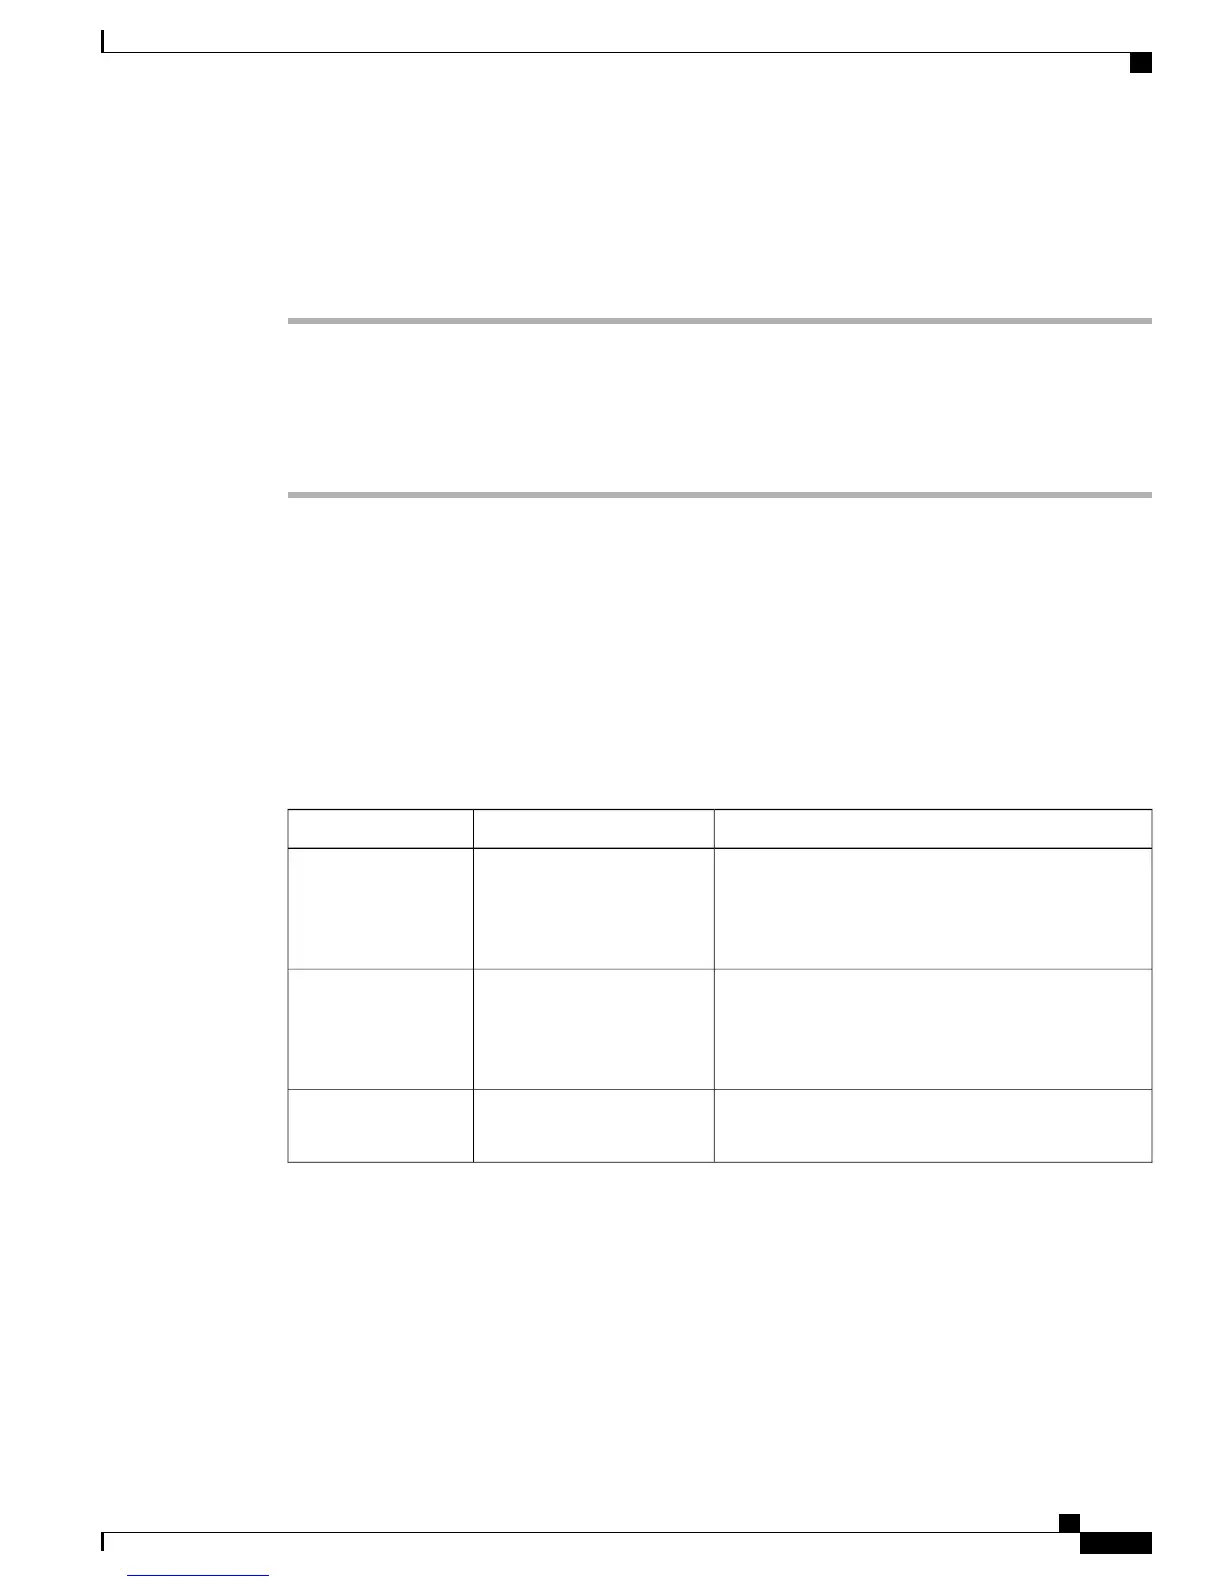
Table 12: Phone and Network Settings
Network Settings Configuration MethodAuto IP ConfigurationDHCPv6
You must manually configure an IP address and the
other network settings.
When DHCPv6 is disabled, the Auto IP
Configuration setting is ignored.
Note
DisabledDisabled
You must manually configure an IP address and the
other network settings.
When DHCPv6 is disabled, the Auto IP
Configuration setting is ignored.
Note
EnabledDisabled
The DHCP server assigns the IP address and the other
network settings to the phone.
DisabledEnabled
Cisco Unified IP Phone 7941G, 7941G-GE, 7942G, 7961G, 7961G-GE, and 7962G Administration Guide for Cisco Unified
Communications Manager 9.0 (SCCP and SIP)
83
Cisco Unified IP Phone Settings
Set IPv6 TFTP Server 2 Field
 Loading...