ITL File Submenu
The ITL File screen includes the options that are described in the following table.
If an ITL file is installed on the phone, you can access the ITL File submenu by pressing Settings and choosing
Security Configuration > Trust List.
The TFTP server generates the ITL file. The Trust Verification Service does not generate the ITL file.Note
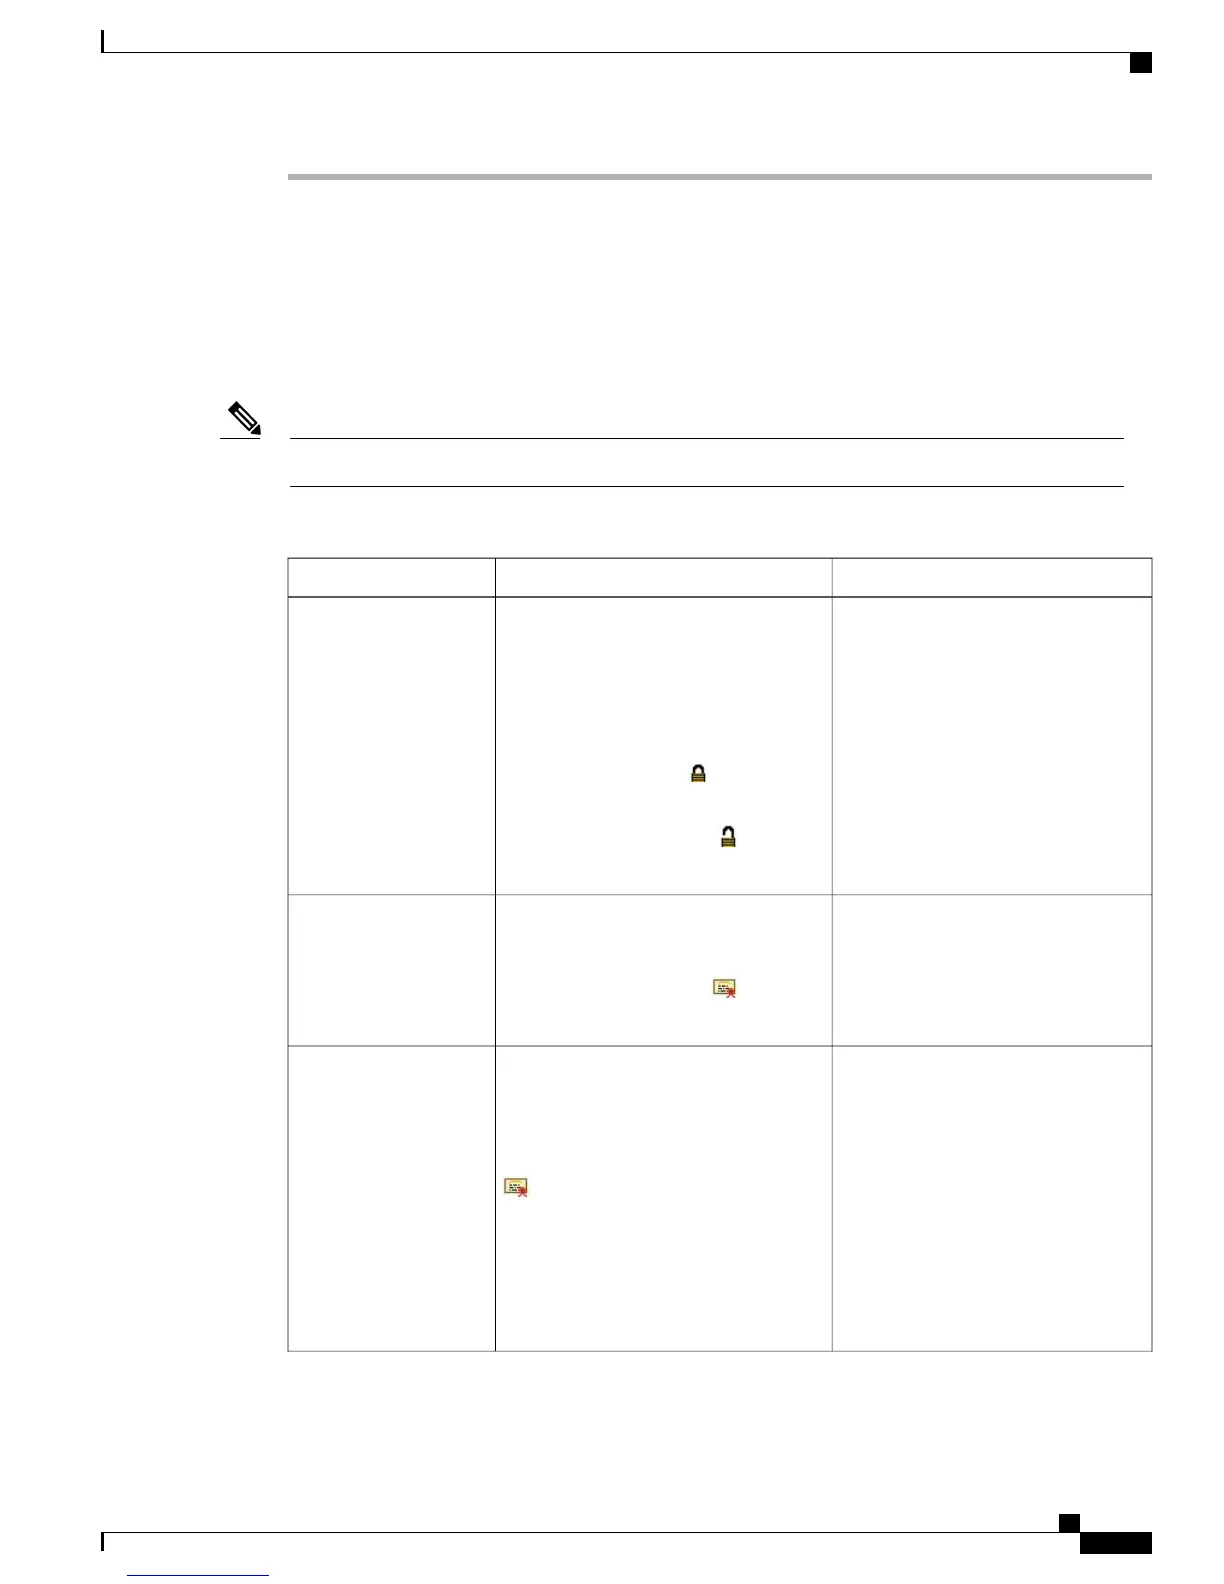
Table 29: ITL File Settings
To ChangeDescriptionOption
For more information about the ITL
file, see “Security by Default” chapter
in Cisco Unified Communications
Manager Security Guide.
Displays the MD5 hash of the Identity
Trust List (ITL) file that is installed in
the phone. If security is configured for
the phone, the ITL file installs
automatically when the phone reboots or
resets.
A locked padlock icon in this option
indicates that the ITL file is locked.
An unlocked padlock icon indicates
that the ITL file is unlocked.
ITL File
For more information about this server,
see “Using the Certificate Authority
Proxy Function” chapter in Cisco
Unified Communications Manager
Security Guide.
Common Name (from the Cisco Unified
Communications Manager Certificate) of
the CAPF used by the phone. Also
displays a certificate icon if a
certificate is installed for this server.
CAPF Server
For information about changing these
options, see Network Configuration
Menu, on page 64.
Common Name from the Cisco Unified
Communications Manager Certificate of
a Cisco Unified Communications
Manager and TFTP server used by the
phone. Also displays a certificate icon
if a certificate is installed for this
server.
If neither the certificate of TFTP (TFTP
Server 1) nor the certificate of backup
TFTP (TFTP Server 2) is not in the CTL
or ITL file, you must unlock the CTL file.
Unified CM/TFTP
Server
Cisco Unified IP Phone 7941G, 7941G-GE, 7942G, 7961G, 7961G-GE, and 7962G Administration Guide for Cisco Unified
Communications Manager 9.0 (SCCP and SIP)
111
Cisco Unified IP Phone Settings
ITL File Submenu
 Loading...