QX50/QX200/QX2000; (SW Version 6.0.x) 77
QX50/QX200/QX2000 Manual II: Administrator’s Guide
Alternative AC Termination Mode appears if the local country (Germany, Israel, France, etc.) selected for QX IP PBX has two COs that use different types
of AC termination. Contact your CO to learn about your AC termination mode. Selecting the checkbox may help if the voice quality over FXO is poor or an
echo is noticed.
To modify the FXO Settings
1. Select the FXO line number from the FXO Settings table. The FXO Settings -FXO# will appear where the line settings may be modified.
2. Enable the FXO line to receive calls from the PSTN. To reject calls from/to the PSTN, deselect the Enable FXO checkbox.
3. If FXO has been enabled, select the Call Type from the Allowed Call Type drop down list and the extension from the Route FXO Call to drop
down list to route the FXO calls correspondingly.
4. Insert a PSTN number in the same named text field to identify the FXO line.
5. Enable Alternative AC Termination Mode if this is a requirement of your CO.
6. Press Save to submit the FXO line settings.
E1/T1 Trunk Settings
The QX50/QX200/QX2000 has no own E1/T1 trunks, only shared E1/T1 trunks are displayed in this page, if available. The shared trunks/lines can be
edited from this page. Any changes applied in this page will be automatically reflected on the QX E1/T1 gateway(s) that share its E1/T1 trunks.
E1/T1 service allows QXE1/T1 Gateway to be connected to a PBX or to the CO (Central Office) via E1/T1 lines, using E1/T1 CAS/CCS signaling. QXE1/T1
Gateway can be connected to act as a User (if connected to a CO) or as Network (if connected to a PBX). If a private PBX is connected to QX E1/T1
Gateway, it should be configured in network mode, if the E1/T1 line from a CO is connected to QXE1/T1 Gateway, it should be configured as a User. The
E1/T1 Trunk Settings page is used to configure the E1/T1 trunk and the timeslots settings.
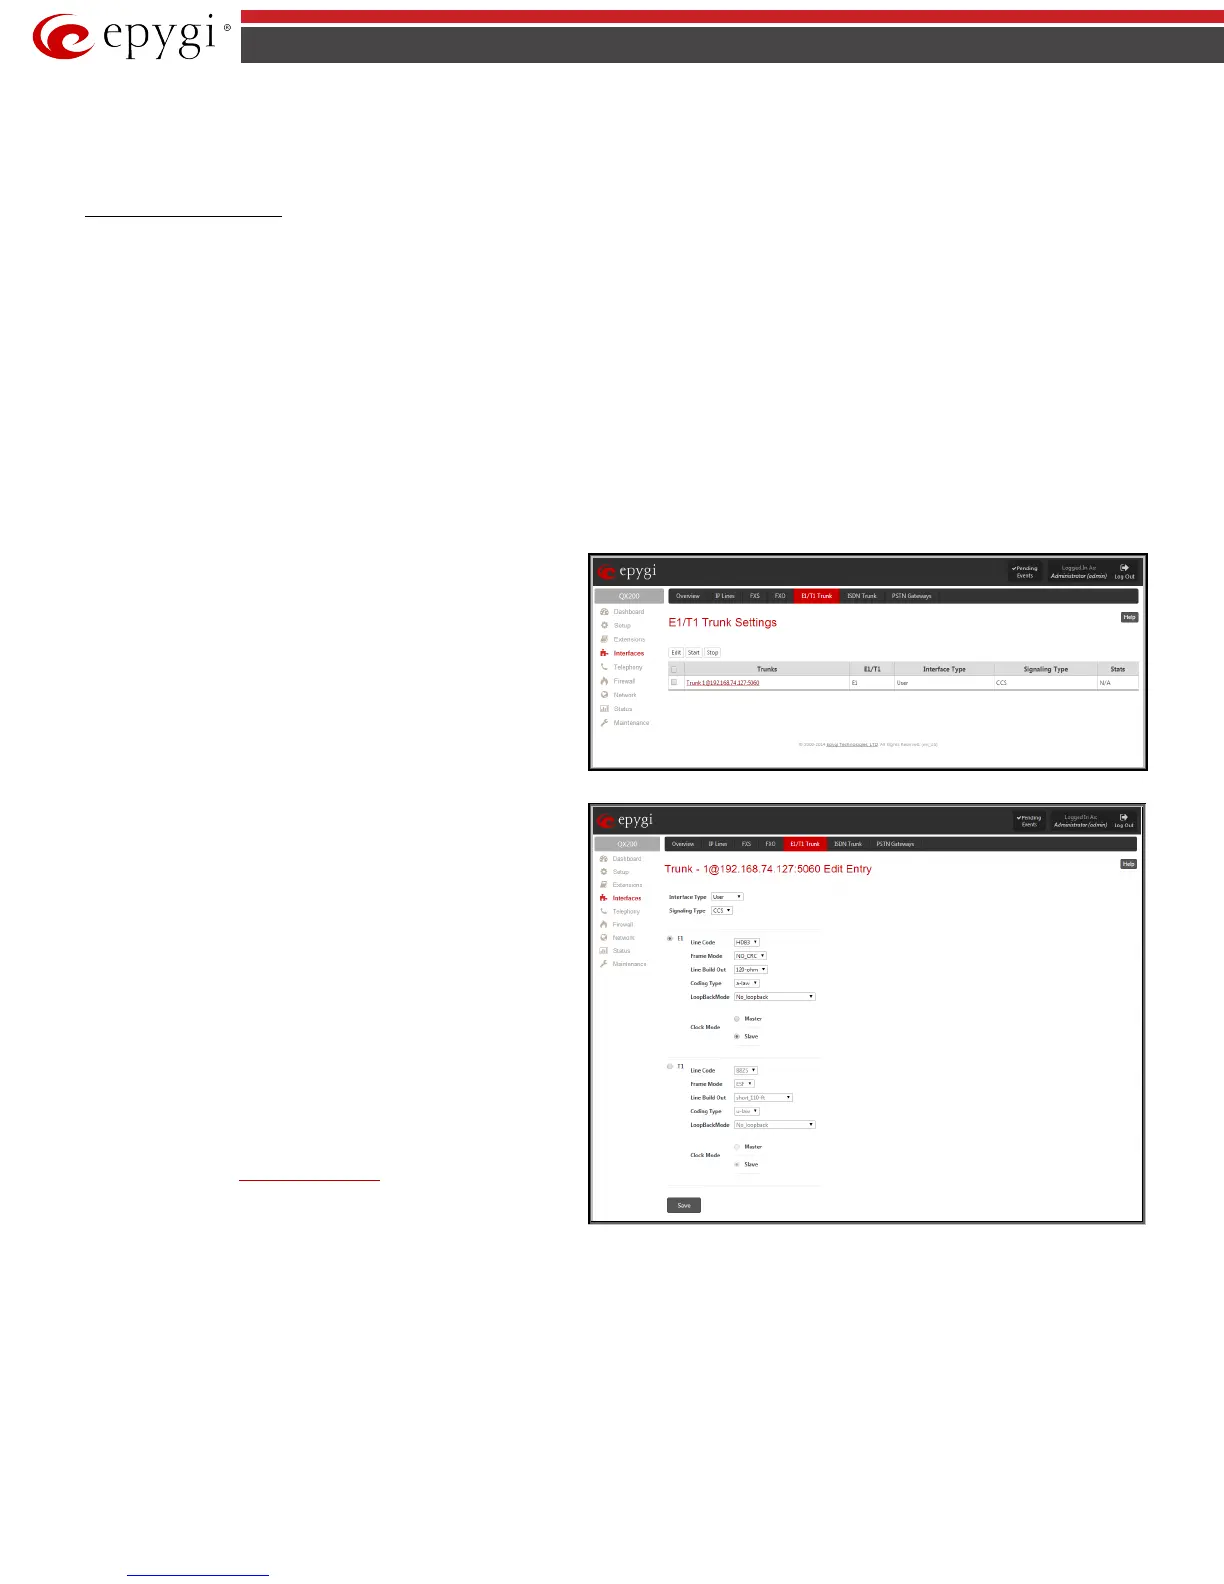
Trunk Settings
table lists the available E1/T1 trunks on the QX IP
PBX and their settings (Trunk name, E1/T1 mode, interface, signaling
types). Clicking on the trunk will open its Signaling Settings page
(Trunk CAS Signaling Settings or Trunk CCS Signaling Settings
page depending on the selected signaling type) while selecting the
corresponding trunk’s checkbox and pressing Edit
Trunk – Edit Entry page. E1/T1 Stats link is displayed for every
active trunk on the board and refers to the page where E1/T1 trunk
and traffic statistics can be viewed.
Start and Stop functional links are used to start/shutdown the
selected E1/T1 trunk(s). When E1/T1 trunk is shutdown state, no
E1/T1 calls could be placed and received.
Fig.II- 112: E1/T1 Settings page
Trunk – Edit Entry
page consists of the following components:
The Interface Type drop down list gives an option to choose between
E1/T1 User and Network interface configuration.
The Signaling Type drop down list allows selection of CAS (Channel
Associated Signaling) or CCS (Common Channel Signaling) signaling
types. The same timeslot is used both for voice and data transmission
in case of CAS signaling. In the case of CCS signaling a single timeslot is
used for signaling data transmission on the entire trunk. All other
timeslots are used for voice transmission.
The E1 and T1 radio buttons are used to select between E1 and T1
modes. The T1 mode enables 24 timeslots, and the E1 mode enables
32 timeslots to be used. The selection of E1 or T1 enables the Line
Code, Frame mode, Line Build Out, Coding Type, LoopBackMode
and Clock Mode settings. These settings are configured to match the
E1/T1 settings from the service provider.
Attention: See the Call Routing Table chapter to ensure that
modifications to the E1/T1 trunk settings do not lead to broken routes
in the Call Routing Table.
Fig.II- 113: E1/T1 Settings –Edit Entry page