QX50/QX200/QX2000; (SW Version 6.0.x) 99
QX50/QX200/QX2000 Manual II: Administrator’s Guide
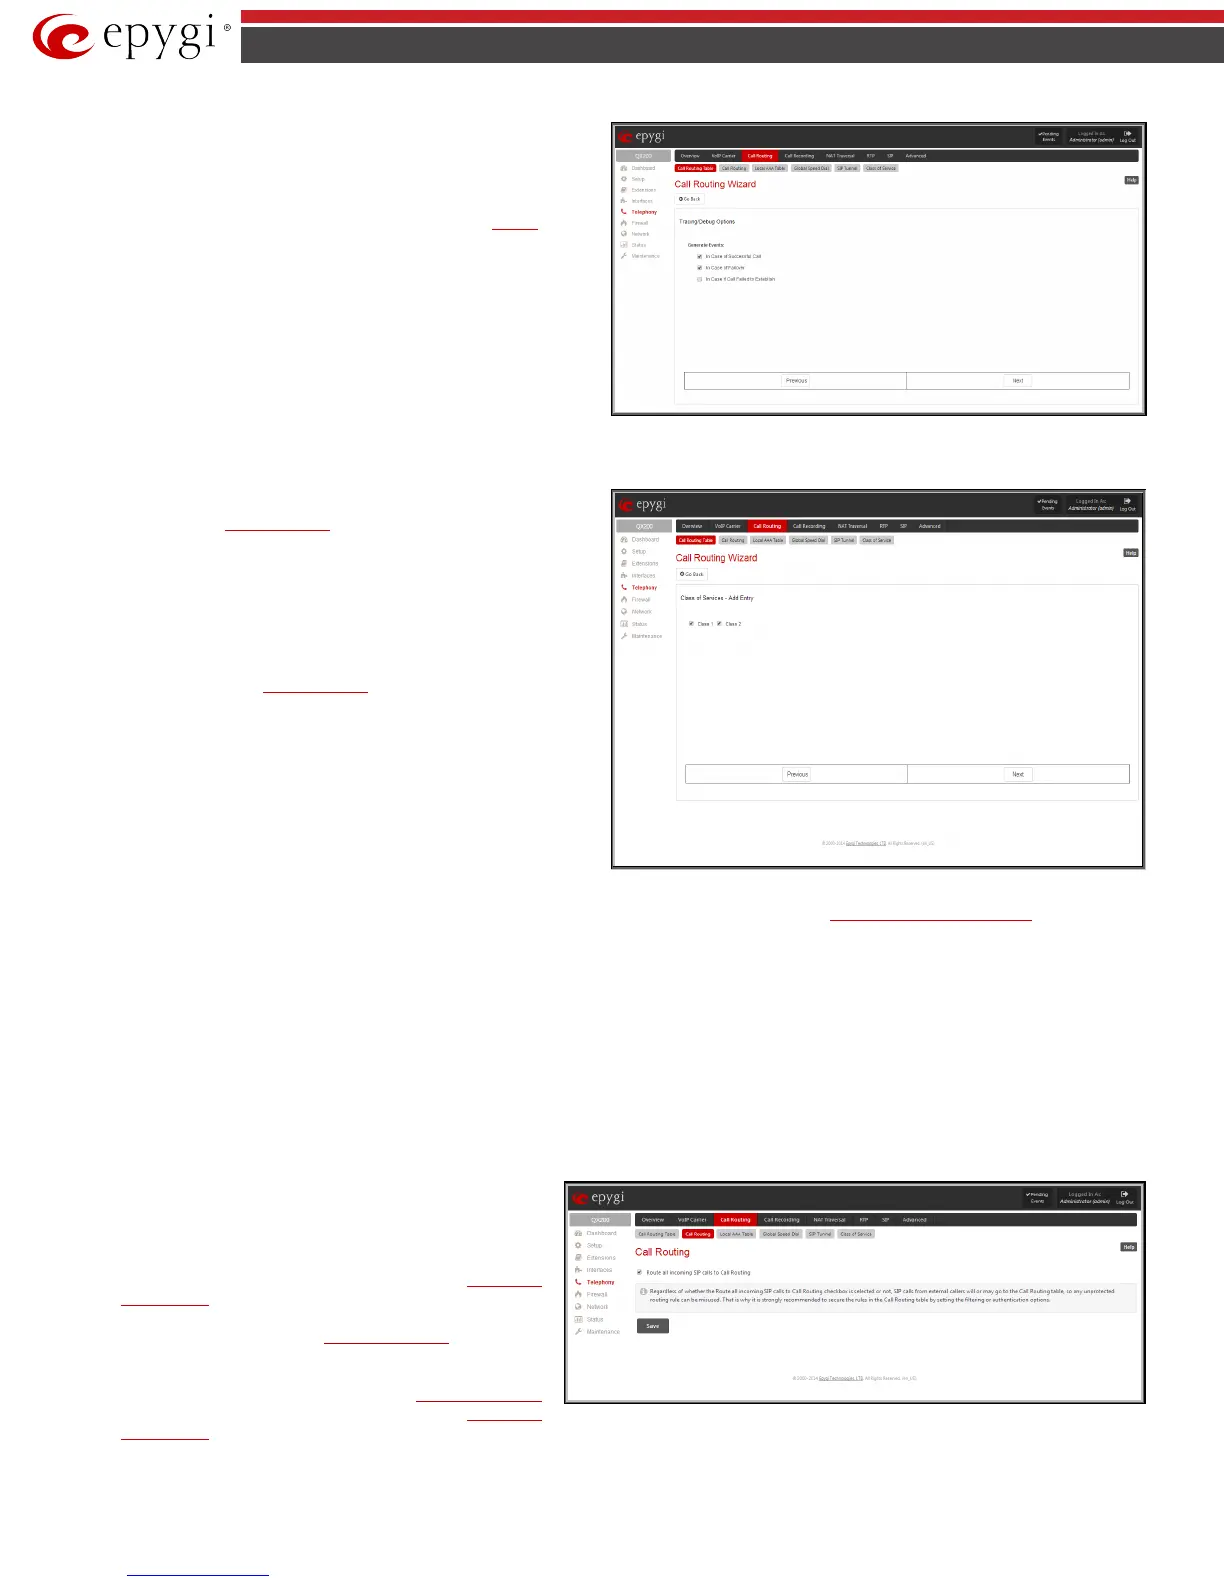
Call Routing Wizard – Tracing/Debug Options
Set Tracing / Debug Options on This Rule
enabled on Page 1 of the Local Call Routing Wizard. It will require
information about the tracing/debug options.
This page offers result options of the corresponding routing rule
execution when the notification event will be printed in the
Events page.
• In Case of Successful Call – a notification event is printed
when the successful call was established with the routing
rule.
• In Case of Failover – a notification event is printed when
the call ends up on one of the failover reasons selected on
the Page 2 of the Local Call Routing Wizard.
• In Case if Call Failed to Establish – a notification event is
printed when the call executed with the routing rule failed.
Fig.II- 143: Call Routing Wizard – Tracing/ Debug Options page
Call Routing Wizard - Class of Services - Edit Entry
page is used to
assign the defined class of services to a certain call routing pattern. To
use Class of Service feature for the corresponding routing rule, it should
be enabled from the
Class of Service page.
The Class of Service(CoS) functionality allows to permit or deny the
attempt of extensions to use certain types of call routing rules.
Suppose you want for a certain group of PBX/Conference extensions to
deny the right to make international calls, but allow them to make local
and long distance calls and for another group of PBX/Conference
extensions give a permission to make international calls only.
The classes defined in the
Class of Service page will appear on this page to
assign the corresponding routing rule to a certain class of service(s).
Please Note: The Class of Service
feature is applicable only
for PBX source type routing rules.
Please Note: The Filter on Source/Modify Caller ID option should be
selected on the first page of the Call Routing Wizard to have a possibility
to select the source caller type as a PBX.
Each routing rule can be attached to a several class of service(s).
Fig.II- 144: Call Routing Wizard – Class of Services – Edit Entry page
Please Note: Established patterns based on the Emergency Codes and PSTN Access Codes Settings in the
System Configuration Wizard will be marked
in bold and will be placed in the first position in the Call Routing Table. Additionally, they cannot be modified and deleted from the Call Routing Table.
The Duplicate functional button is used to create a routing pattern with the settings of an exiting one. This is to avoid configuring a new routing entry
completely by duplicating an existing entry with different settings. To use the Duplicate button only one record may be selected, otherwise the error
message “One row should be selected” will appear. The Duplicate button opens the Call Routing Wizard where all fields except the Pattern field are
already filled in. A Pattern for the new route will be required anyway.
The Move Up and Move Down buttons are used to move call routing patterns one level up or down within the Call Routing table. The sequence of the
routing patterns is important when making routing calls because the Call Routing table is parsed from the top down and routing will take place according
to the first pattern that matches the dialed number. The Move To button is used to move the selected entry to a different position in the Call Routing
Table. This will increase or decrease the selected pattern’s priority. Pressing the button will open the page where a row number should be specified
together with the position the selected entry is to be placed (before or after the defined row).
Call Routing
Call Routing
page offers the following components:
• When the Route all incoming SIP calls to Call Routing
checkbox is disabled, for all incoming SIP calls QX IP PBX will
first search the incoming SIP address in the
Extensions
Management table. If found, the incoming SIP call will ring on
the corresponding extension. If not found, QX IP PBX will look
for a matching routing rule in
Call Routing Table.
When the Route all incoming SIP calls to Call Routing
checkbox is enabled, for all incoming SIP calls QX IP PBX will
directly look for a matching routing rule in
Call Routing Table
and will ignore the possible matches in the Extensions
Management table.
Fig.II- 145: Call Routing page