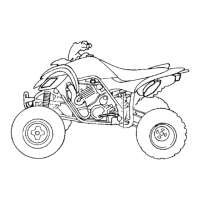
REAR WHEELS
4-10
EAS1S3L014
REMOVING THE REAR WHEELS
1. Place the vehicle on a level surface.
2. Elevate:
• Rear wheels
IP
Place the vehicle on a suitable stand so that the
rear wheels are elevated.
EAS29430
CHECKING THE REAR WHEELS
The following procedure applies to both of the
rear wheels.
1. Check:
• Tire
• Wheel
Refer to “CHECKING THE TIRES” on page
3-34 and “CHECKING THE WHEELS” on
page 3-35.
2. Measure:
• Radial wheel runout
• Lateral wheel runout
Refer to “CHECKING THE FRONT
WHEELS” on page 4-6.
Over the specified limit → Replace.
3. Check:
• Wheel balance
Refer to “CHECKING THE FRONT
WHEELS” on page 4-6.
Out of balance → Adjust.
EAS29440
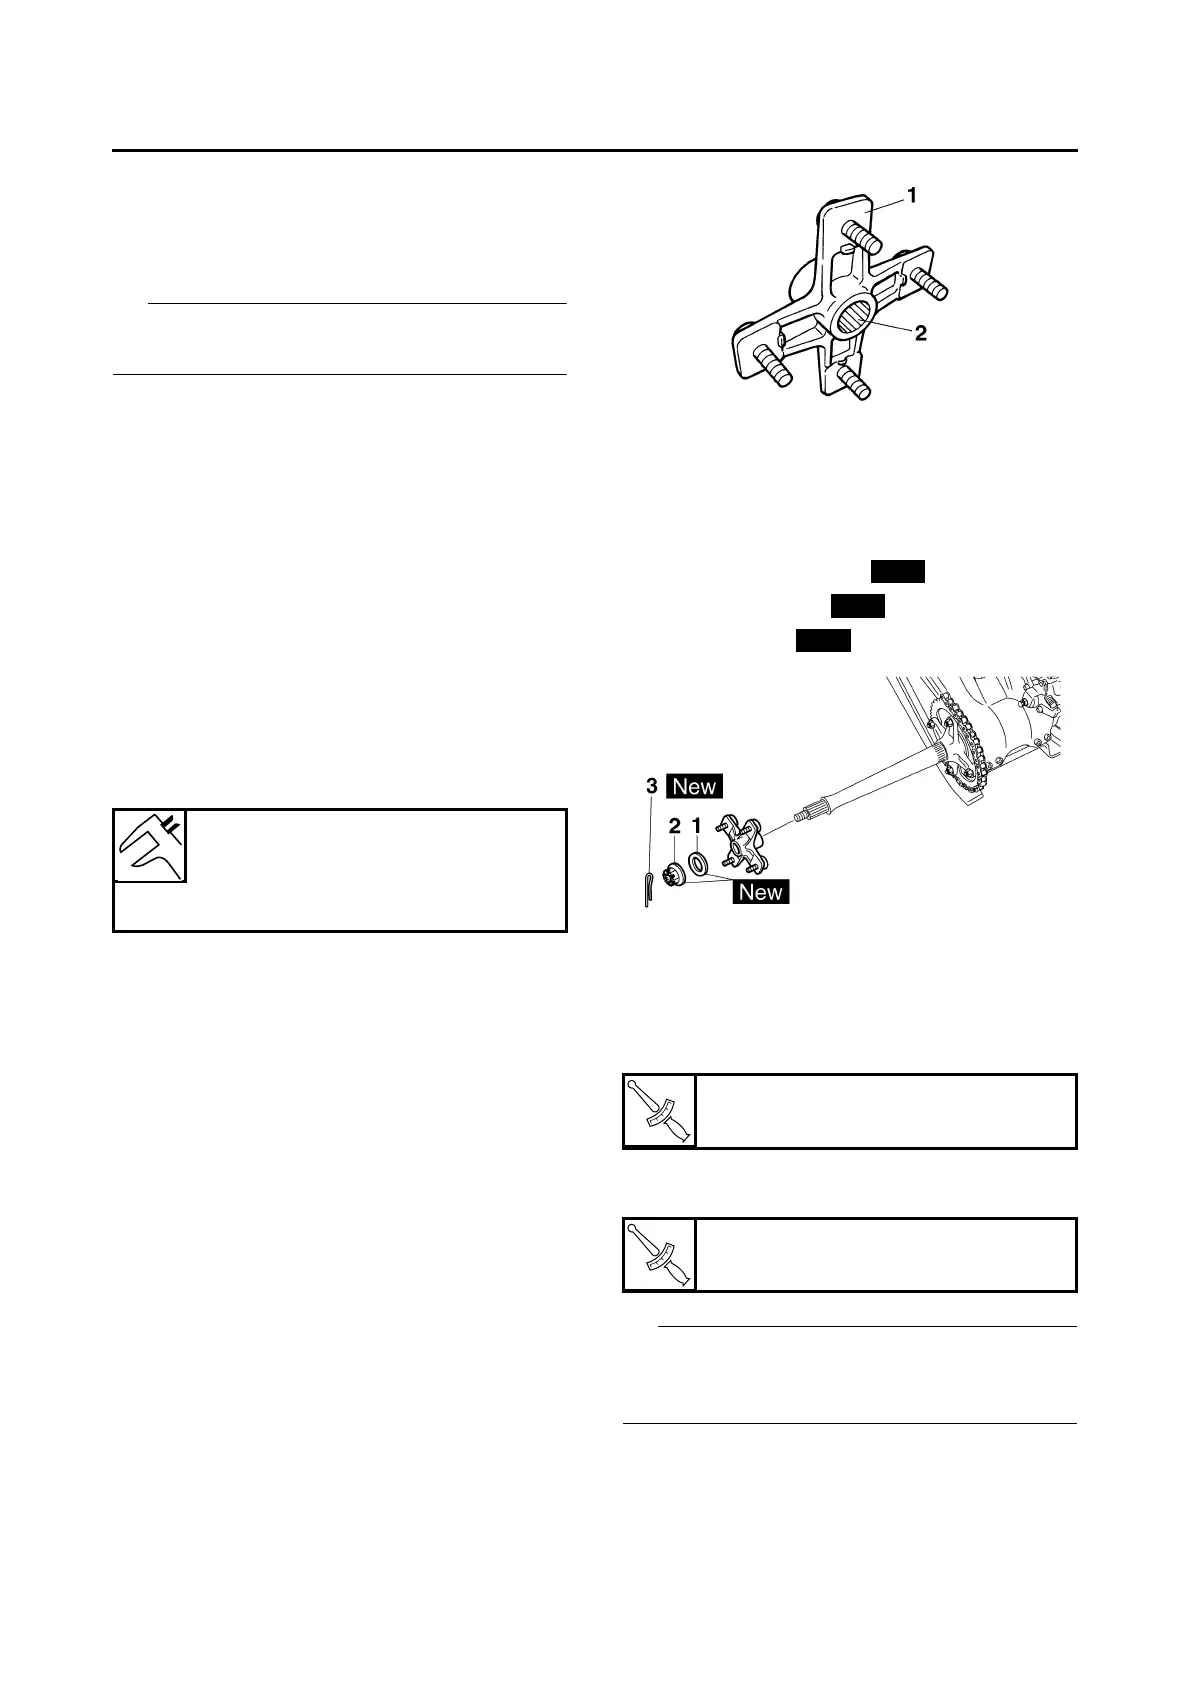
CHECKING THE REAR WHEEL HUBS
The following procedure applies to both of the
rear wheel hubs.
1. Check:
• Wheel hub “1”
Cracks/damage → Replace.
• Splines (wheel hub) “2”
Wear/damage → Replace.
EAS29450
INSTALLING THE REAR WHEEL HUBS
The following procedure applies to both of the
rear wheel hubs.
1. Install:
• Rear axle washers “1”
• Rear axle nuts “2”
• Cotter pins “3”
▼▼▼▼▼▼▼▼▼ ▼ ▼▼▼▼ ▼ ▼▼▼▼ ▼ ▼▼▼▼ ▼ ▼▼▼▼ ▼▼▼
a. Apply a rust preventive lubricant to the
threads on both sides of the rear axle and to
the wheel hub surfaces that contact the rear
axle washers.
b. Tighten the rear axle nuts to specification.
c. Loosen the rear axle nuts completely.
d. Retighten the rear axle nuts to specification.
IP
If an axle nut slot is not aligned with the cotter pin
hole on either side of the axle, further tighten the
axle nut until a slot is aligned with the hole.
▲▲▲▲▲▲▲▲▲ ▲ ▲▲▲▲ ▲ ▲▲▲▲ ▲ ▲▲▲▲ ▲ ▲▲▲▲ ▲▲▲
Radial wheel runout limit
2.0 mm (0.08 in)
Lateral wheel runout limit
2.0 mm (0.08 in)
T
R
.
.
Rear axle nut
200 Nm (20.0 m·kg, 145 ft·lb)
T
R
.
.
Rear axle nut
200 Nm (20.0 m·kg, 145 ft·lb)
New
New
New
 Loading...