CRANKSHAFT
5-63
EAS1S3L038
REMOVING THE CRANKSHAFT
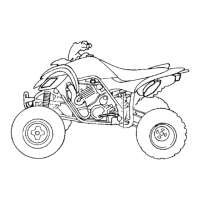
1. Remove:
• Crankshaft “1”
IP
• Remove the crankshaft with the crankcase
separating tool “2”.
• Make sure the crankcase separating tool is
centered over the crankshaft.
EAS1S3L039
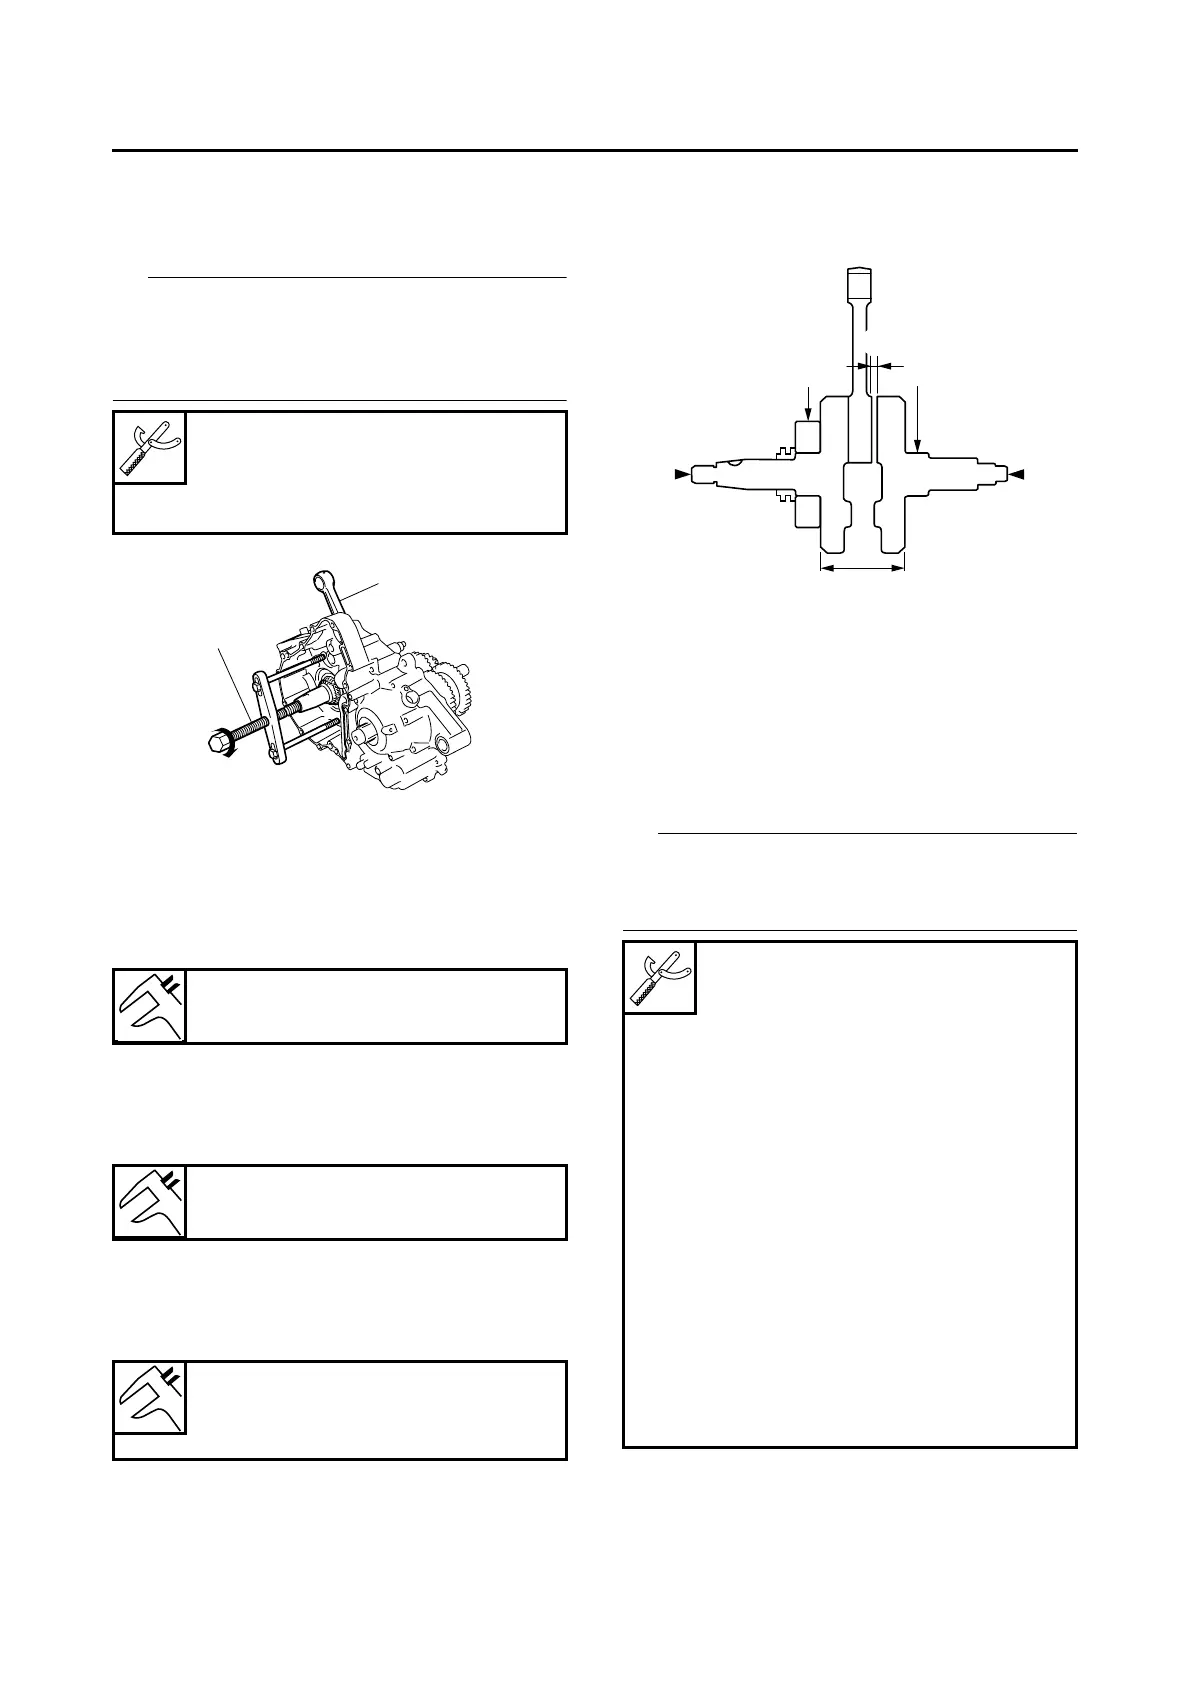
CHECKING THE CRANKSHAFT
1. Measure:
• Crankshaft width A “a”
Out of specification → Replace the crank-
shaft.
2. Measure:
• Crankshaft runout C “b”
Out of specification → Replace the crank-
shaft.
3. Measure:
• Big end side clearance D “c”
Out of specification → Replace the crank-
shaft.
EAS1S3L040
INSTALLING THE CRANKSHAFT
1. Install:
• Crankshaft “1”
IP
Install the crankshaft with the crankshaft installer
pot “2”, crankshaft installer bolt “3”, adapter
(M16) “4” and spacer (crankshaft installer) “5”.
Crankcase separating tool
90890-01135
Crankcase separator
YU-01135-B
Width A
74.95–75.00 mm (2.951–2.953 in)
Runout limit C
0.030 mm (0.0012 in)
Big end side clearance D
0.350–0.650 mm (0.0138–0.0256
in)
1
2
Crankshaft installer pot
90890-01274
Installing pot
YU-90058
Crankshaft installer bolt
90890-01275
Bolt
YU-90060
Adapter (M16)
90890-04130
Adapter #13
YM-04059
Spacer (crankshaft installer)
90890-04081
Pot spacer
YM-91044
Spacer
90890-01309
Pot spacer
YU-90059
b
b
a
c
 Loading...