4 Individual remote controls
PC-ART
TCGB0106 rev.0 - 12/2014
119
4
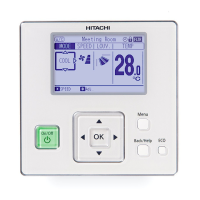
4.2.2.4 Dimensional data
120
20
1234S
Sun
Sat
Fri
Thu
Wed
Tue
SET
SCHEDULE
NEXT
OFF
ON
ON
AUTO CONTROLOPER.LOCK
NO FUNCTION
RNHRADDS
%
˚C
RCSTHMCHECK
FILTER
TEMP.SET
LOW
MED
HIGH
COOL
AUTO
HEAT
DRY
FAN
SERVICE
H.STRG
DEFROST
CENTRAL
T.RUN
ABNML
Mon
UNIT
A/C
VENTI
TEMP
RUN/STOP
(mm)
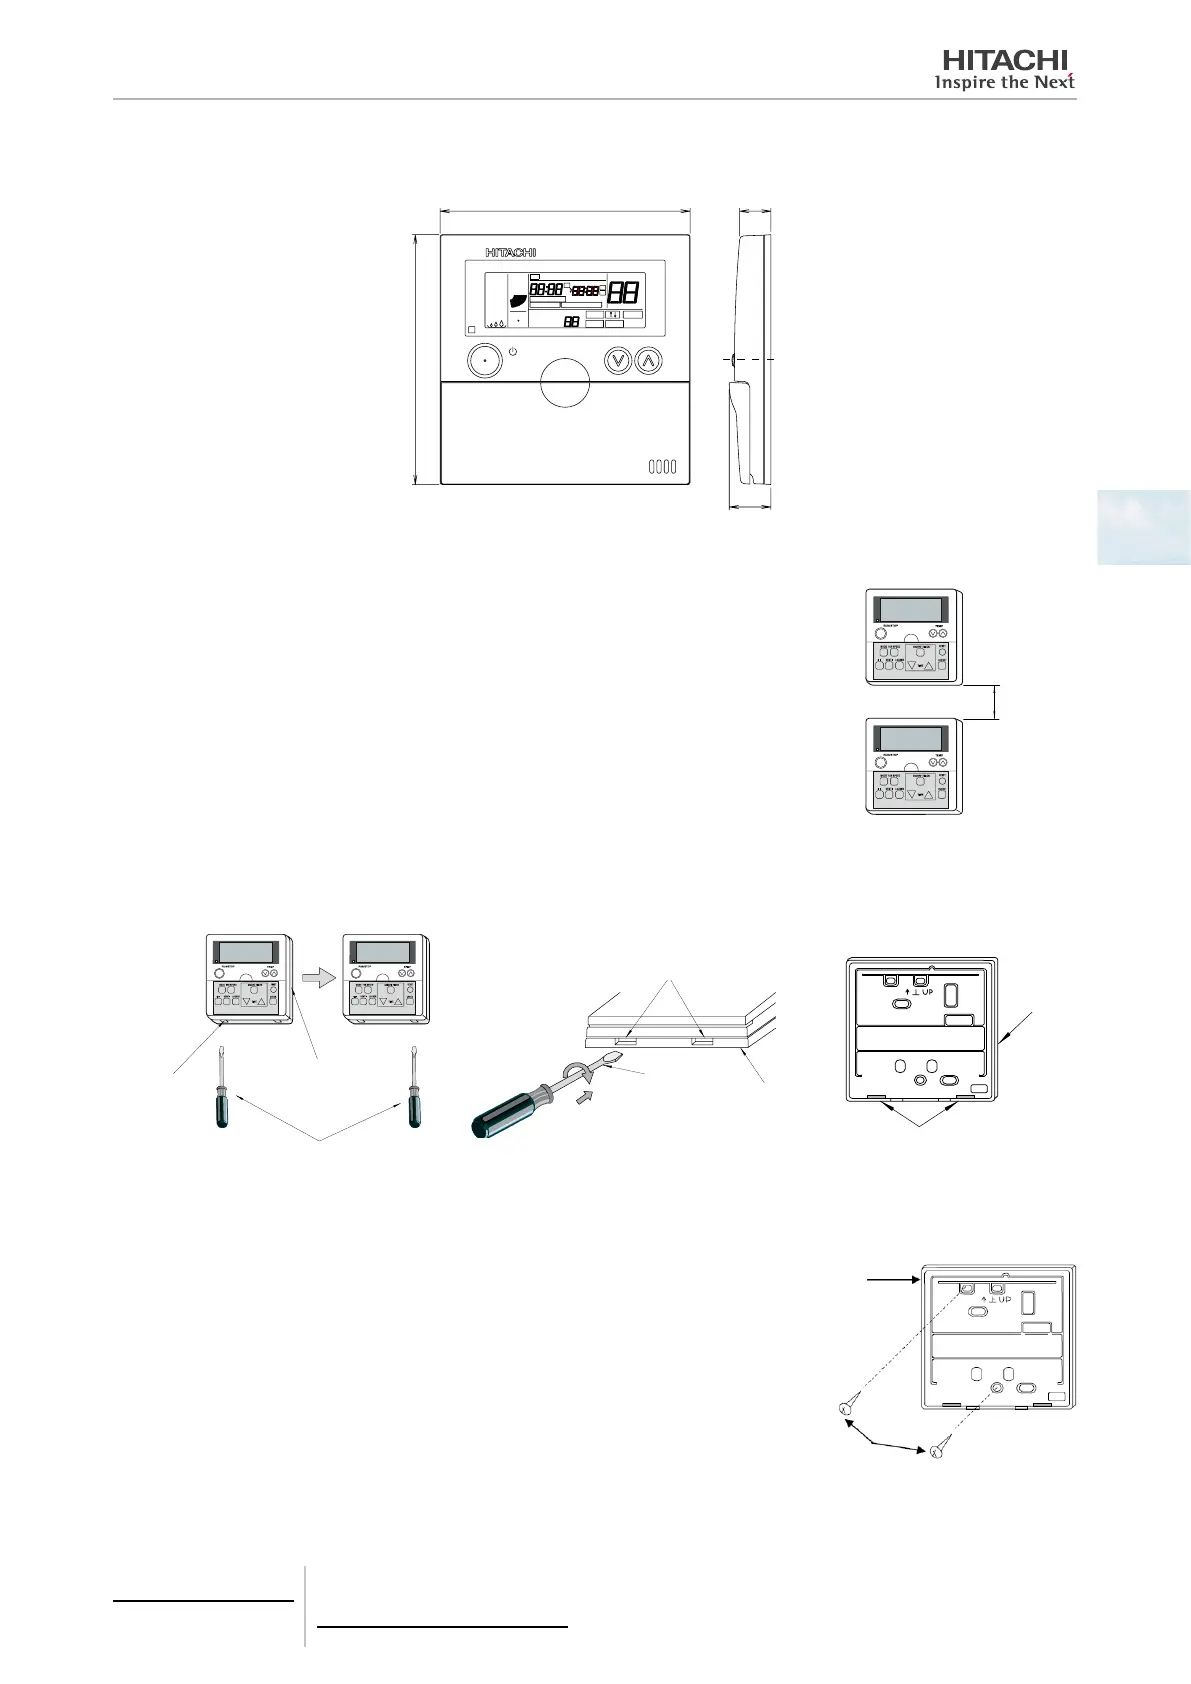
4.2.2.5 Installation space
If several control units are to be installed in a vertical position, leave a distance of at least 50
mm between them to allow the front cover to be opened and to insert the tool for removing
the control from its housing.
At least
50 mm
4.2.2.6 Installation procedure
1 Using a at-head screwdriver, separate the control unit bracket from the front section as indicated.
Screwdriver
Bracket
Groove
Screwdriver
Bracket
Groove
Bracket
Indent part
2 Place the control unit in the housing, as indicated below (2 examples):
In cases where the remote control cable is exposed.
a. Secure the bracket to the wall using the 2 screws provided.
Fix the holding bracket
with the mark “↑UP”
upward
Screw
(Accessory)

 Loading...