9.1.3 Installation procedure
Wall mounted support
CAUTION
• This device cannot built in neither installed without providing ventilation to the aluminium sink behind
• Place the support on a resistant wall.
CSNET Manager can be wall mounted by using any standard VESA 75 mm wall mounted support for LT & XT and VESA
100 mm for XT only. HITACHI offers the following wall mounted accessory, model code 7E512300.
(To be informed later)
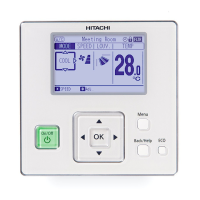
Stand mounted support
CAUTION
This device cannot built in neither installed without providing ventilation to the aluminium sink behind.
CSNET Manager can be stand mounted by using any standard VESA 75 mm stand mounted support for LT & XT and
VESA 100 mm for XT only. HITACHI offers the following stand mounted accessory VESA 75, model code 7E512301.
The stand comes disassembled in 2 parts:
Base
Arm
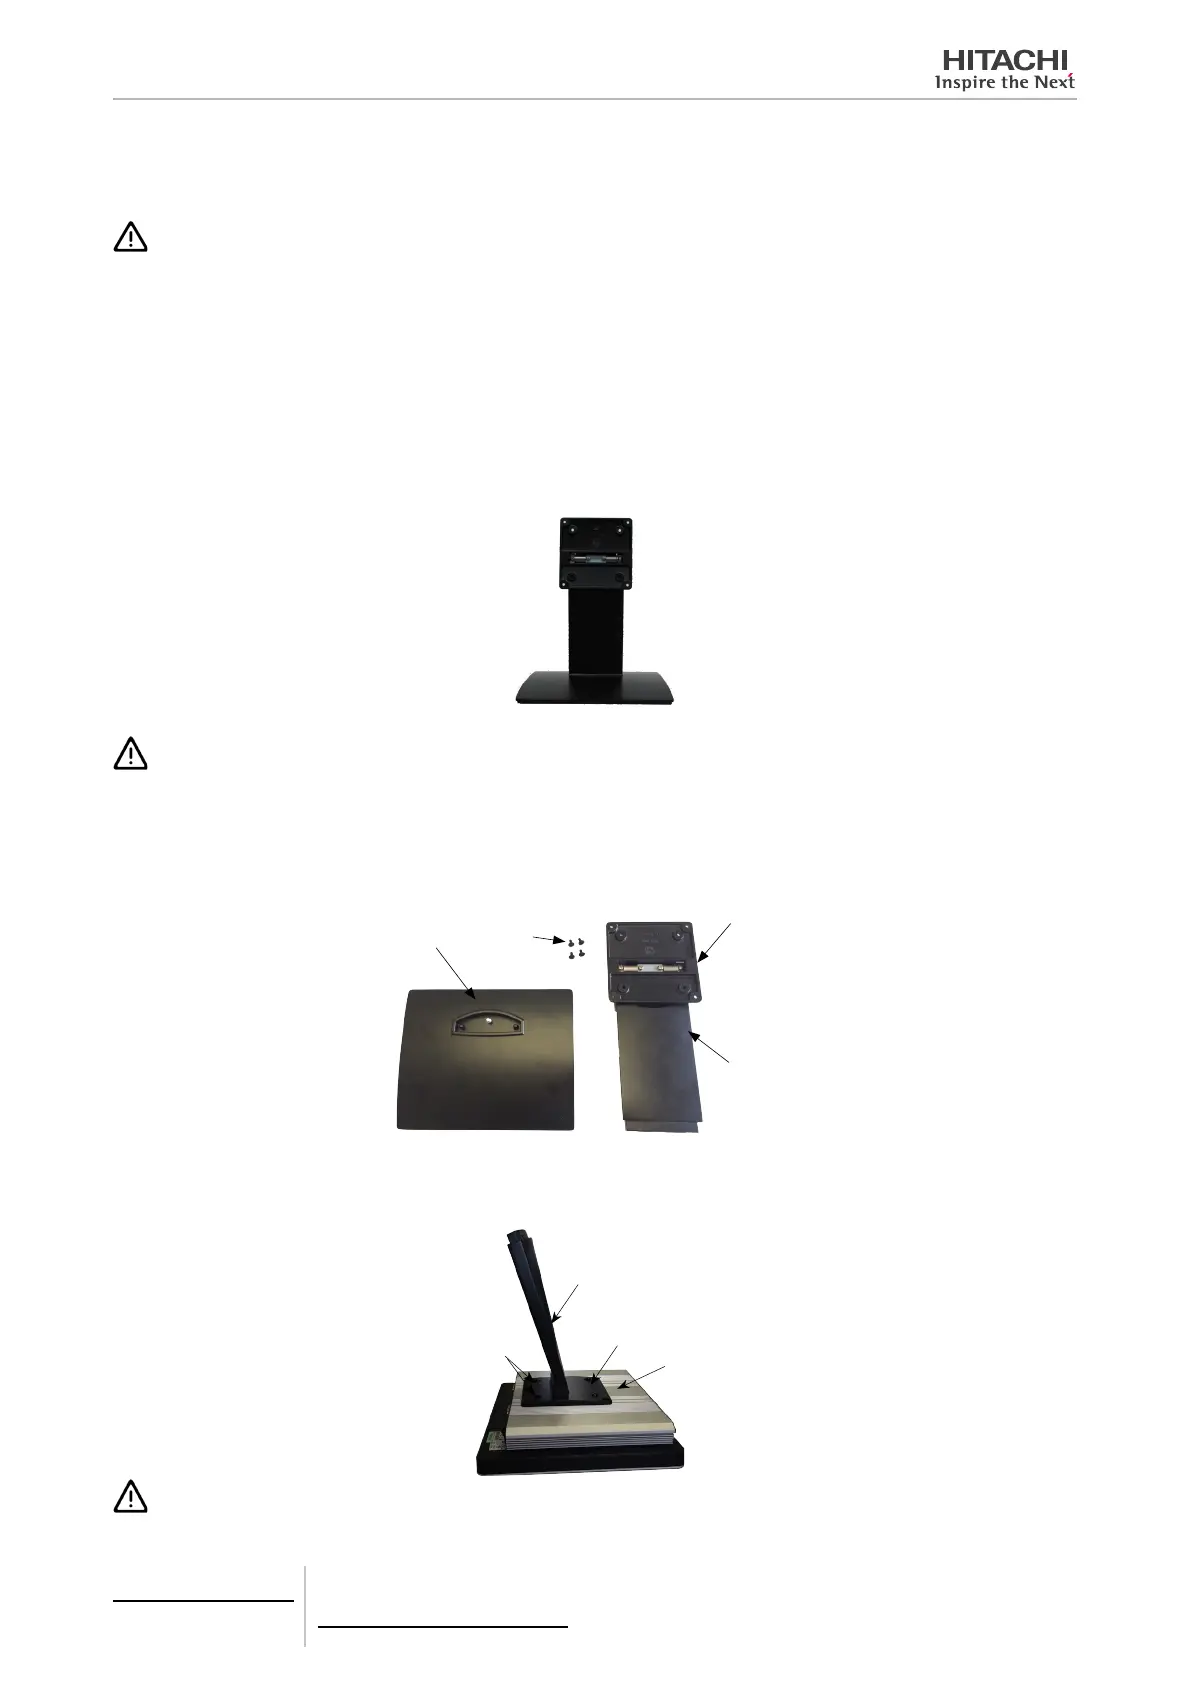
Fixing
screen sup-
port
4 screws
1 Place the xing screen support 90 degrees with respect to its arm.
2 Put the screen upside down and insert the 4 stand screws on the rear of the screen (the power source connector will
be at the bottom of the screen). There are 8 holes on the support, 4 for the LT screen and the other 4 for the XT screen.
Screen
Fixing screen
support
Screws
Arm
CAUTION
In order to avoid damage to the screen, protect it before setting it upside down.
9 Control accessories
Wall and stand mounted support for CSNET Manager LT/XT
TCGB0106 rev.0 - 12/2014
750

 Loading...