BRAKE SYSTEM
17-5
BRAKE FLUID REPLACEMENT/AIR
BLEEDING
Spilled fluid can damage painted, plastic, or rubber
parts. Place a rag over these parts whenever the
system is serviced.
• Do not allow foreign material to enter the system
when filling the reservoir.
• When using a commercially available brake
bleeder, follow the manufacturer’s operating
instructions.
BRAKE FLUID DRAINING
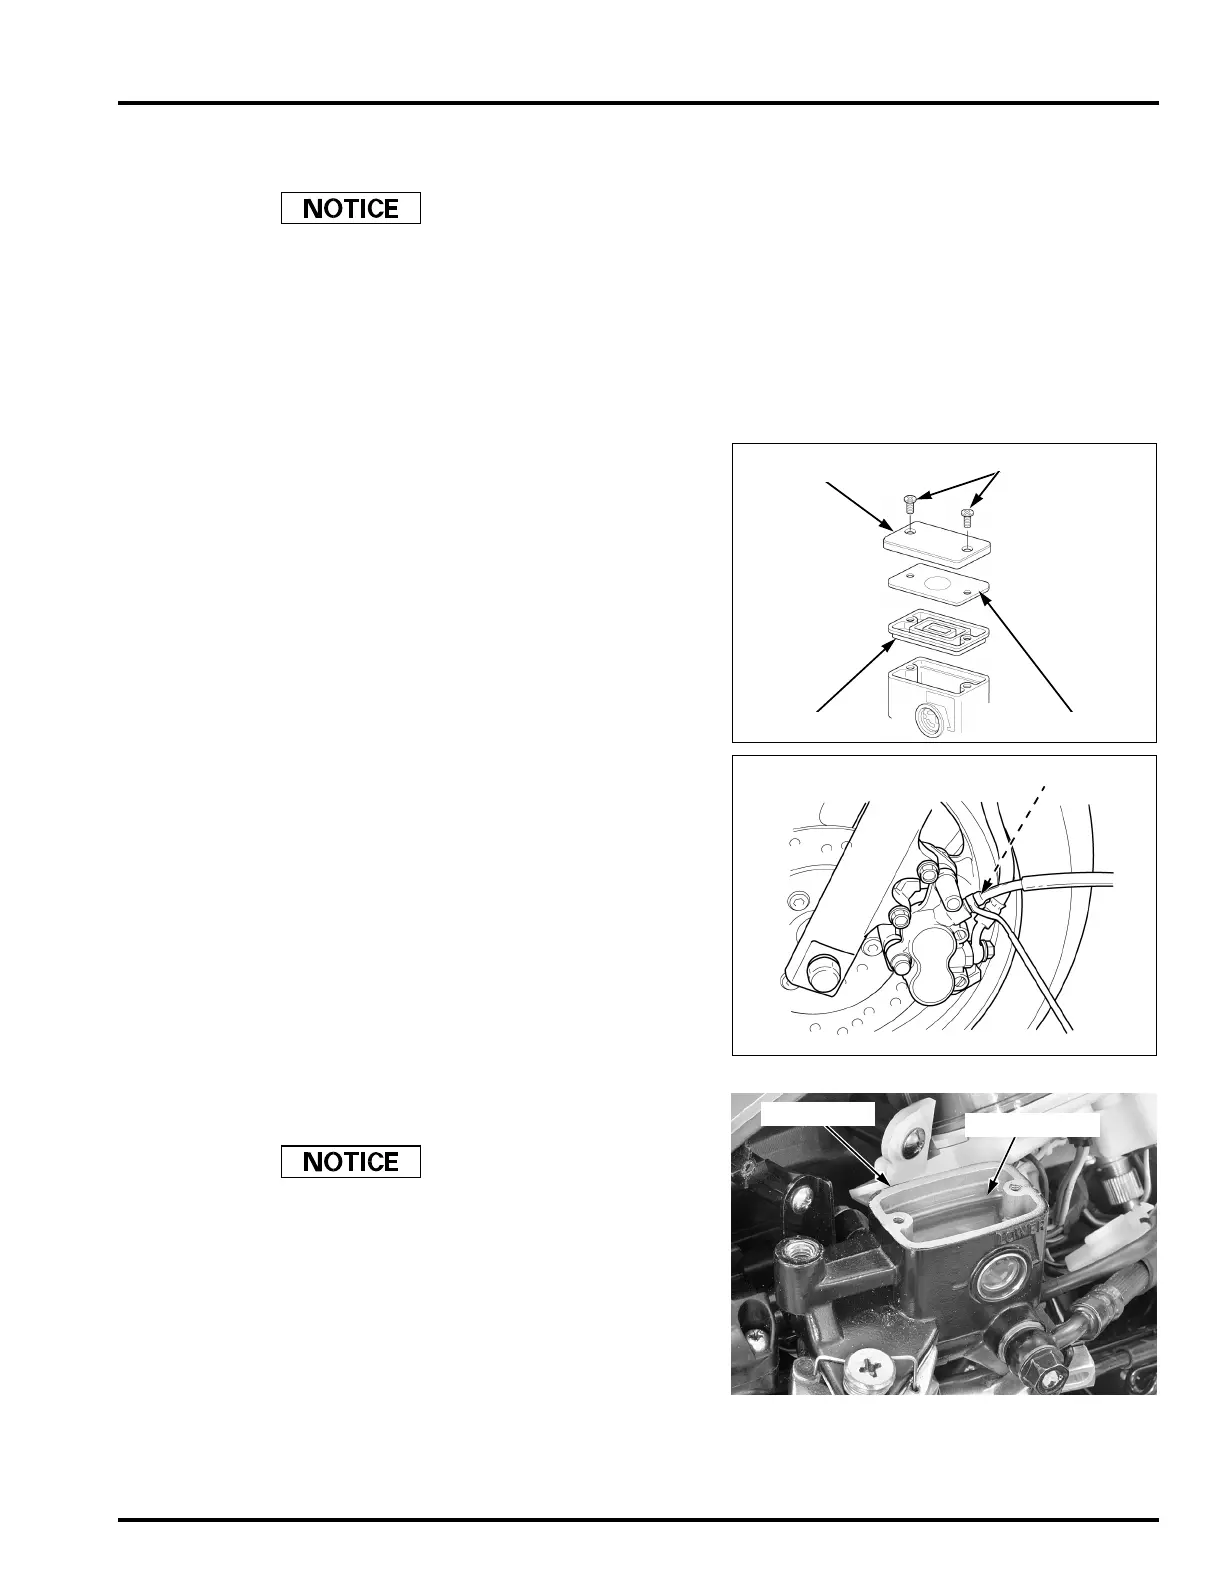
Remove the front handlebar cover (page 3-6).
Turn the handlebar until the reservoir is parallel to
the ground, before removing the reservoir cap.
Remove the screws, reservoir cap, diaphragm plate
and diaphragm from the brake master cylinder.
Connect a bleed hose to the front brake caliper
bleed valve.
Loosen the bleed valve and pump the front brake
lever until no more fluid flows out of the bleed
valve.
Tighten the bleed valve.
BRAKE FLUID FILLING/AIR BLEEDING
Fill the reservoir with DOT 3 or DOT 4 brake fluid
from a sealed container to the upper level.
• Do not mix different types of fluid. They are not
compatible.
• Use only DOT 3 or DOT 4 brake fluid from a
sealed container.
RESERVOIR CAP
SCREWS
DIAPHRAGM
DIAPHRAGM PLATE
 Loading...