For
HP
Internal
Use
Only
Removal and Replacement
This
chapter
provides removal
and
replacement procedures
of
the
• Chassis
• Cabinet
Quick reference removal procedures are also provided for
the
major
components
of
the
chassis.
It
also provides assembly
and
disassembly procedures for
the
• 3.5-inch
Hard
Disk
• 3.5-inch DDS-Format DAT Drive
• CD-ROM
•
Quarter-inch
Cartridge
Tape
Drive ( QIC)
•
8mm
Tape
Drive
• Floppy Disk Drive
Before
You
Begin
Removal
Procedures
Warning
Caution
'
Caution
'
Hazardous voltages are present
inside
the
cabinet.
To
prevent
shock,
turn
off
DC
power
using
the
front
panel
DC
On/Off
switch
AND
disconnect
the
AC
power
cord
from
the
outlet
before
opening
the
unit.
Wait
one
minute
before
disassembling
the
system.
Handle all
FRU
s carefully. Dropping
or
otherwise
jarring
the
FRU
s will
damage
them.
Follow ESD procedures. Always use
an
ESD grounding wrist
strap
during
service.
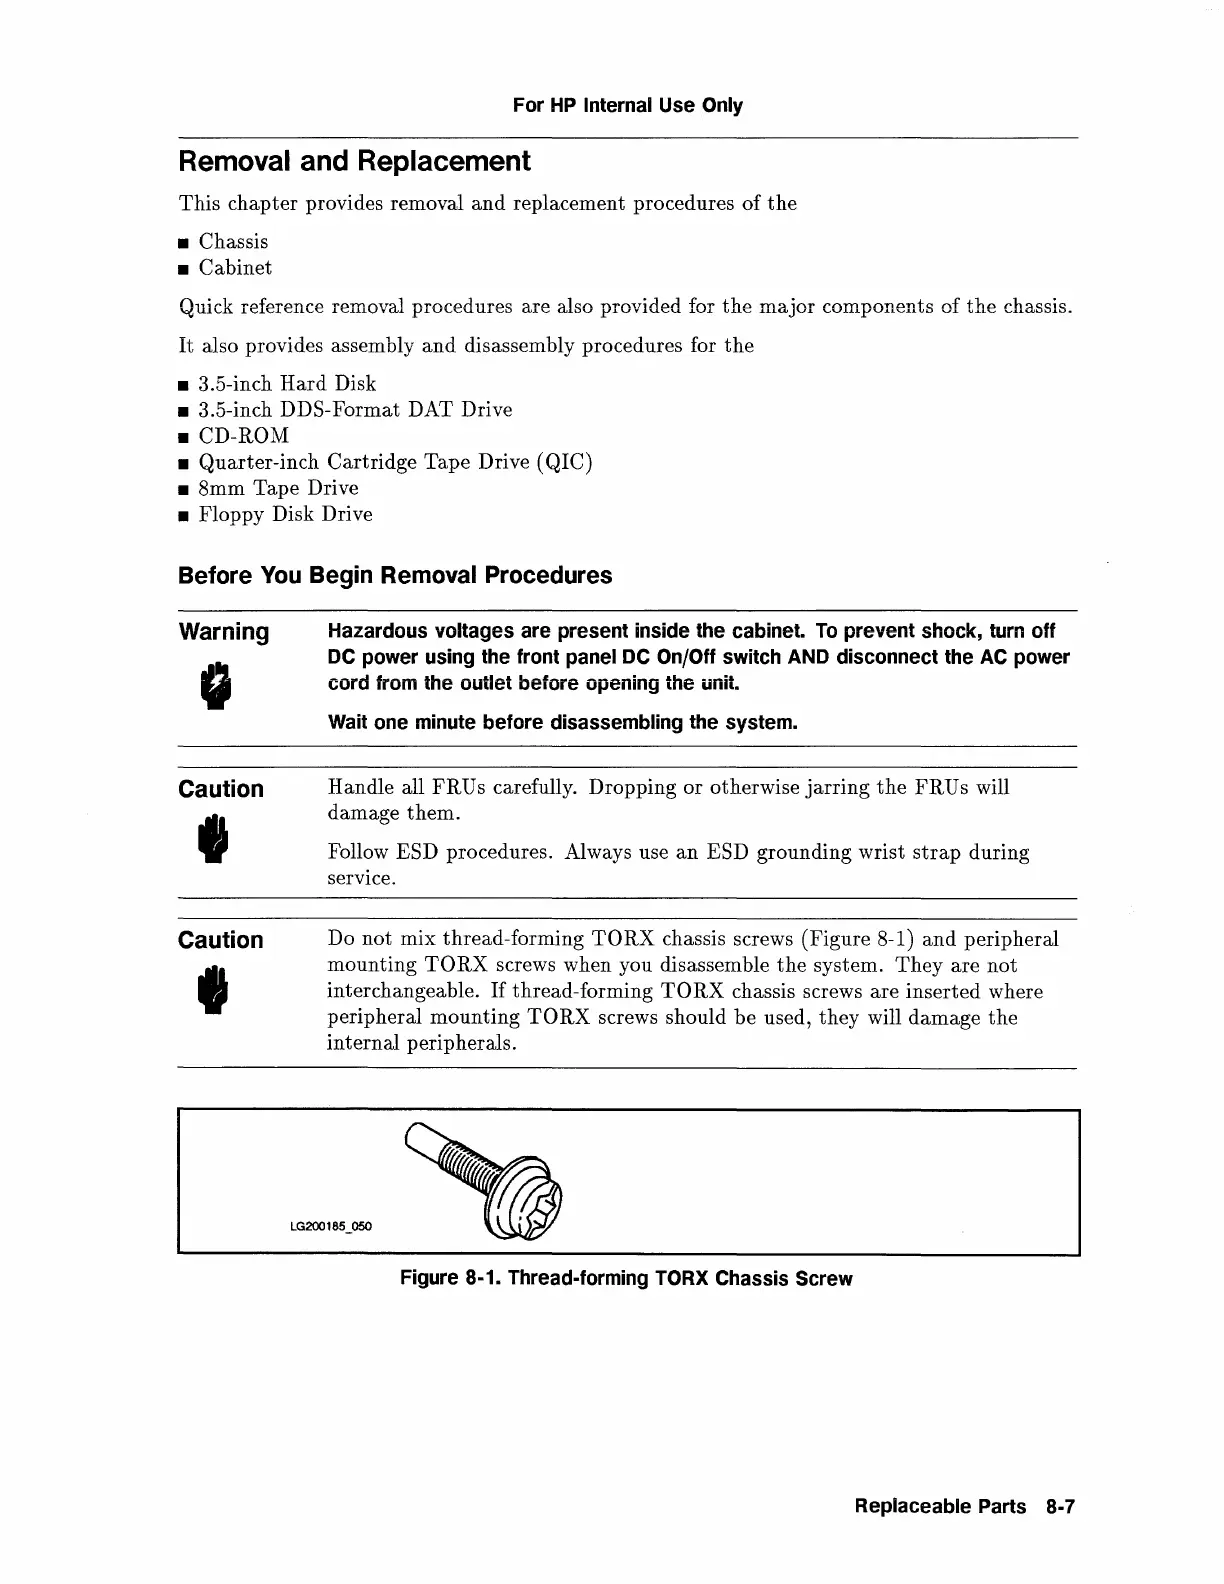
Do
not
mix thread-forming
TORX
chassis screws (Figure 8-1)
and
peripheral
mounting
TORX
screws when you disassemble
the
system.
They
are
not
interchangeable.
If
thread-forming
TORX
chassis screws are
inserted
where
peripheral
mounting
TORX
screws should
be
used,
they
will
damage
the
internal
peripherals.
LG200185 _ 050
Figure
8-1.
Thread-forming
TORX
Chassis
Screw
Replaceable
Parts
8-7
 Loading...