Image Optimization 5-105
5.15.4 Myocardial Boundary Tracing
The system provides two kinds of tracing methods for two kinds of sections:
Long axis section (A4C, A2C, ALAX): the 3-point method and manual tracing method are both
available.
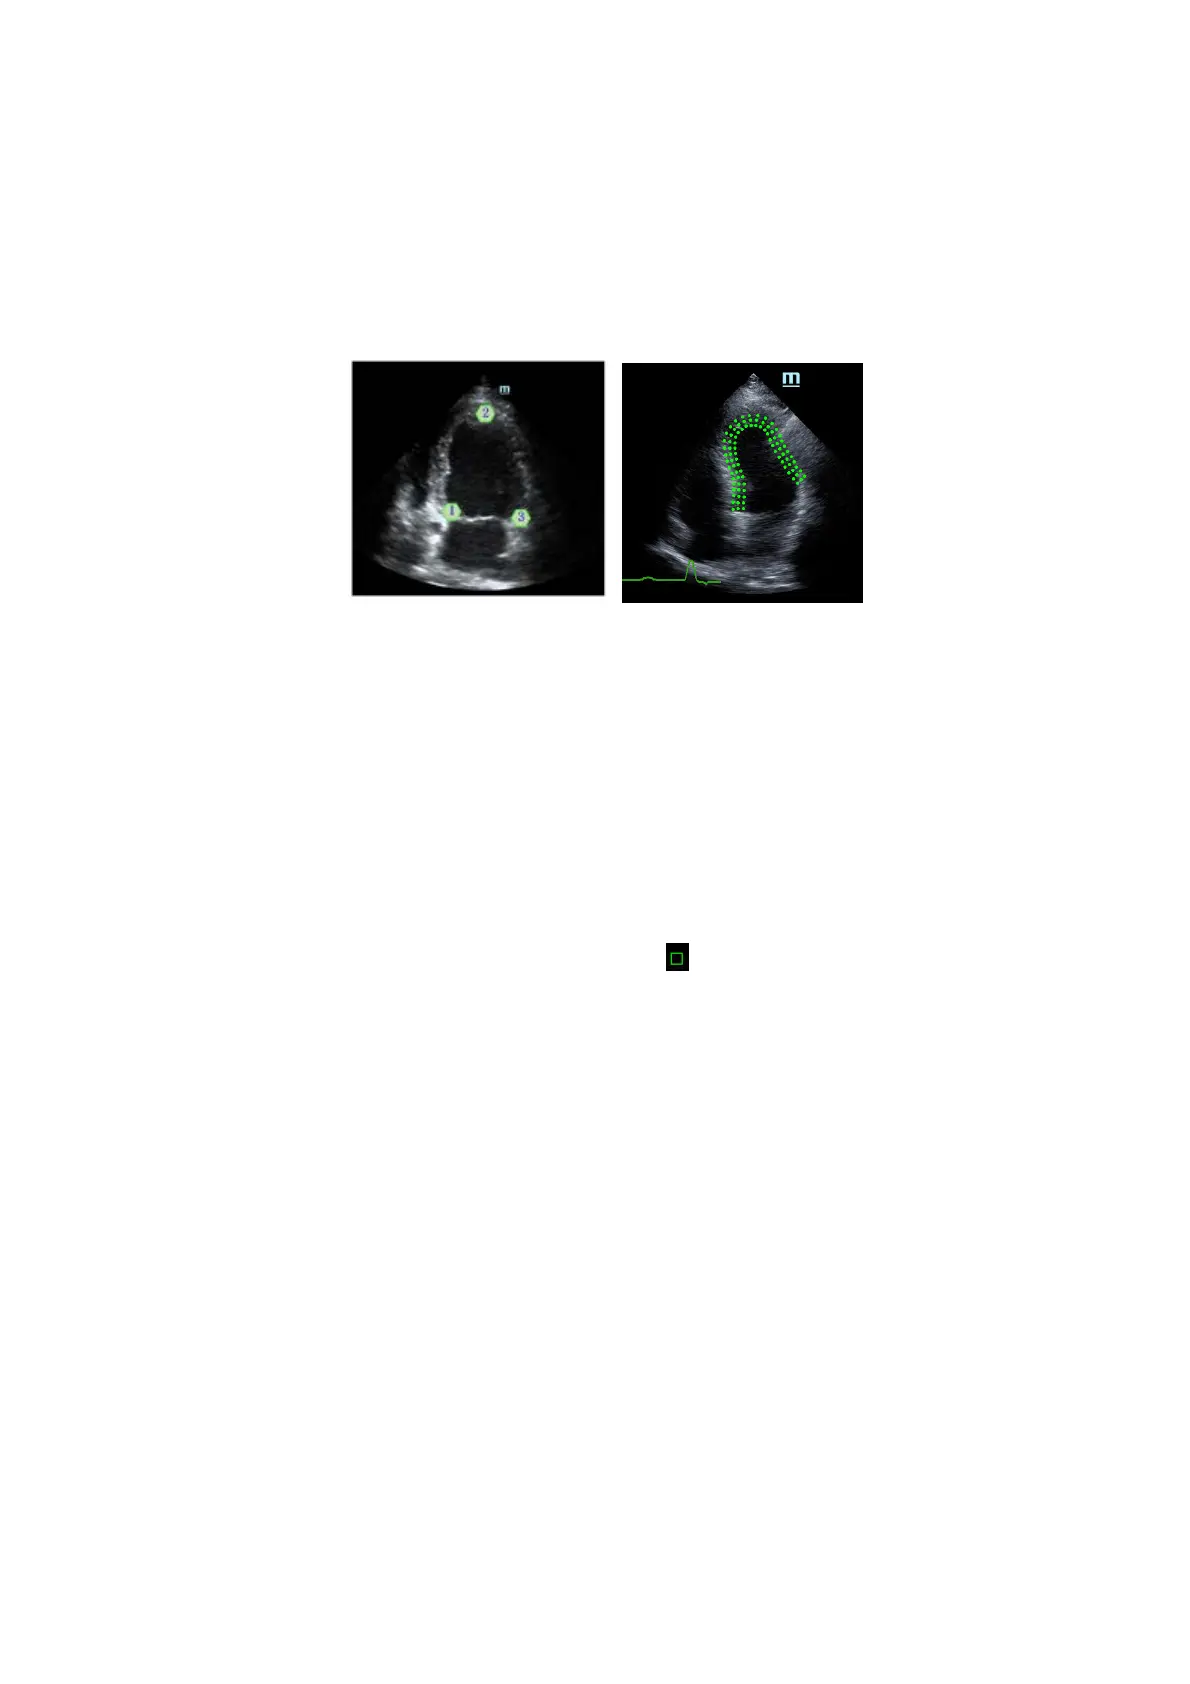
3-point method
As shown in the following figure, after pressing <Set> to place 3 points clockwise on the image,
the system generates the trace automatically.
Manual trace method
Press <Set> and roll the trackball along the boundary to add the trace points gradually. After
the trace is finished, press <Set> twice to finish tracing.
At least 6 points should be determined by you before the system generates an automatic trace.
Short axis section (PSAX B, PSAX M, PSAX AP): only manual tracing is available.
Retracing
If the current trace is not satisfactory, touch [Reload] on the touch screen to clear the trace and start
another tracing.
During the trace, press <Clear> to clear already-traced items.
Make fine adjustments to the trace
You can make fine adjustments to the trace:
1. In tracing curve adjusting status, the cursor becomes
.
2. Move the cursor to the editable point (inner dotted line of the curve) and press <Set>.
3. Roll the trackball to drag the curve to the desired position. Press <Set> again to set the point in the
new position.
4. Repeat steps 2-3 to complete all points that need adjustment.
In tracking status, touch [Edit] on the touch screen to enter the status.
5.15.5 Tissue Tracking Operations
Switch the operation controls
[Start Tracking]: touch to start tracking.
[Accept & Compute]: touch to start calculation and display the curve.
[Exit]: touch to exit tissue tracking.
[Parameter]: rotate to select the curve type.
[Bull’s Eye]: touch to turn on/off bull’s eye and the peak data table.
View Selection
Before tracing, touch the corresponding button to select the view.
 Loading...


