DICOM/HL7 11-13
c) Click [Exit] to exit the page and return to the Setup menu, then click [Save] on the
Setup menu to make the preset take effect.
(3) After finishing the presets, perform image scanning. Each time <End Exam> is pressed on
the control panel, the system will send the image to the default DICOM storage server for
storage.
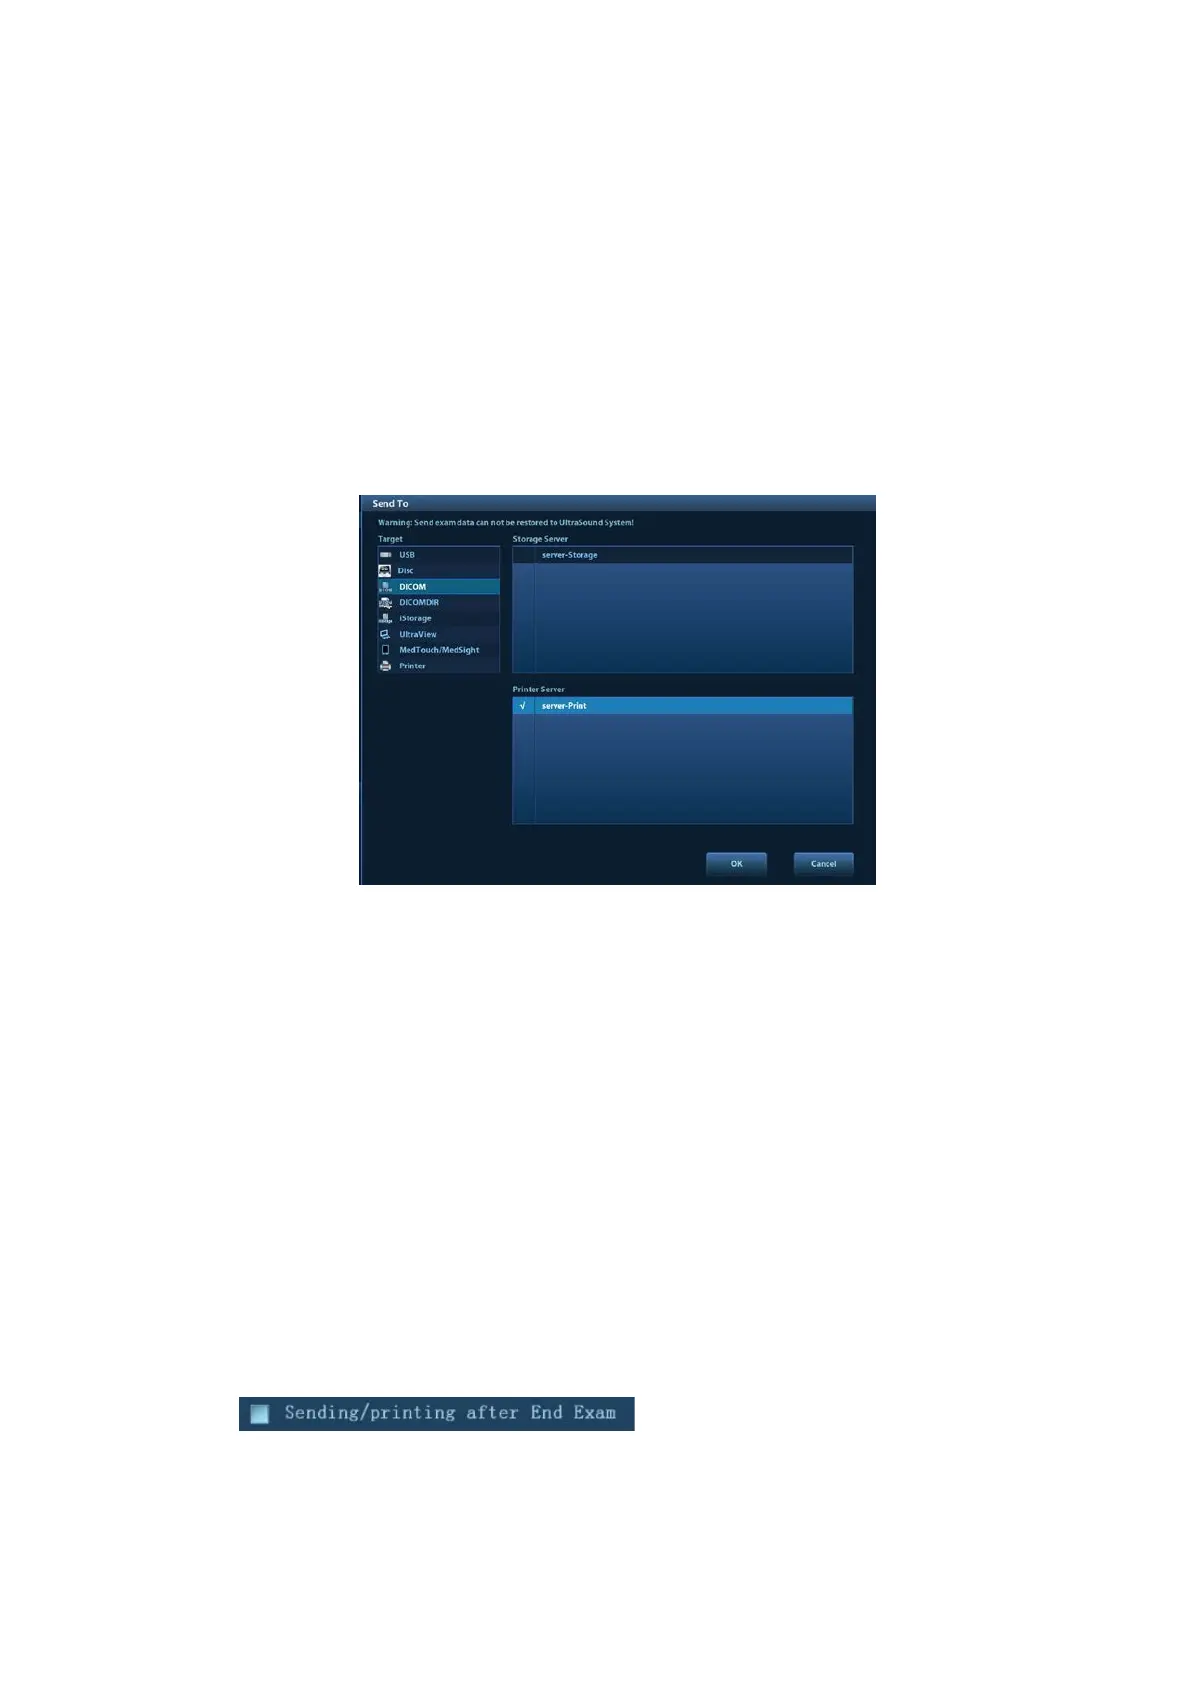
11.3.2 DICOM Print
DICOM Print is used to send images to the DICOM print server for printing.
Print images on iStation/Review/main screens
1. Select images. Operations are the same as for DICOM storage.
2. In the Send To dialog box, select a DICOM print server. (For the dialog box, see DICOM
Storage).
3. Click [OK] to begin printing.
To send images using a shortcut key
You can send single-frame images to a DICOM print server while saving to hard drive using a
shortcut key.
1. Define the short key. For details, see “10.2.8 Auxiliary Output Function”.
2. Set a default printer server.
a) Enter the DICOM Service Preset screen via “[Setup]→ [DICOM Preset] → [DICOM
Service].”
b) Click [Print] to open the Print page.
c) Select a Print server in the Service List and click [Default]. You will see “Y” marked in
the Default column.
d) Click [Exit] to exit the page and return to the Setup menu, then click [Save] on the
Setup menu to make the preset take effect.
3. Press Key1 (defined as the shortcut key for Save Image to Hard Disk and Send to DICOM
Printer). The system captures the current screen and sends it to the print server.
To print images for storage after an exam ends
(1) Open “[Setup]→ [System] → [General]” and then check
in the Patient Info area.
(2) Set a default print server.
a) Enter the DICOM Service Preset screen via “[Setup]→ [DICOM Preset] → [DICOM
Service].”
 Loading...


