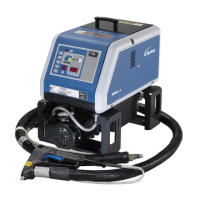
Operation
4-80
P/N 7105144G
2008 Nordson Corporation
VersaBlue_NW
Operation via the IPC Webserver (contd.)
Setting up Connection Between the Server and the Client (contd.)
Connecting Ethernet Cable
6
3
4
2
1
5
4
7
Fig. 4-114
1. Release clamps (4) and pull the socket casing (2) off of the casing plate
(5) if necessary.
2. Screw the casing plate (5) onto the back of the melter.
3. Release screws (3) and open socket casing.
4. Slide one of the sealing rings (1) onto the EtherNet cable (6).
5. Guide the cable through the socket casing, then insert the cable and
sealing ring in the socket casing and secure with a cable clamp.
6. Guide free end of EtherNet cable (6) through the casing plate.
Connect the EtherNet cable (6) to the control panel (7). If necessary,
refer to section Repair, Detaching Control Panel.
7. Screw the two halves of the socket casing together again, put into place
on the casing plate and secure with clamps.
8. Close the electrical cabinet.
9. Connect the other end of the EtherNet cable to the PC.
CAUTION: Lay the cable outside of the melter such that there is no risk of
stumbling over it.
10. Switch melter back on.
11. Call up melter.
 Loading...