EasyManuals Logo
Home>Ricoh>Printer>CL4000DN

Ricoh CL4000DN Quick Installation Guide

Ricoh CL4000DN
735 pages
To Next Page IconTo Next Page
To Previous Page IconTo Previous Page
Page #147 background imageLoading...
Page #147 background image
3. Paper Feed Roller × 3
See "Replacing the Paper Feed Roller".
4. Fusing Unit
See "Replacing the Fusing Unit".
p.129 "Replacing the Friction Pad"
p.131 "Replacing the Transfer Roller"
p.134 "Replacing the Paper Feed Roller"
p.138 "Replacing the Fusing Unit"
Replacing the Friction Pad
Replace all the friction pads in the tray. The following procedure shows how to replace the tray's friction
pad (Tray 1) and the other are for the paper feed unit(s) (Tray 2, 3).
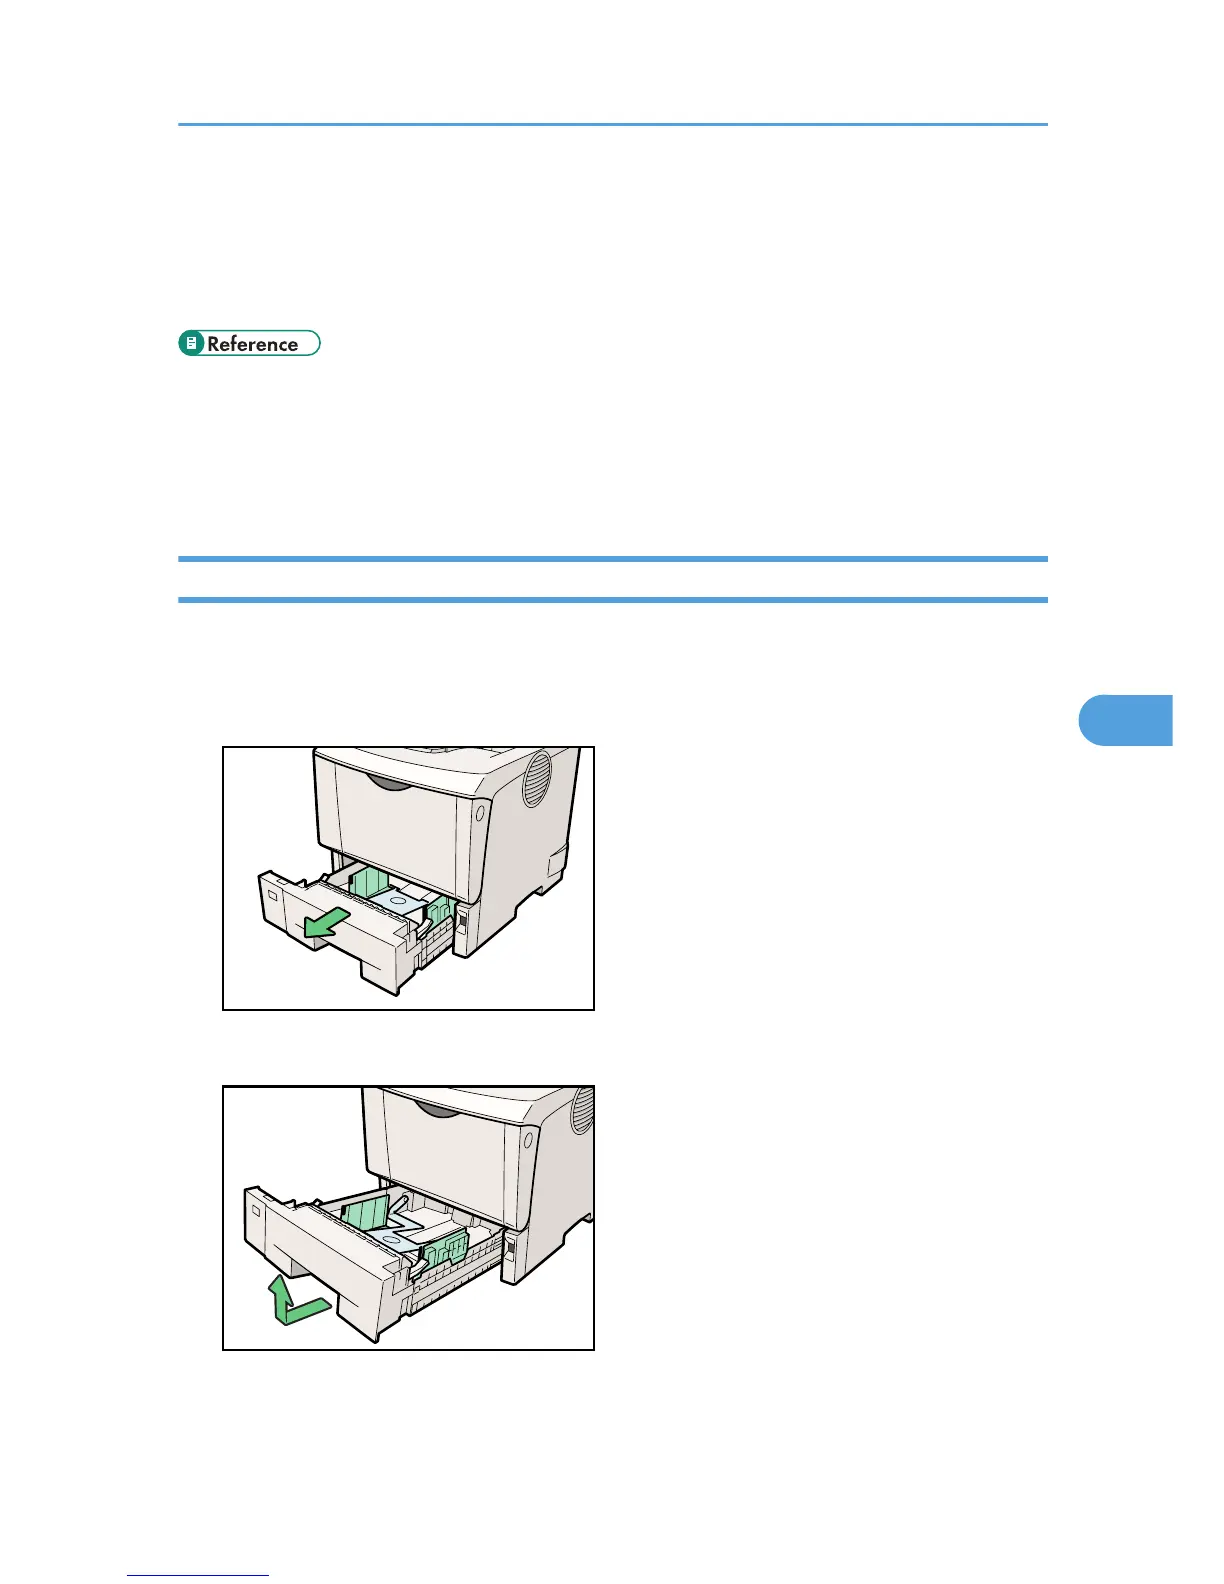
1. Pull out the paper tray until it stops.
BMU017S
2. Lift the front side of the tray, and then pull it out of the printer.
BMU018S
Replacing the Maintenance Kit
129
6

Table of Contents

Other manuals for Ricoh CL4000DN

Questions and Answers:

Question and Answer IconNeed help?

Do you have a question about the Ricoh CL4000DN and is the answer not in the manual?

Ricoh CL4000DN Specifications

General IconGeneral
BrandRicoh
ModelCL4000DN
CategoryPrinter
LanguageEnglish

Related product manuals