• If DHCP is in use on your network, the IP address, subnet mask, and gateway address are all set
automatically.
• The menu items displayed on the control panel may differ depending on the optional unit installed.
• Make this setting only when it is necessary. See Software Guide.
Specifying an IP Address (No DHCP)
Follow this procedure to assign a specific IP address to the printer. This is only necessary when you will use
the printer on a network without DHCP, or want to prevent the printer's IP address from changing.
Before beginning, make sure that you know the IP address, subnet mask and gateway address that the
printer will use.
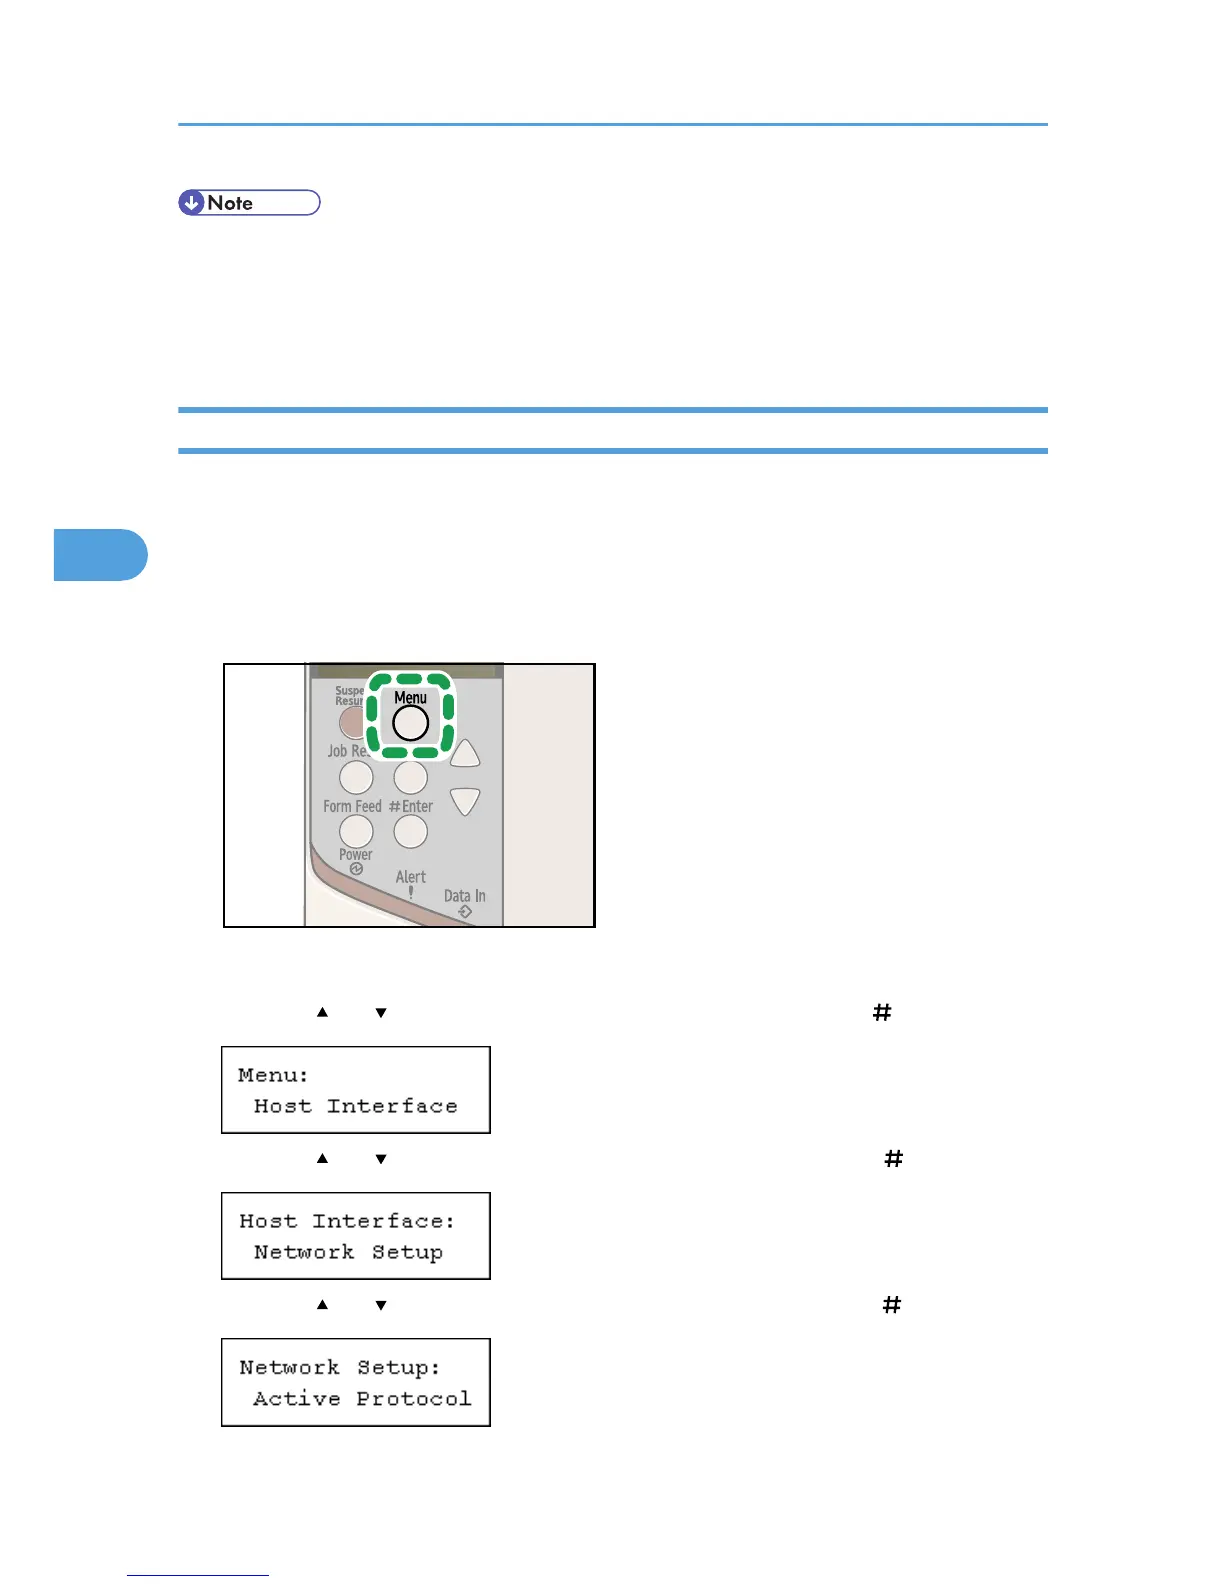
1. Press the [Menu] key.
The [Menu] screen appears.
2. Press the [ ] or [ ] key to display [Host Interface], and then press the [ Enter] key.
3. Press the [ ] or [ ] key to display [Network Setup], and then press the [ Enter] key.
4. Press the [ ] or [ ] key to display [Active Protocol], and then press the [ Enter] key.
4. Configuration
62
 Loading...


