Replace Maintenance Kit
4
1
Preparing to Replace the Parts
You should replace all the parts included in the maintenance kit at the same
time. Be sure to replace them according to the following procedures.
A Check the contents of the box for the following items:
•Friction pad
• Paper feed roller
• Transfer roller
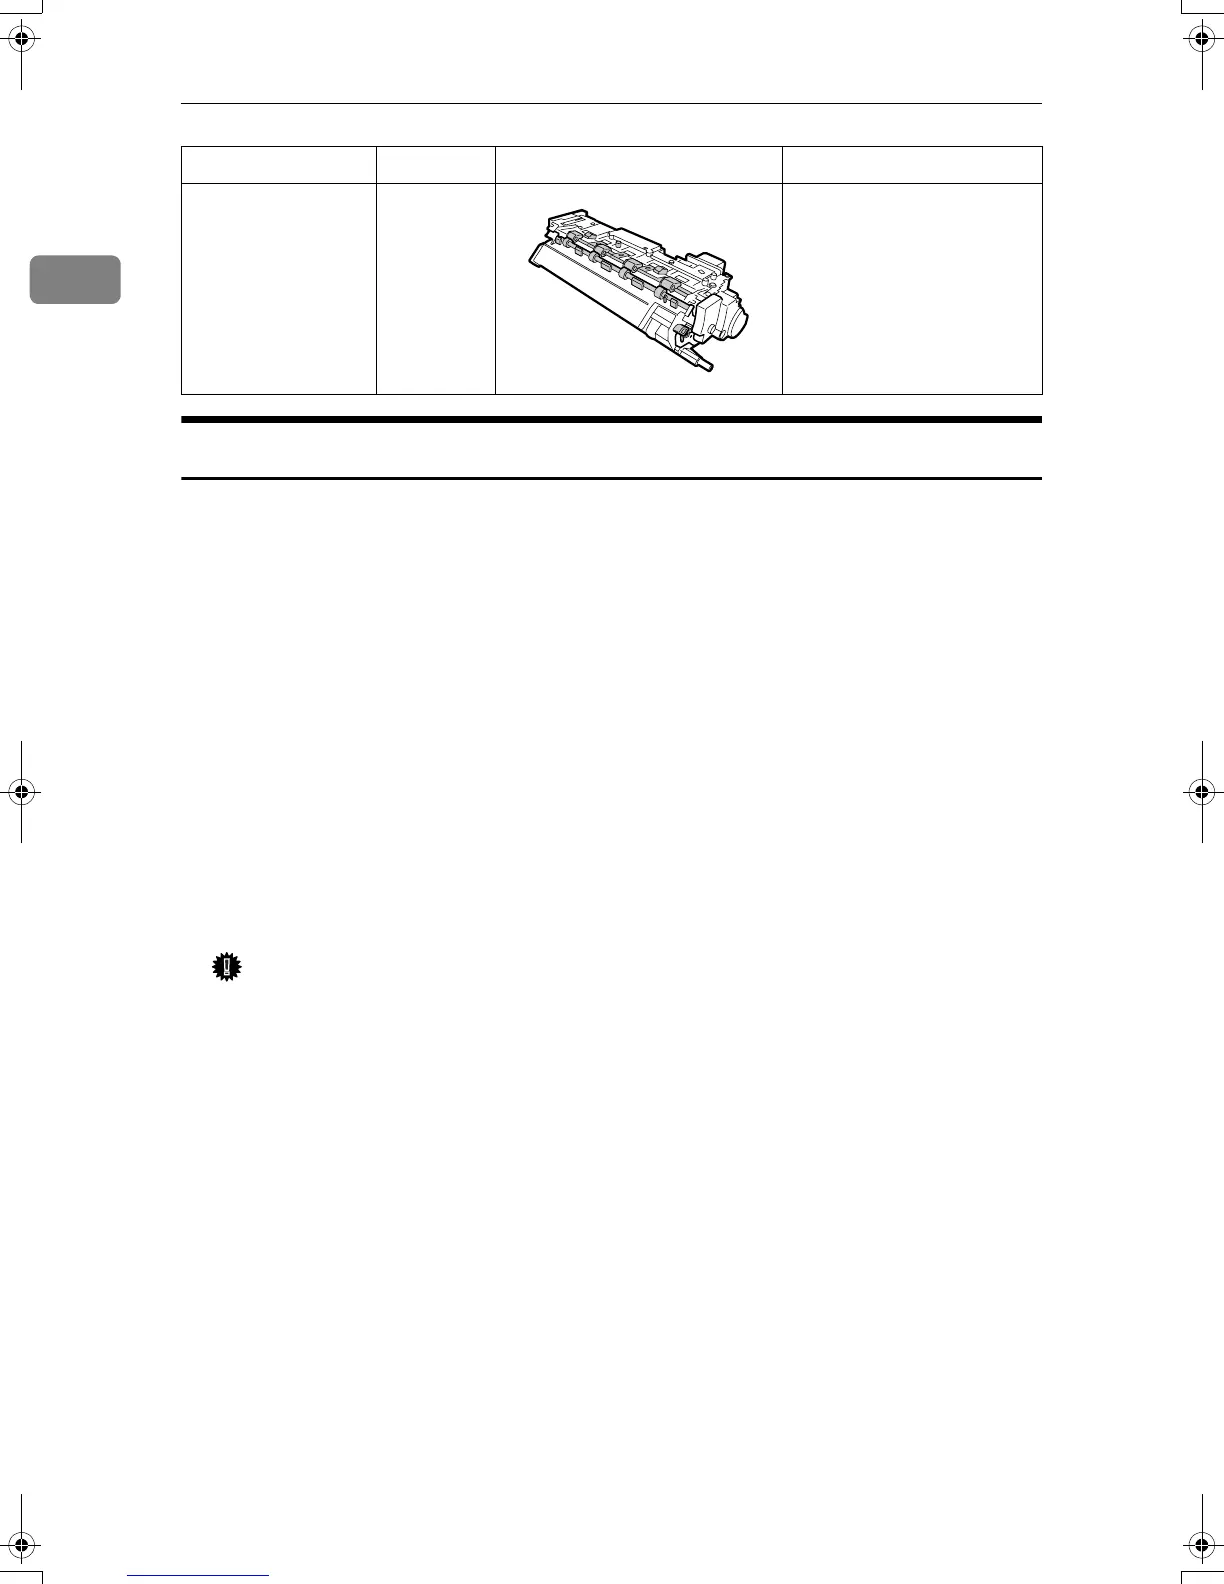
•Fusing unit
•Gloves
B Confirm that the following conditions are met:
• The power switch is turned off.
• The power cord is unplugged from the wall outlet.
• The interface cable is unplugged from the printer.
Important
❒ Wait at least an hour after the printer is turned off to allow internal parts
to cool down before replacing the maintenance kit.
Fusing unit 1 pc p.9 “Replacing the Fusing
Unit”.
Description Quantity Looks Like Procedure
SincereP1_pera_maintkitA-GB_F_FM_forPaper.book Page 4 Monday, October 16, 2006 3:48 PM
 Loading...


