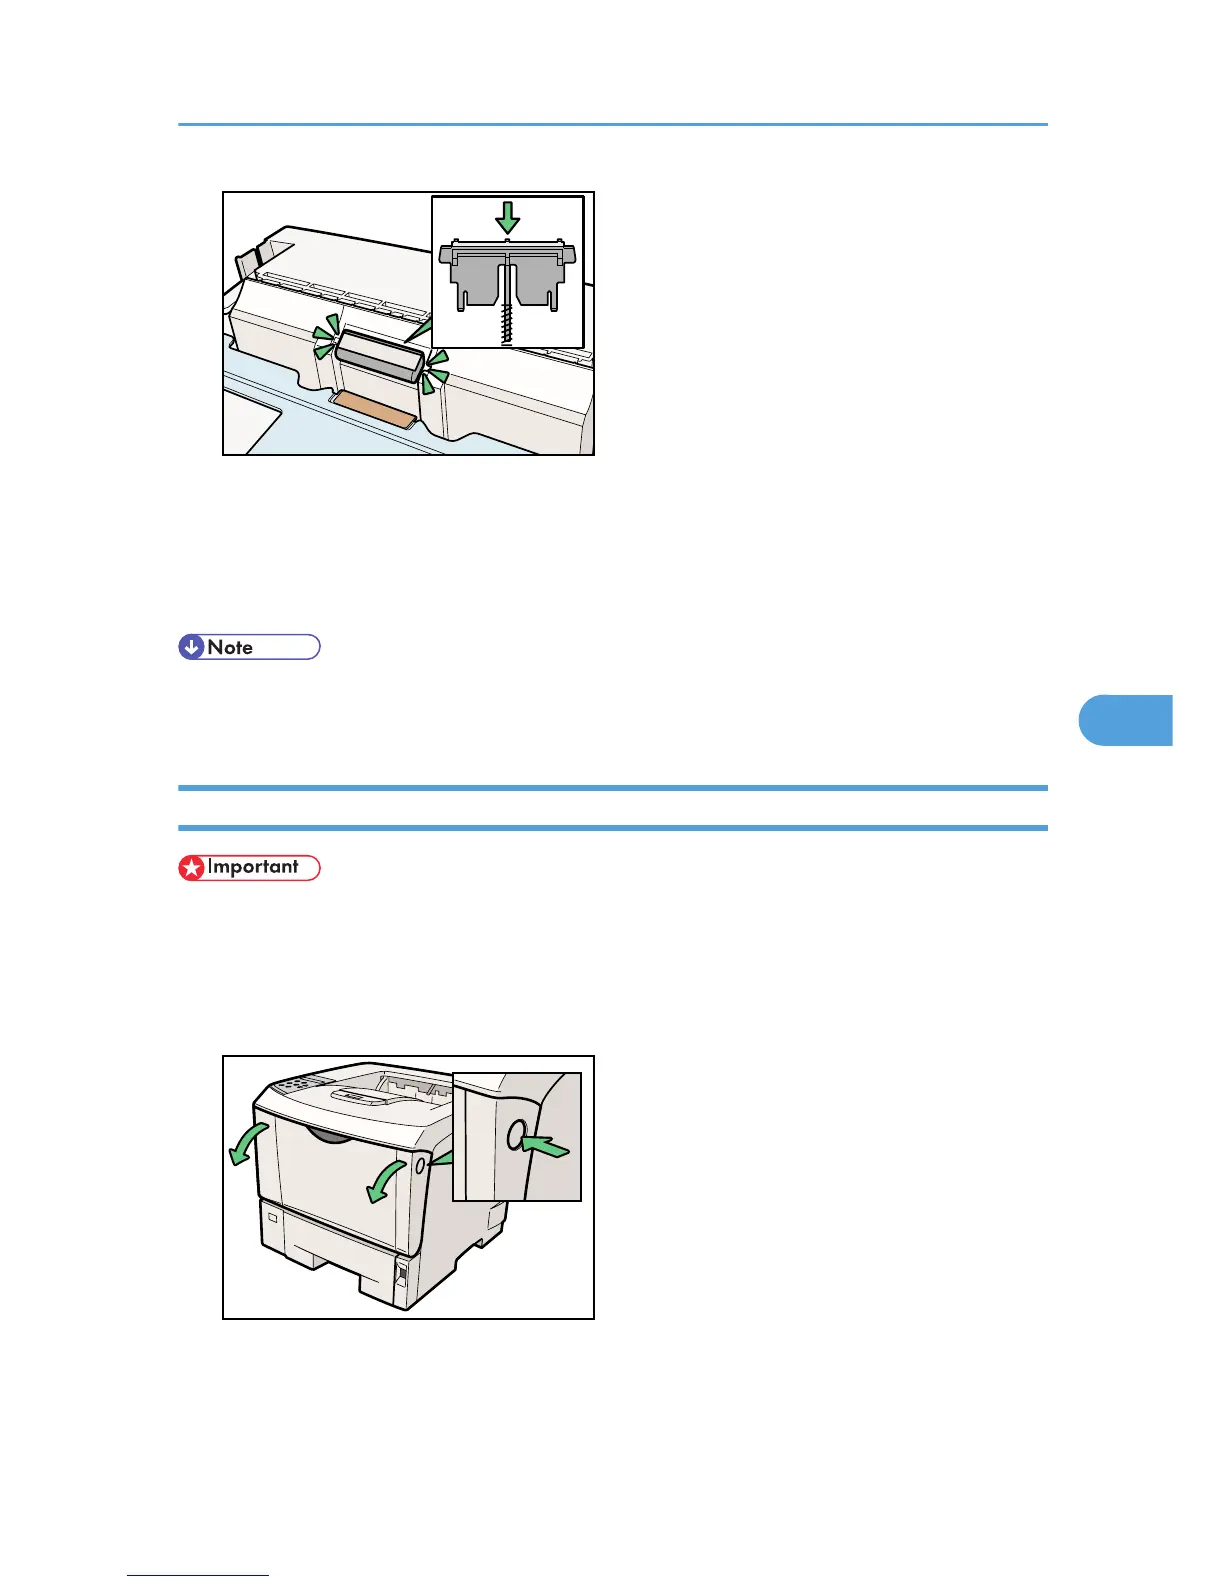
After pushing in the friction pad, press on it several times to check it is properly installed. If it jumps
back into position due to the force of the spring, it is properly installed.
7. Push the friction pad until it locks securely.
8. Repeat the replacement procedure for any optional paper feed units that are installed.
• The friction pad spring may come off. Be careful not to lose the friction pad spring.
• The catches that lock the friction pad are located at the very back.
Replacing the Transfer Roller
• Do not insert the roller on the back of the socket. Doing so can damage the printer.
• Insert the metallic part of the roller on the socket. If you insert the sponge part of the roller, the roller
might be damaged.
1. Open the front cover by pushing the front cover release button.
 Loading...


