Short instructions for configuring a reversing starter
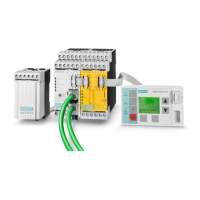
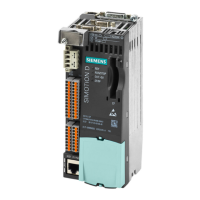
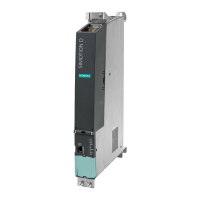
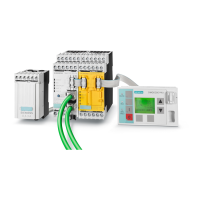
SIMOCODE pro
2-2 GWA 4NEB 631 6050-22 DS 03
2.1 Introduction and objective of the example
Introduction
The following simple example of a reversing starter demonstrates step-by-
step how to commission SIMOCODE pro. In this context, the reversing
starter will be equipped with:
• Initially, a local control station - Local Control
• Followed by a second control station with PROFIBUS DP.
SIMOCODE ES software is used for parameterization.
The PC/programming device is connected to the basic unit via PC cable.
Objective of the example
This example is intended to:
1. Show you how to implement a standard switching operation with a reversing
starter using
SIMOCODE pro in just a few steps.
2. Help you modify this example for your respective application
3. Help you implement other applications easily.
Fundamental steps
The two fundamental SIMOCODE pro steps are always:
• Implementation of external wiring (for control and feedback of main current
switching devices and control and signaling devices)
• Implementation/activation of internal SIMOCODE pro functions (function
blocks), with control and evaluation of the SIMOCODE pro inputs/outputs
(internal SIMOCODE pro wiring).
Prerequisites
• Load feeder/motor is present
• PLC/PCS with PROFIBUS DP interface is present
• The main circuit of the reversing circuit, including the current measuring
module, has already been wired. In this case, the 3 cables leading to the
motor must be led through the through-hole openings of the current
measuring module.
• PC/programming device is present
• SIMOCODE ES software is installed
• The basic unit has the factory settings. You can find out how to implement
the basic factory settings in Chapter 14.3.4 "Resetting the factory settings".
 Loading...