TB8100 Service Manual Power Management Unit Disassembly and Reassembly 253
© Tait Electronics Limited September 2006
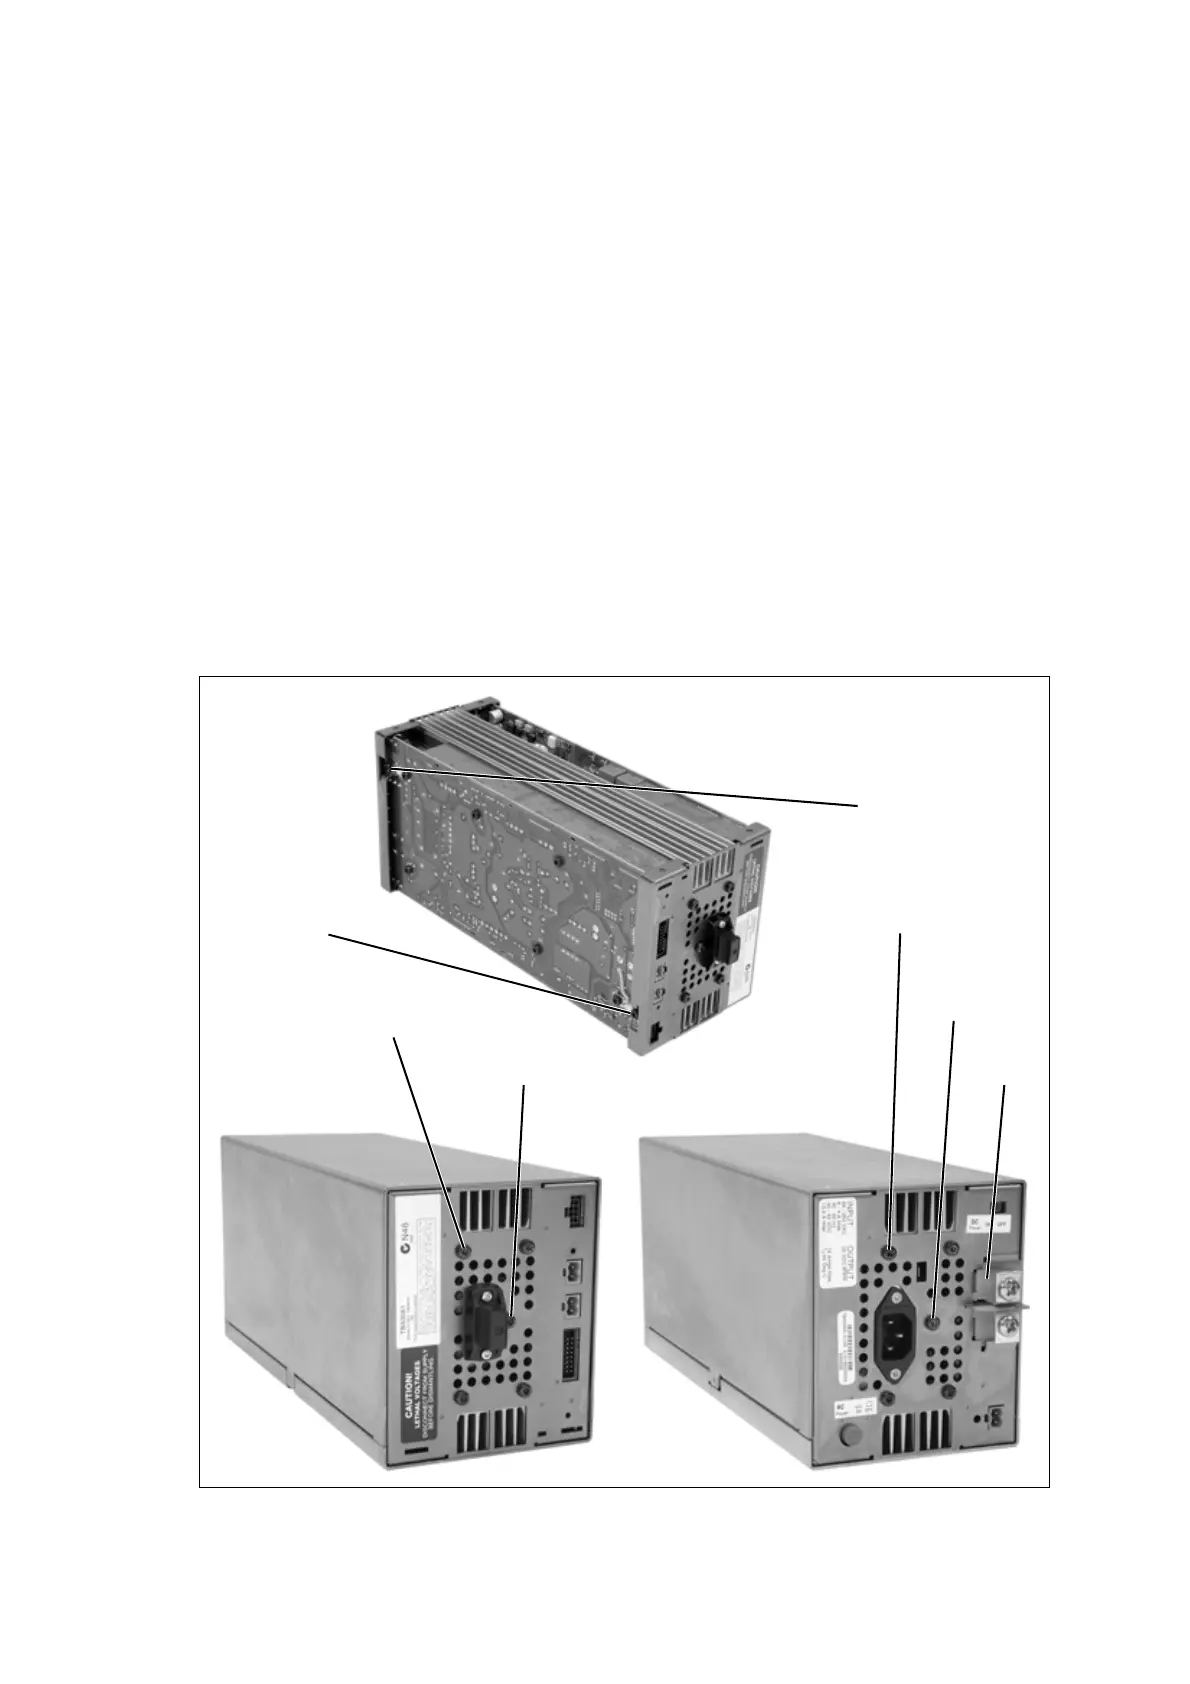
14.5 Removing the Front and Rear Panels
The circled numbers in the following instructions refer to Figure 14.1.
1. Remove the M4 Torx screw
b grounding the front panel to the AC
converter board.
2. Remove the five M4 Torx screws securing the front panel to the
heatsinks
c and shield d. Slide the front panel off the heatsinks.
3. Remove the M4 Torx screw
e grounding the rear panel to the AC
converter board.
4. Remove the five M4 Torx screws securing the rear panel to the
heatsinks
f and shield g.
5. Loosen the rear panel slightly and remove the fibreglass DC input
insulator
h from behind the DC input terminals. Slide the rear panel
off the heatsinks.
Figure 14.1 Removing the front and rear panels
b
c
d
e
f
g
h
x4
x4

 Loading...


