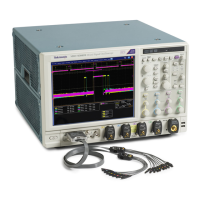
Behavior. Use the Timeout trigger to trigger the instrument on pulses longer than the specified time. The instrument will trigger at
the end of the time-out period. The instrument can trigger on high, low, or both high and low pulses. The trigger can also be
qualified by the logical state of other channels or by a bus pattern (MSO70000C/DX Series only). When you click on the trigger
window controls, the trigger graphic shows the trigger sequence.
Use the Timer control to specify the time-out limit; any pulses wider than the limit will trigger the instrument. The time-out limit is
measured at the voltage level specified by the Level control.
NOTE. You have the option to add user-defined labels for analog, reference, bus, and digital sources.
What do you want to do next?
Learn more about other trigger types.
Return to the Trigger Setup control window.
Trigger graphic
The trigger graphic displays a visual indicator of the trigger criteria. Depending on the trigger type, the instrument will update the
graphic as you define the trigger parameters.
Set up a transition time trigger
From the Trig menu, select Transition Setup.
Overview. Use the controls in this window to set up the Transition time trigger parameters.
Trigger setups
DPO70000SX, MSO/DPO70000DX, MSO/DPO70000C, DPO7000C, and MSO/DPO5000B Series 433

 Loading...


