Print dialog box
From the File menu, select Print.
Overview. Use the Print dialog box to send data to a printer.
To use. The controls in this window are similar to the Print dialog boxes used in most Windows applications. The settings are
dependent on the type of printer connected to the instrument.
Printing the screen to a printer
The easiest way to print the contents of the screen is to press the front panel Print button. The instrument will print the screen
contents according to the settings in the Page Setup dialog.
1. Use the File menu Page Setup dialog to select the Type of printing, Palette, View, and Image before printing. The Type
should be Screen-copy, the default.
2. Use the Print Preview feature to test the appearance of the screen before printing. For example, you may want to
experiment with the different palettes before sending the data to the printer.
3. Click Print in either the Print Preview dialog box or in the Page Setup dialog box to open the Print dialog box.
4. Click OK to begin printing.
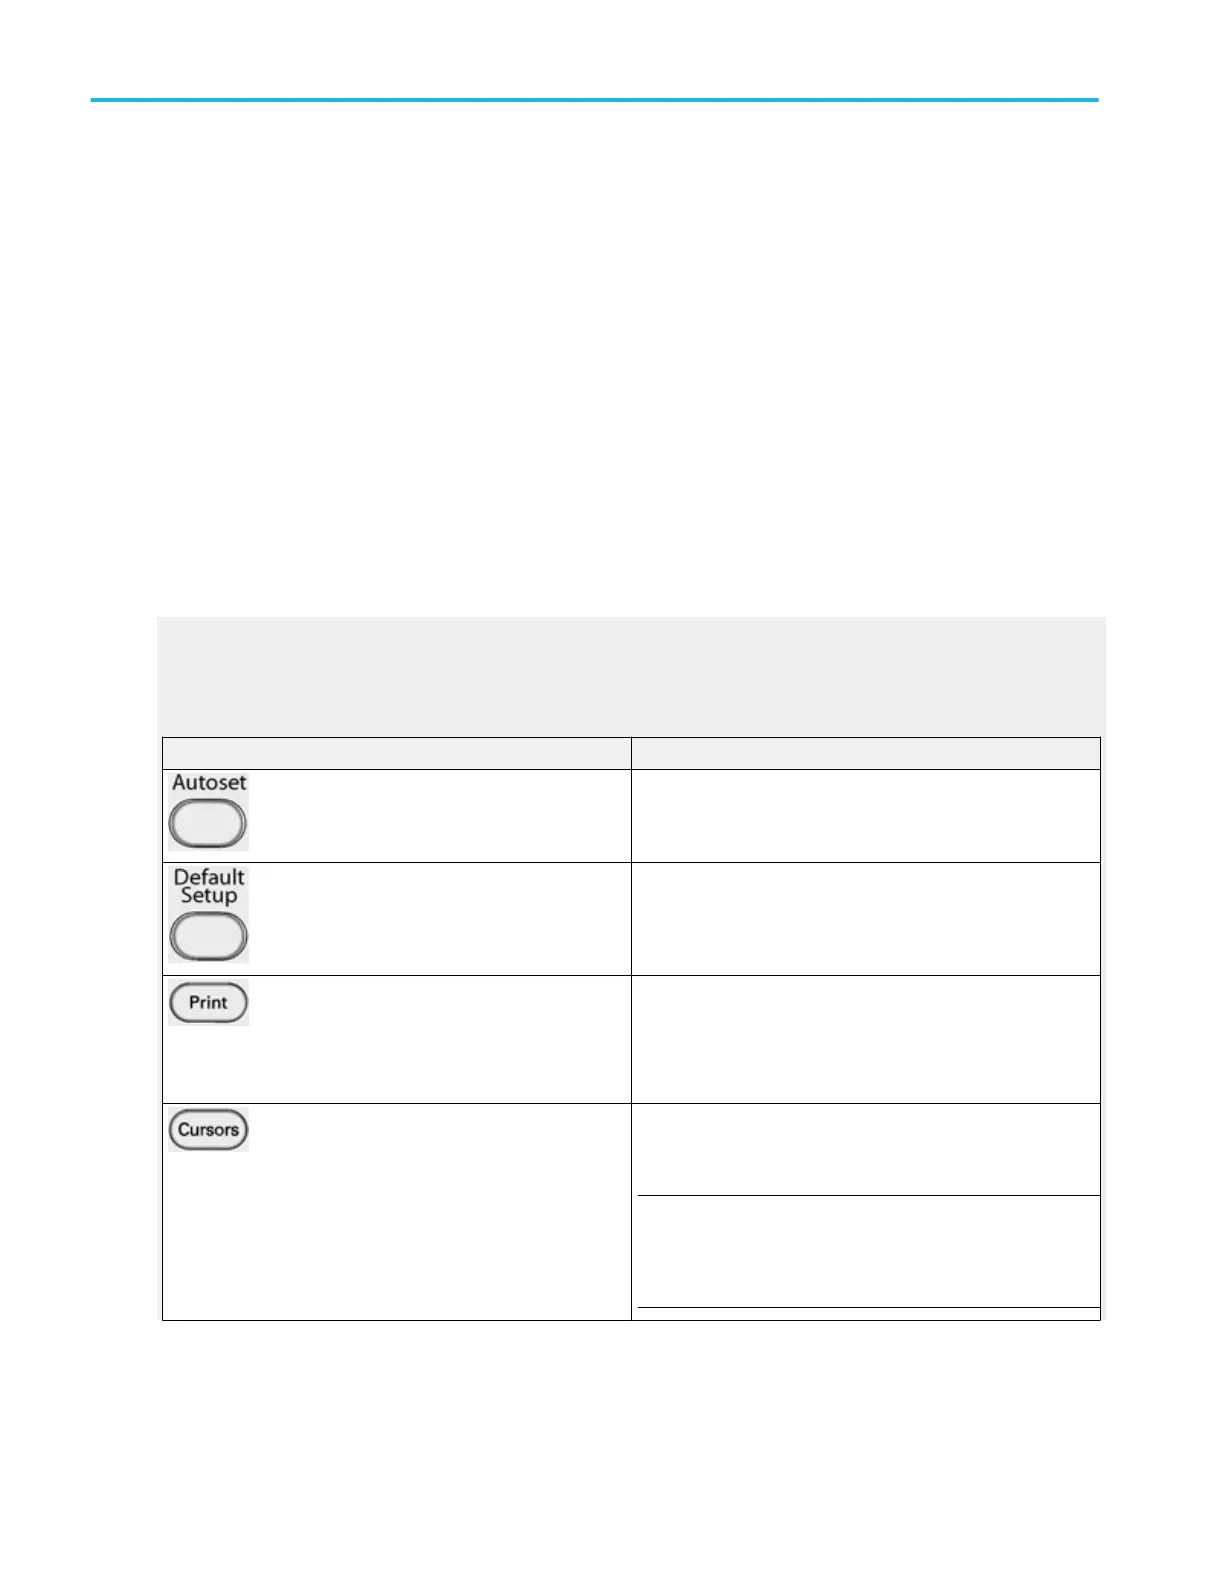
General Purpose Controls
Use the following front-panel controls (DPO7AFP required on DPO70000SX instruments) to perform general-purpose tasks such
as Autoset the instrument, send items to the printer, or enable cursors.
Control Description
Push the Autoset button to automatically set up the instrument
to obtain and display a stable waveform of usable size. For
information on the Autoset default settings click Autoset.
Push the Default Setup button to reset the instrument to the
factory default settings.
Push the Print button to make a hard copy of the screen. The
printed image is sent directly to the selected (internal or
attached) printer. To change the print settings, click the File
menu Print command, and change the settings in the Print
dialog box.
Push the Cursors button to enable cursors on the screen. The
Cursor Type control window opens so that you can specify the
cursor parameters.
NOTE. If cursors are on but the readouts are not attached to
the cursor controls, press the Cursors button to attach the
readouts to the cursor controls. Press the Cursors button again
to turn the cursors off.
Copying and printing
524 DPO70000SX, MSO/DPO70000DX, MSO/DPO70000C, DPO7000C, and MSO/DPO5000B Series
 Loading...