3. Select Comm from the Trigger Type drop-down list.
4. To specify the trigger source, click Source; then select a channel from the drop-down list.
5. Select Clock or Data from the Type drop-down list. If you select Clock, you will also need to select the polarity.
6. Select the Coding format for triggering on a communication signal and the Standard to use with the coding format. The
coding format determines which standards are available as well as other parameters, such as trigger threshold and pulse
form. The standard sets the bit rate. Changing the bit rate will change the Standard to Custom.
7. Depending on the coding format, you may also need to set the Pulse Form and Threshold Level.
8. Follow the Setting up Mask Testing procedure to select the communications mask you want to use.
Trigger on a bus
NOTE. Triggering on a serial bus may require an option on your instrument.
Use the following procedure to set up the instrument to trigger on a parallel or on a serial bus:
1. Push the front-panel Advanced button.
2. In the Trigger control window, open the A Event tab.
3. Select Bus from the Trigger Type drop-down list.
4. Select if the Settings are to be Shared or Independent.
5. Select the Bus to trigger on from the drop-down list.
The type of bus displays below the bus selection.
6. Select the condition in the Trigger On field.
Depending on the Trigger On and Bus selections, make the other selections and settings required by your bus, such as
disparity, symbols, data and address format, payload length, and trigger when.
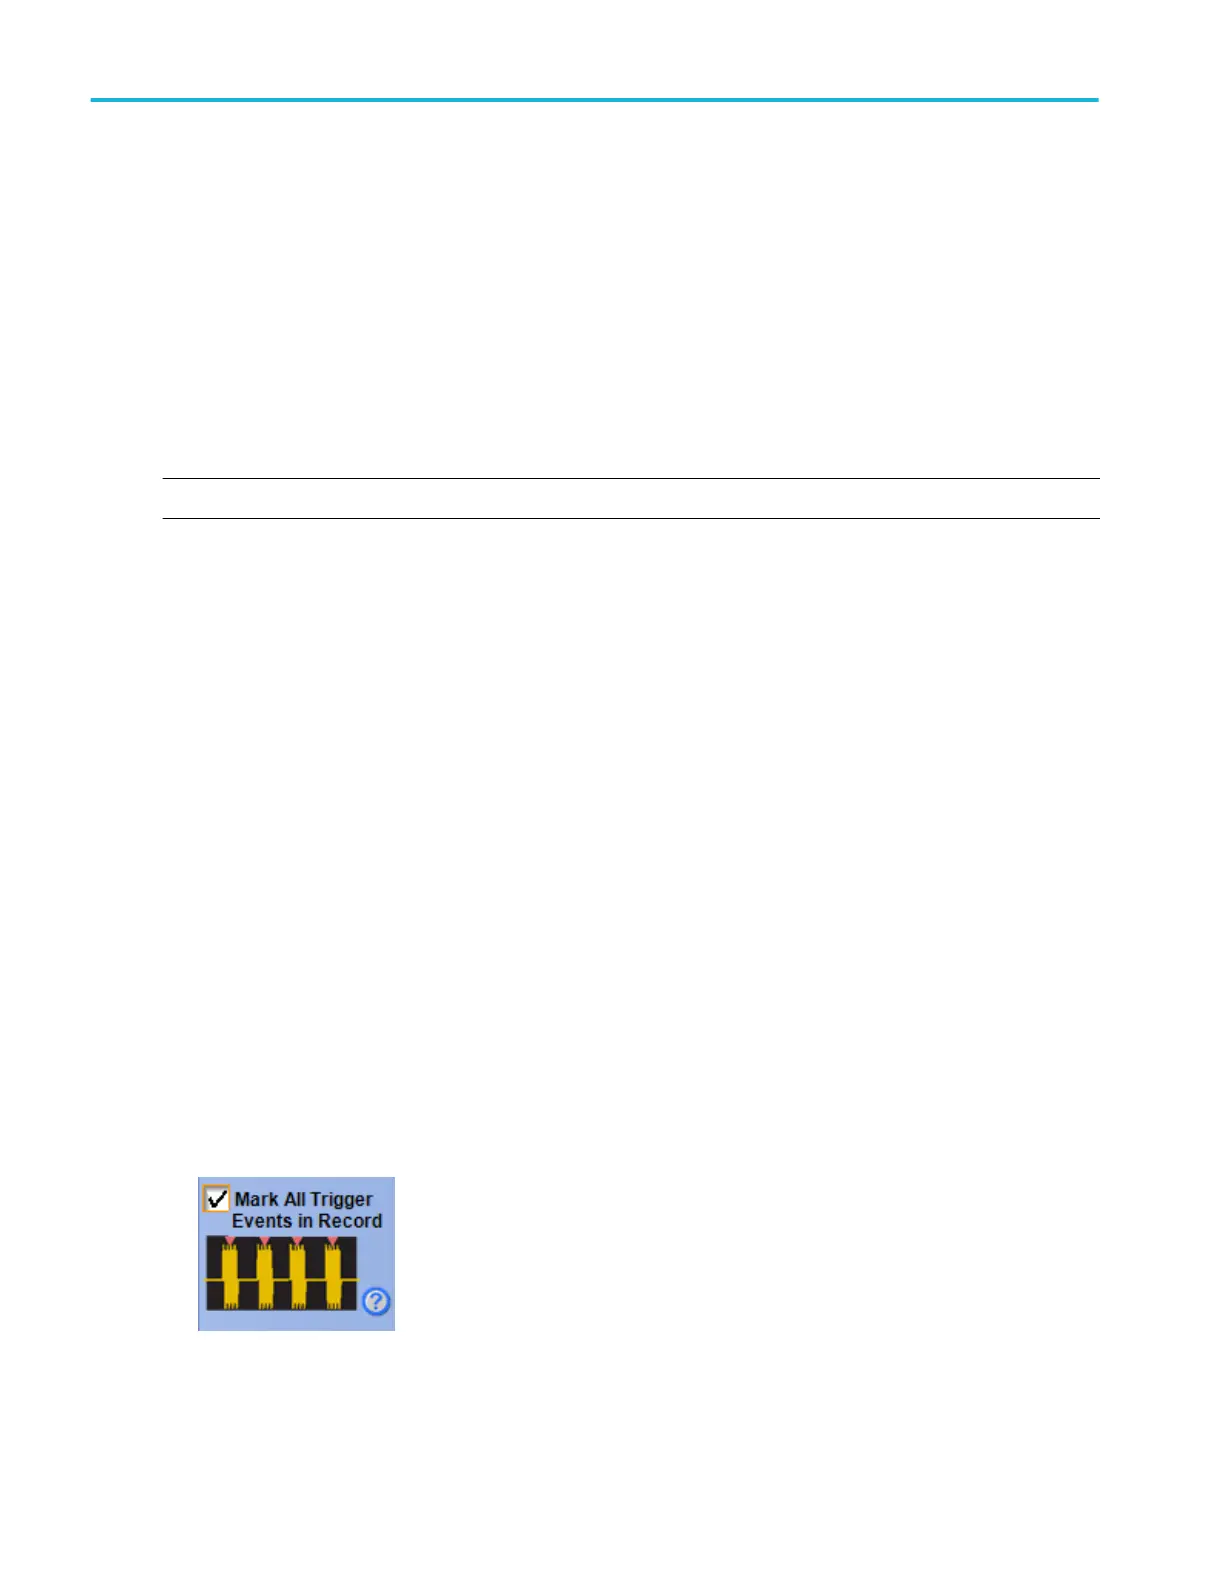
Mark all trigger events
Use the following procedure to set up the instrument to mark all trigger events:
1. From the Trigger menu, select A-Event (Main) Trigger Setup.
2. In the Trigger control window, open the A Event tab.
3. Select a trigger type such as Edge from the Trigger Type drop-down list.
4. Set up your trigger as desired.
5. Click Mark All Trigger Events in Record.
How to ?
636 DPO70000SX, MSO/DPO70000DX, MSO/DPO70000C, DPO7000C, and MSO/DPO5000B Series
 Loading...