om 5184516-100 Rev. 5 6-23
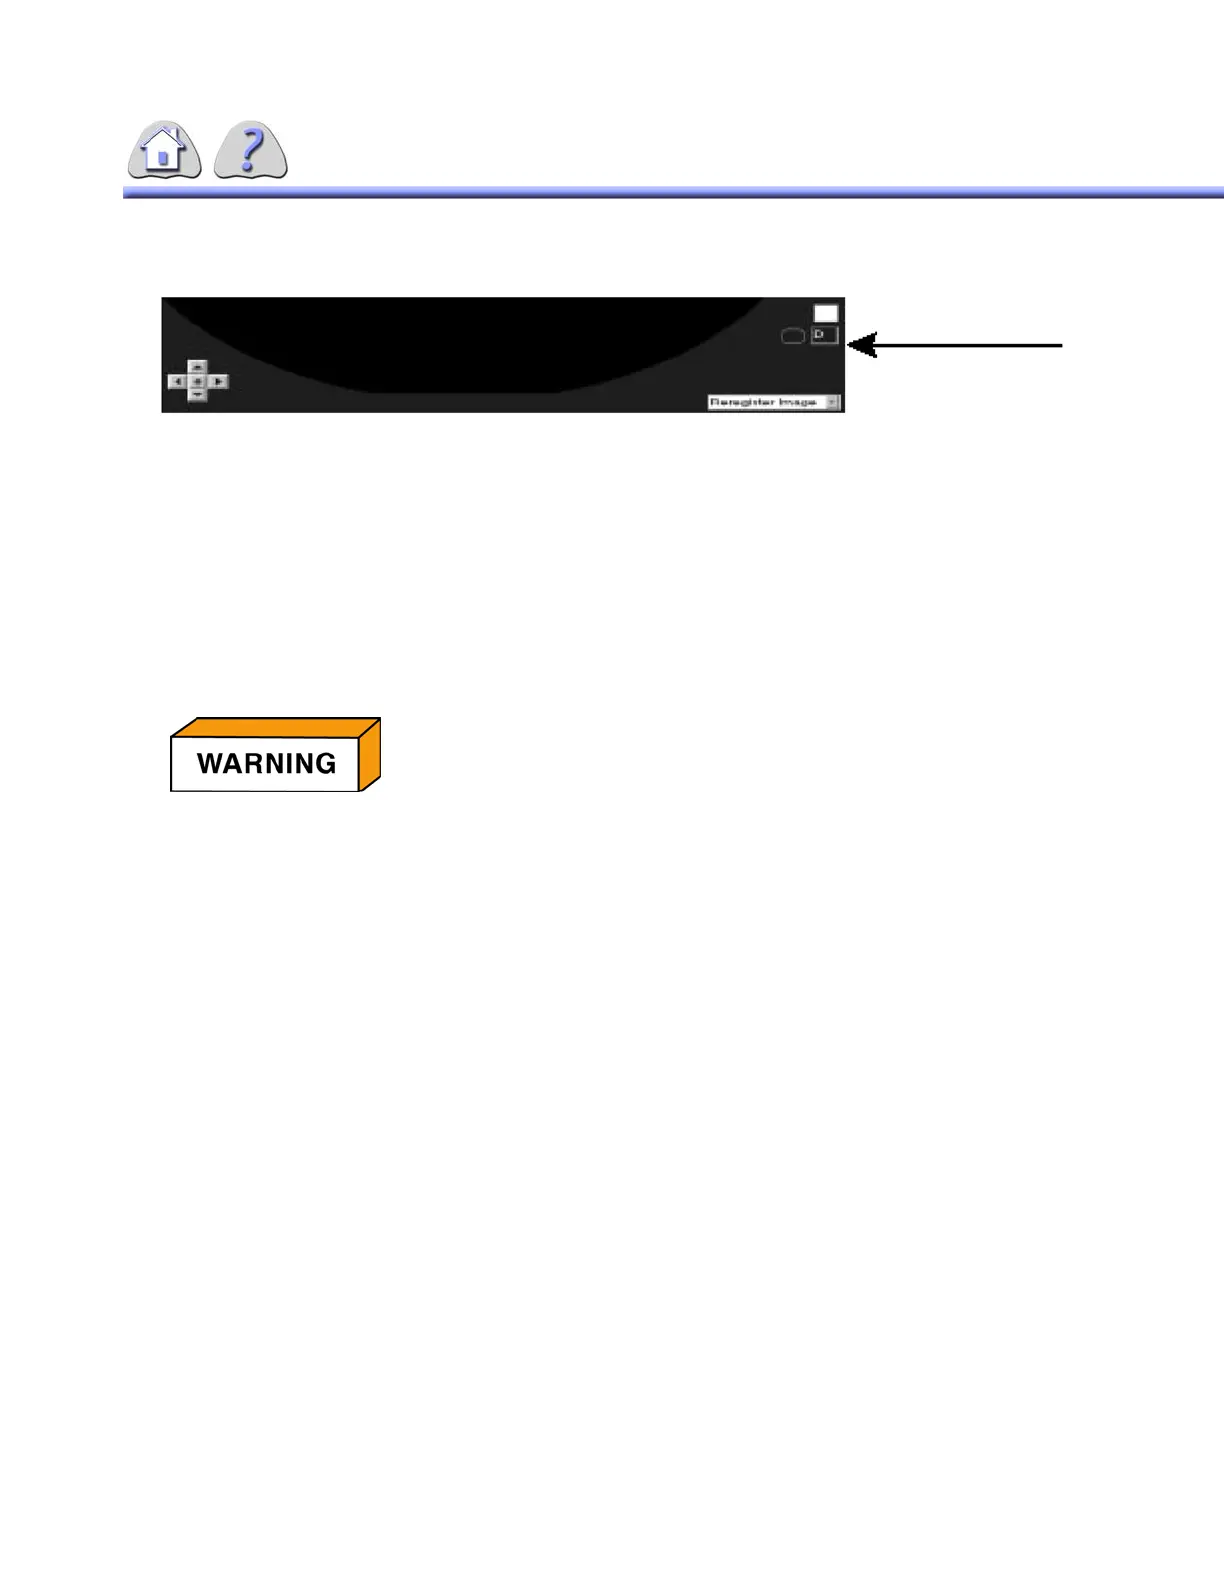
ILLUSTRATION 6-17
DELETE IMAGE TAG
3. When close exam is selected a pop–up dialog box will appear to confirm dele-
tion.
NOTE: If you delete an image with Quantitative Data associated with it, that QA data
will also be deleted.
NOTE: When images are subtracted, the mask image cannot be deleted from the
series. User may select image to be deleted, but on close of exam will remain
in sequence.
16-1Annotations & Pointers
The Annotation feature displays a text message on an image. The annotation(s)
are displayed each time the image is reviewed, and it will be printed on film.
The Pointer feature displays a dot (pointer head) and an extendible line (tail) on
the image. This feature is most often used with an annotation to clarify an anatom-
ical reference point.
APPLY NEW ANNOTATION
Use the mouse to select the ”Annotation” option from the process image pull–
down menu (lower right corner of monitor screen).
Position the cursor over the image portion of the screen and click the left button
on the mouse.
A small text box for the annotation will appear on the monitor screen. You can use
the keyboard to type a message of no more than 35 characters (the box will
expand to fit the characters), then press the ENTER key on the keyboard. The
annotation will be applied to the image.
– OR –
Click the right button on the mouse to display a list of programmed annotations.
Use the mouse to select one of the annotations. The annotation will be applied to
the image.
ONCE IMAGES ARE DELETED FROM THE SYSTEM, THEY CANNOT
BE RETRIEVED. ALSO, NO CONFIRMATION MESSAGE IS
DISPLAYED.
FOR TRAINING PURPOSES ONLY!
NOTE: Once downloaded, this document is UNCONTROLLED, and therefore may not be the latest revision. Always confirm revision status against a validated source (ie CDL).

 Loading...