om 5184516-100 Rev. 5 6-27
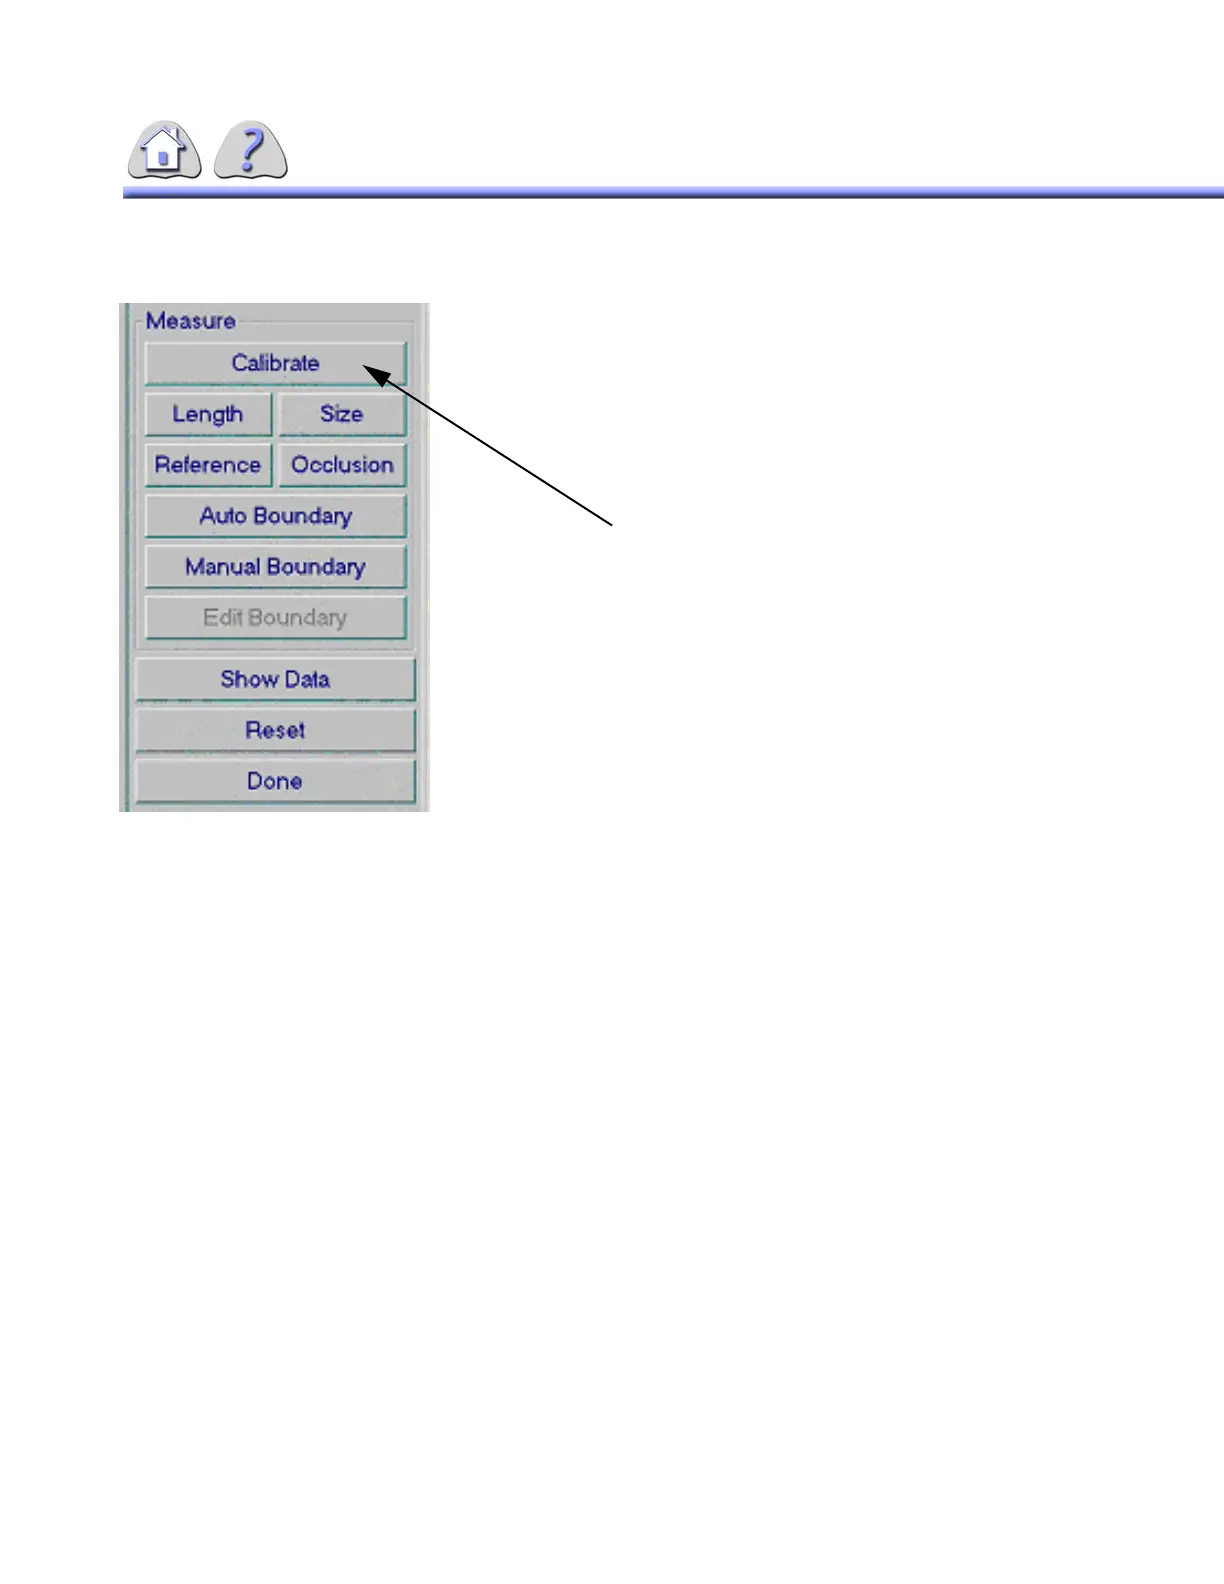
ILLUSTRATION 6-19
STENOSIS MENU
1. You should be in On–Line Review or Review
mode at the image which shows the item you’re
going to use to calibrate the system (for example:
a catheter), and you should have selected the
Stenosis button from the pull down list.
2. If necessary, select the magnifying glass icon to
zoom in on the image.
3. Select the Calibrate button.
4. Use the pointing device to position the cursor near
either side edge of the item you going to use to
calibrate the system.
5. Click and hold the left button on the pointing
device.
6. Drag the cursor across the width of the item. As
you move the cursor a line is shown on the
screen.
7. Release the pointing device button when the line
shown on the screen spans the width of the item
(it can also go beyond the edge of the item). The
screen will change as follows:
•The Edge Detection Profile – Calibrate
menu will appear over the image (see ILLUS-
TRATION 6-20).
• The portion of the line drawn in step 5 which
covers the item (as detected by the system)
will become shaded.
• The default calibration value will appear on
the image. This value will be updated once
you set the actual value for the item’s size.
If necessary you can select and move the Edge
Detection Profile window so it does not cover the por-
FOR TRAINING PURPOSES ONLY!
NOTE: Once downloaded, this document is UNCONTROLLED, and therefore may not be the latest revision. Always confirm revision status against a validated source (ie CDL).

 Loading...