Sending Functions
5-6 OPERATION GUIDE
Zoom
Scans the original by automatically zooming it depending on the sending size.
The table below lists the available options.
NOTE: When zooming in or out, see Sending Size Selection on page 5-4 when selecting the sending size.
Depending on the combination of original size and sending size, the image is placed at the edge of the paper.
To center the image vertically and horizontally on the page, use the centering setting described in Centering on
page 5-7.
Use the procedure below to enlarge or reduce the original to match the transmission size.
1 Press the Send key.
2
Place the originals on the platen.
3
Select the transmission size.
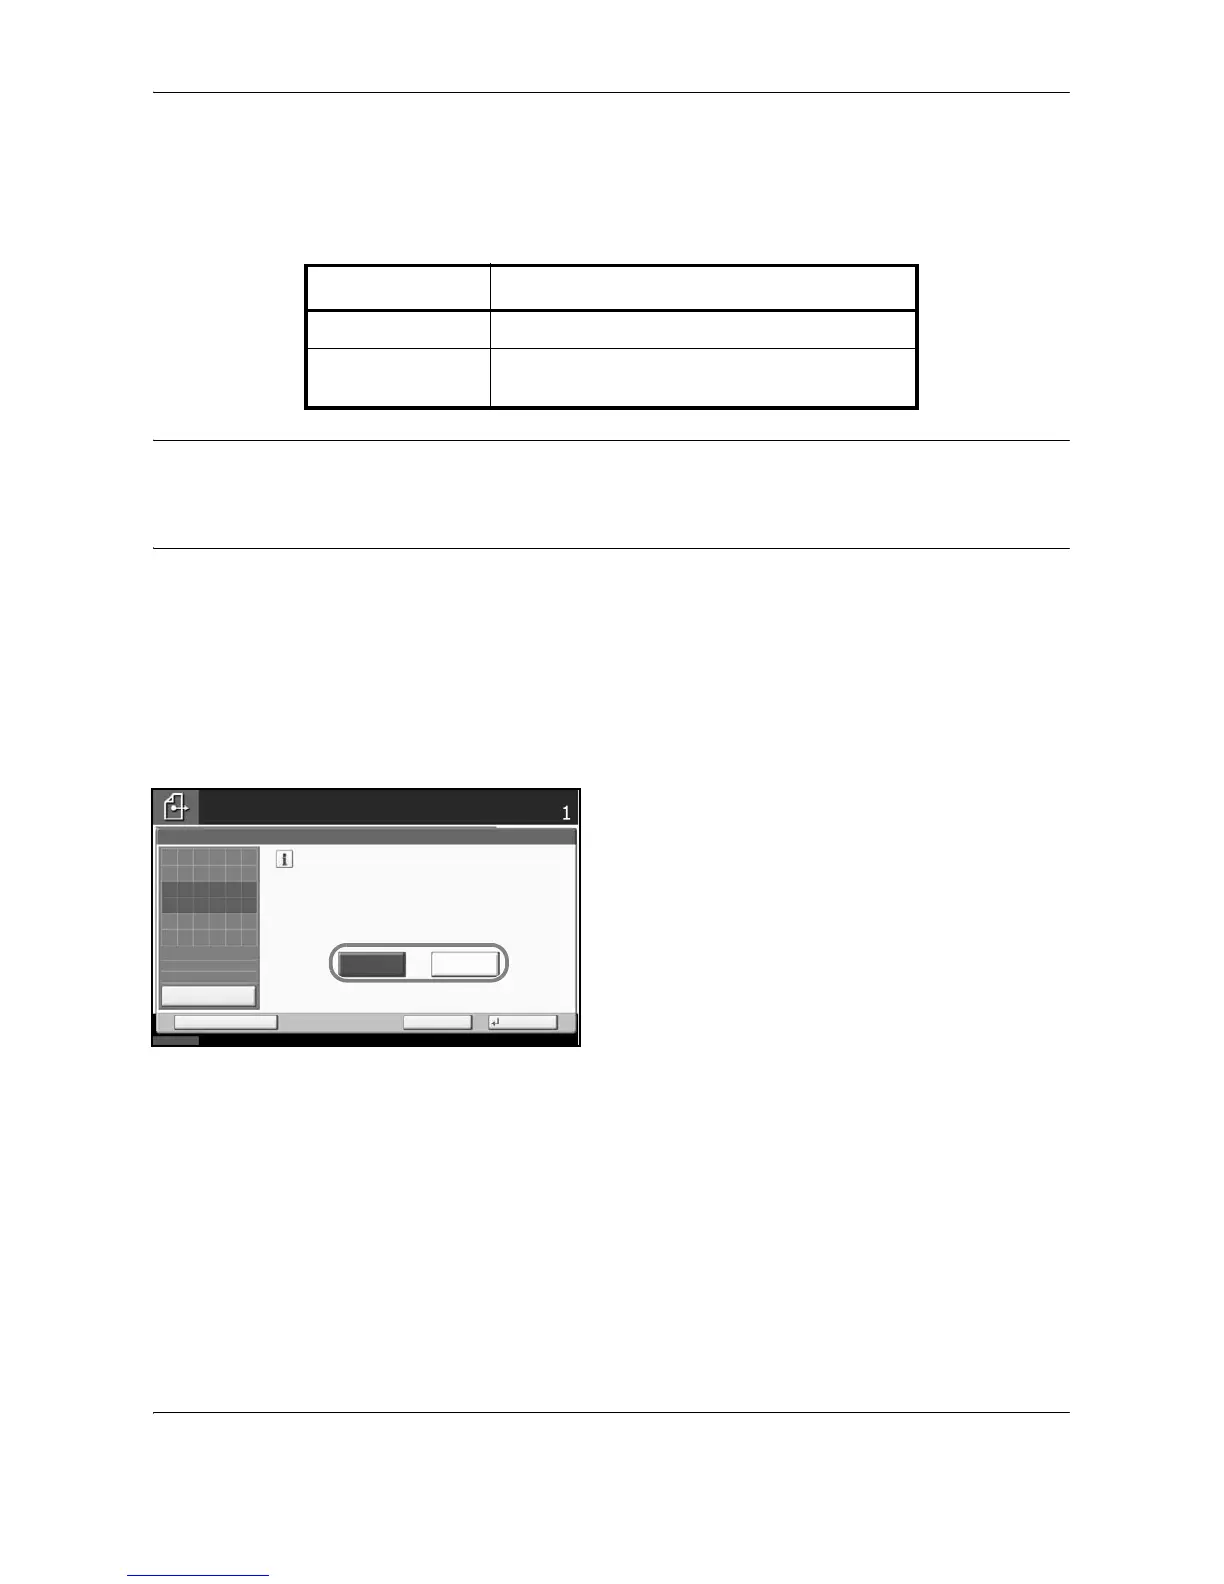
4 Press [Advanced Setup] and then [Zoom].
5 Press [100%] or [Auto].
6 Press [OK].
7 Specify the destination, and press the Start key to
start sending.
Item Detail
100% No Zoom (to be scanned at actual size)
Auto Zoomed automatically according to the specified
sending size.
Enlarge or reduce original when scanning.
[100%]: Scan at actual size.
[Auto]: Enlarge or reduce to match
sending size/storing size.
Auto
Zoom
100%
Status
10/10/2008 10:10
Cancel OKAdd Shortcut
Ready to send.
Destination
Place original.
Preview
Original
Zoom
Paper
100%
---
:
:
:
---
Place original.
 Loading...