2. Remove the rear sub assembly (included in the HIF-62 board and the SDI-99 board) . (Refer to “4-6-1. HIF-62
Board”)
Procedure
1. Disconnect the flexible flat cable from the connector CN106 on the SDI-99 board.
2. Remove the three screws to detach the shield finger (BNC) and the SDI-99 board.
Shield finger
SDI-99 board
CN106
B3 x 5
Flexible flat cable
3. Install the removed parts by reversing the steps of removal.
4-6-3. CN-2675G Board
Preparation
1. Remove the rear panel assembly. (Refer to “4-4-1. Removal and Installation of Rear Panel Assembly”)
2. Remove the HIF-62 board. (Refer to “4-6-1. HIF-62 Board”)
3. Remove the SDI-99 board. (Refer to “4-6-2. SDI-99 Board”)
Procedure
1. Remove the two screws of the round type connector (8P).
P2.6 x 5
Round type connector (8P)
2. Disconnect the flexible flat cables from the connectors CN7 and CN10 on the CN-2675G board.
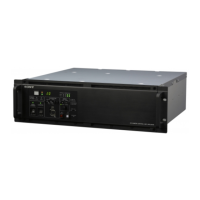
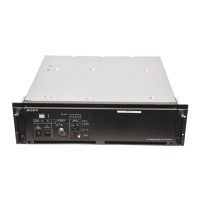
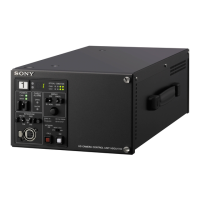
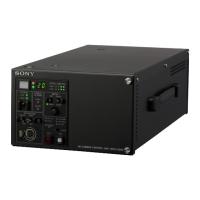
HDCU2500
4-22
 Loading...