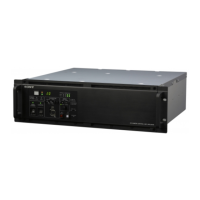
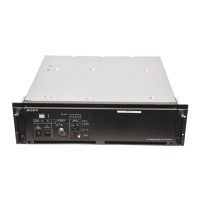
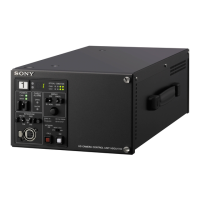
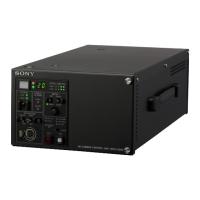
2-3. Audio System
2-3-1. Setting the Intercom System
Two independent intercom lines (producer line and engineer line) are selectable and available in this unit.
This unit supports 4 WIRE, RTS, and Clear-Com intercom systems. Make settings of the menus according to the system
to be used.
Selecting Intercom System
Select an intercom system (4WIRE, RTS or CLEAR COM) for each of the engineer line and producer line according
to the system to be used. Then, select the number of intercom line systems (1CH or 2CH).
Note
When SYSTEM INTERFACE in INTERCOM (C07) of the CCU CONFIGURATION menu is set to RTS/CLEAR
COM, be sure to connect the unit to the RTS or Clear-Com system. Failure to do so will cause the output to oscillate
and adversely affect the surrounding circuit.
Selecting producer line
CCU CONFIGURATION menu → INTERCOM (C07) → PRODUCER
Selecting engineer line
CCU CONFIGURATION menu → INTERCOM (C07) → ENGINEER
Selecting intercom line channel
Connect the intercom line to the producer line of the unit and make the following settings.
Note
Factory setting: 2CH
• 1CH
CCU CONFIGURATION menu → INTERCOM (C07) → INTERCOM CH:1CH
Note
The intercom line is always connected to the producer line regardless of the settings of the INCOM PROD/ENG
switch of the HDC2000 series and the INTERCOM switch on the front panel of the unit.
• 2CH
CCU CONFIGURATION menu → INTERCOM (C07) → INTERCOM CH:2CH
Adjusting RTS Cancellation (RTS/Clear-Com)
When the RTS or Clear-Com system is used, adjust the sidetone cancellation amount using the following procedure.
1. Set the SIDE TONE in FRONT INCOM (C08) of the CCU CONFIGURATION menu to 0.
2. Set the INTERCOM switch on the front panel to PROD.
3. While speaking to the headset microphone, adjust PRODUCER CANCEL LVL in INTERCOM (C07) of the CCU
CONFIGURATION menu so that the voice heard from the headset becomes minimum.
4. Set the INTERCOM switch on the front panel to ENG.
5. While speaking to the headset microphone, adjust ENGINEER CANCEL LVL in INTERCOM (C07) of the CCU
CONFIGURATION menu so that the voice heard from the headset becomes minimum.
6. Reset the value of SIDE TONE in FRONT INCOM (C08) of the CCU CONFIGURATION menu to the previous
value.
HDCU2500
2-7
 Loading...