DVP-ES3/EX3/SV3/SX3 Series Hardware and Operation Manual
4-6
4.1.3 Installation
A PLC has to be installed in a closed control box. In order to ensure that the PLC radiates heat normally, the
space between the PLC and the control box must be larger than 50 millimeters.
Keep the PLC away from high-voltage equipment, high-voltage wires, and high-voltage motors.
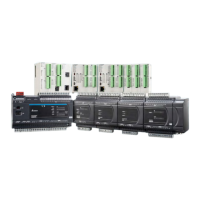
In order to prevent the PLC from overheating, do not install the PLC vertically on the bottom or top of the
control box.
Install the PLC horizontally in the control box, as shown above.
If you intend to increase the number of modules, you must leave some space for installing the modules in
the control box.
4.1.3.1 Mounting the Module
Direct mounting: Use M4 screws to mount the module through the mounting hole.
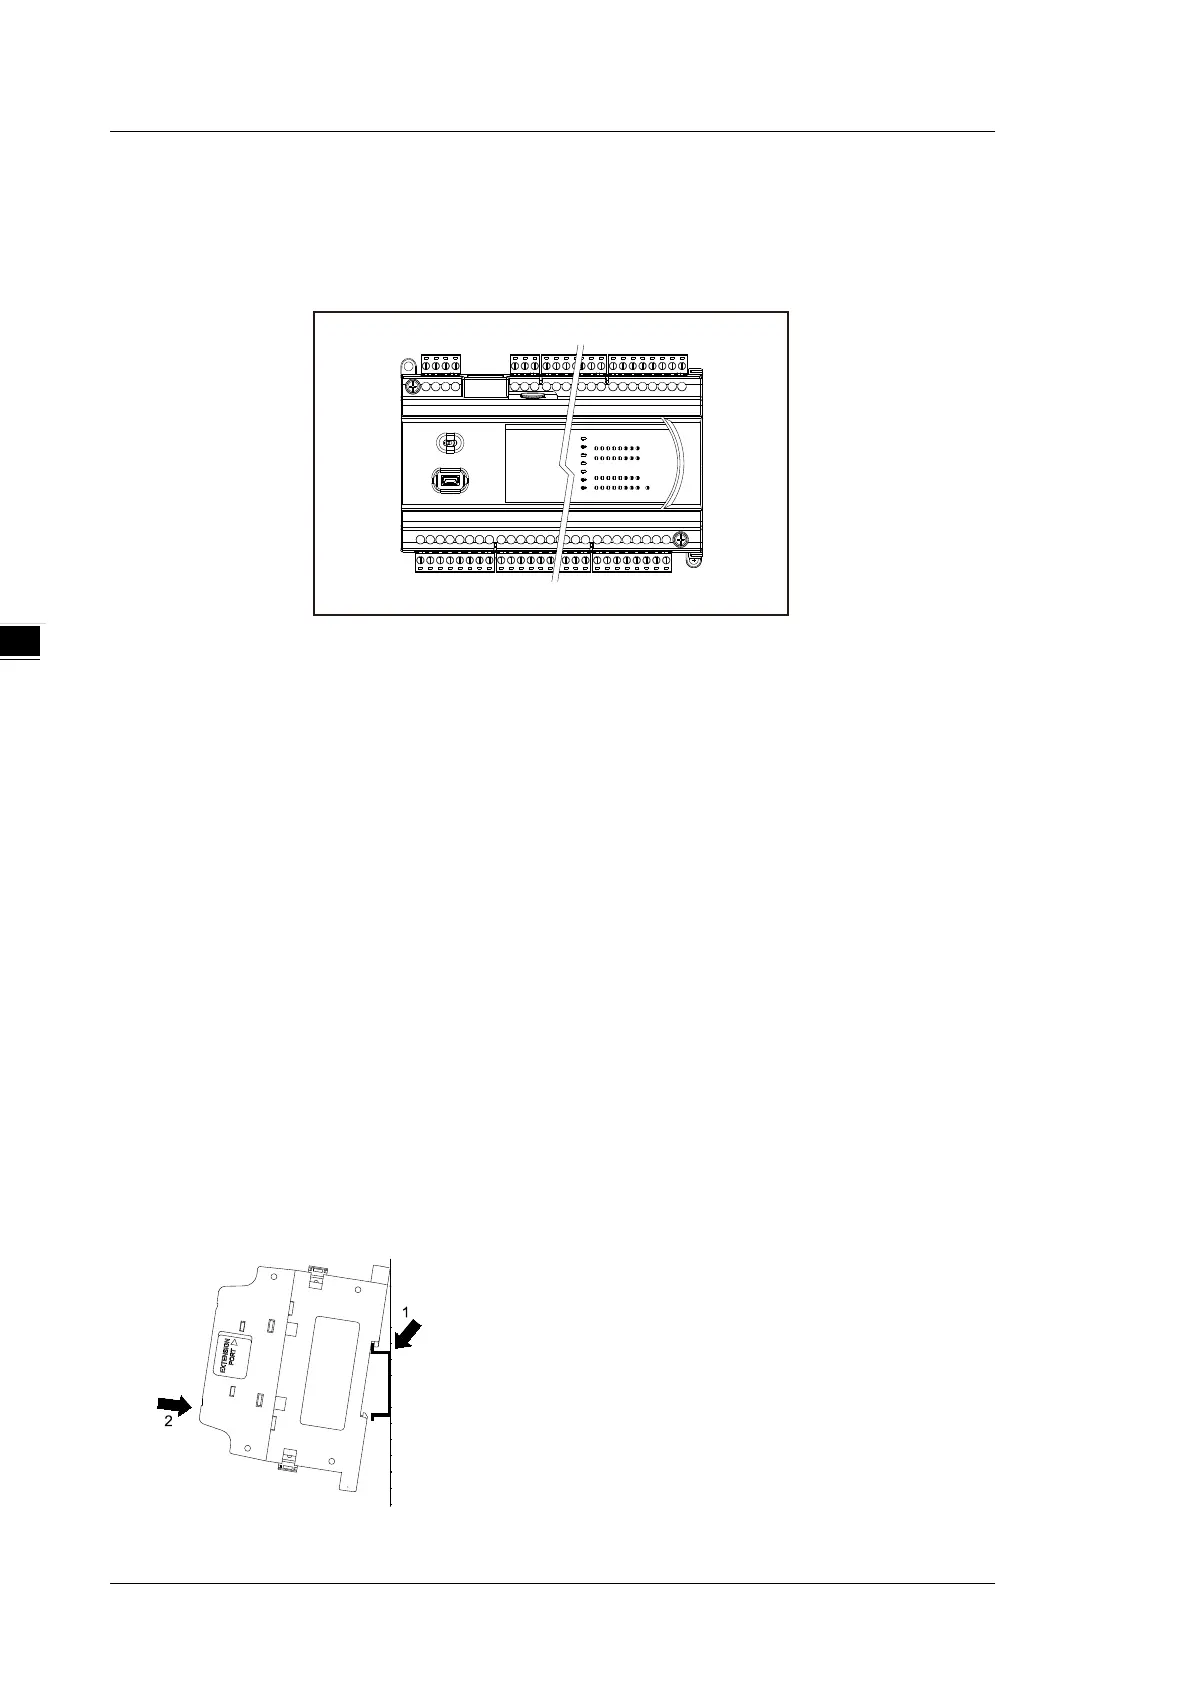
DIN rail installation and removal: The module can be secured onto a cabinet by using the DIN rail. To
secure the module onto the DIN rail, link it onto the rail as the figure below shown (1) and gently push it
up on the clip as the figure below shown (2) until you hear a click. To remove it, use a flat head
screwdriver and press it gently on the groove of the retaining clip, pull down the retaining clip and gently
pull the PLC away from the DIN rail.
 Loading...