Rockwell Automation Publication 2198-UM001M-EN-P - November 2022 77
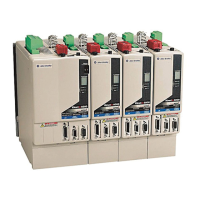
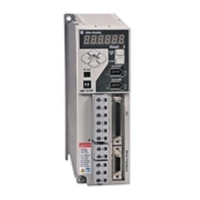
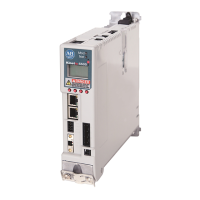
Chapter 5 Connect the Kinetix 5500 Drive System
Wiring Guidelines Use these guidelines as a reference when wiring the power connectors on your
Kinetix 5500 drive.
Follow these steps when wiring the connectors for your Kinetix 5500 drive.
1. Prepare the wires for attachment to each connector plug by removing
insulation equal to the recommended strip length.
2. Route the cable/wires to your Kinetix 5500 drive.
3. Insert wires into connector plugs.
See connector pinout tables in Chapter 4
or the interconnect diagrams in
Appendix A
.
4. Tighten the connector screws.
5. Gently pull on each wire to make sure it does not come out of its
terminal; reinsert and tighten any loose wires.
6. Insert the connector plug into the drive connector.
ATTENTION: To avoid personal injury and/or equipment damage, observe
the following:
• Make sure that the installation complies with specifications regarding wire
types, conductor sizes, branch circuit protection, and disconnect devices.
The National Electrical Code (NEC) and local codes outline provisions for
safely installing electrical equipment.
• Use motor power connectors for connection purposes only. Do not use them
to turn the unit on and off.
• Ground shielded power cables to help prevent potentially high voltages on
the shield.
IMPORTANT For connector locations of the Kinetix 5500 drives, refer to Kinetix 5500
Connector Data on page 58.
When removing insulation from wires and tightening screws to secure
the wires, refer to Table 36 on page 76
for strip lengths and torque
values.
IMPORTANT To improve system performance, run wires and cables in the wireways
as established in Establishing Noise Zones on page 41
.
IMPORTANT Use caution not to nick, cut, or otherwise damage strands as you
remove the insulation.
 Loading...