3. Fill the gearbox with a ushing oil, using a lter (lter mesh max. 25 μm). For the ushing oil,
use either the new oil or one that is compatible with the new oil and is less expensive.
4. Operate the gearbox for 15to30minutes under a low load.
5. Place a suitable and suciently large receptacle underneath the oil drain plug.
6. Remove the oil drain plug. Drain all the oil into the receptacle.
7. After ushing, immediately seal the gearbox using the sealing element.
8. Repeat this step for the second ushing.
You have now ushed the gearbox twice and can pour in the new oil.
12.3.24.9 Filling in oil
NOTICE
Mixing of dierent oils impairs the lubricity
When adding oil, use the same oil type and viscosity. If changing mutually incompatible oils,
see Flushing the gearbox (Page519).
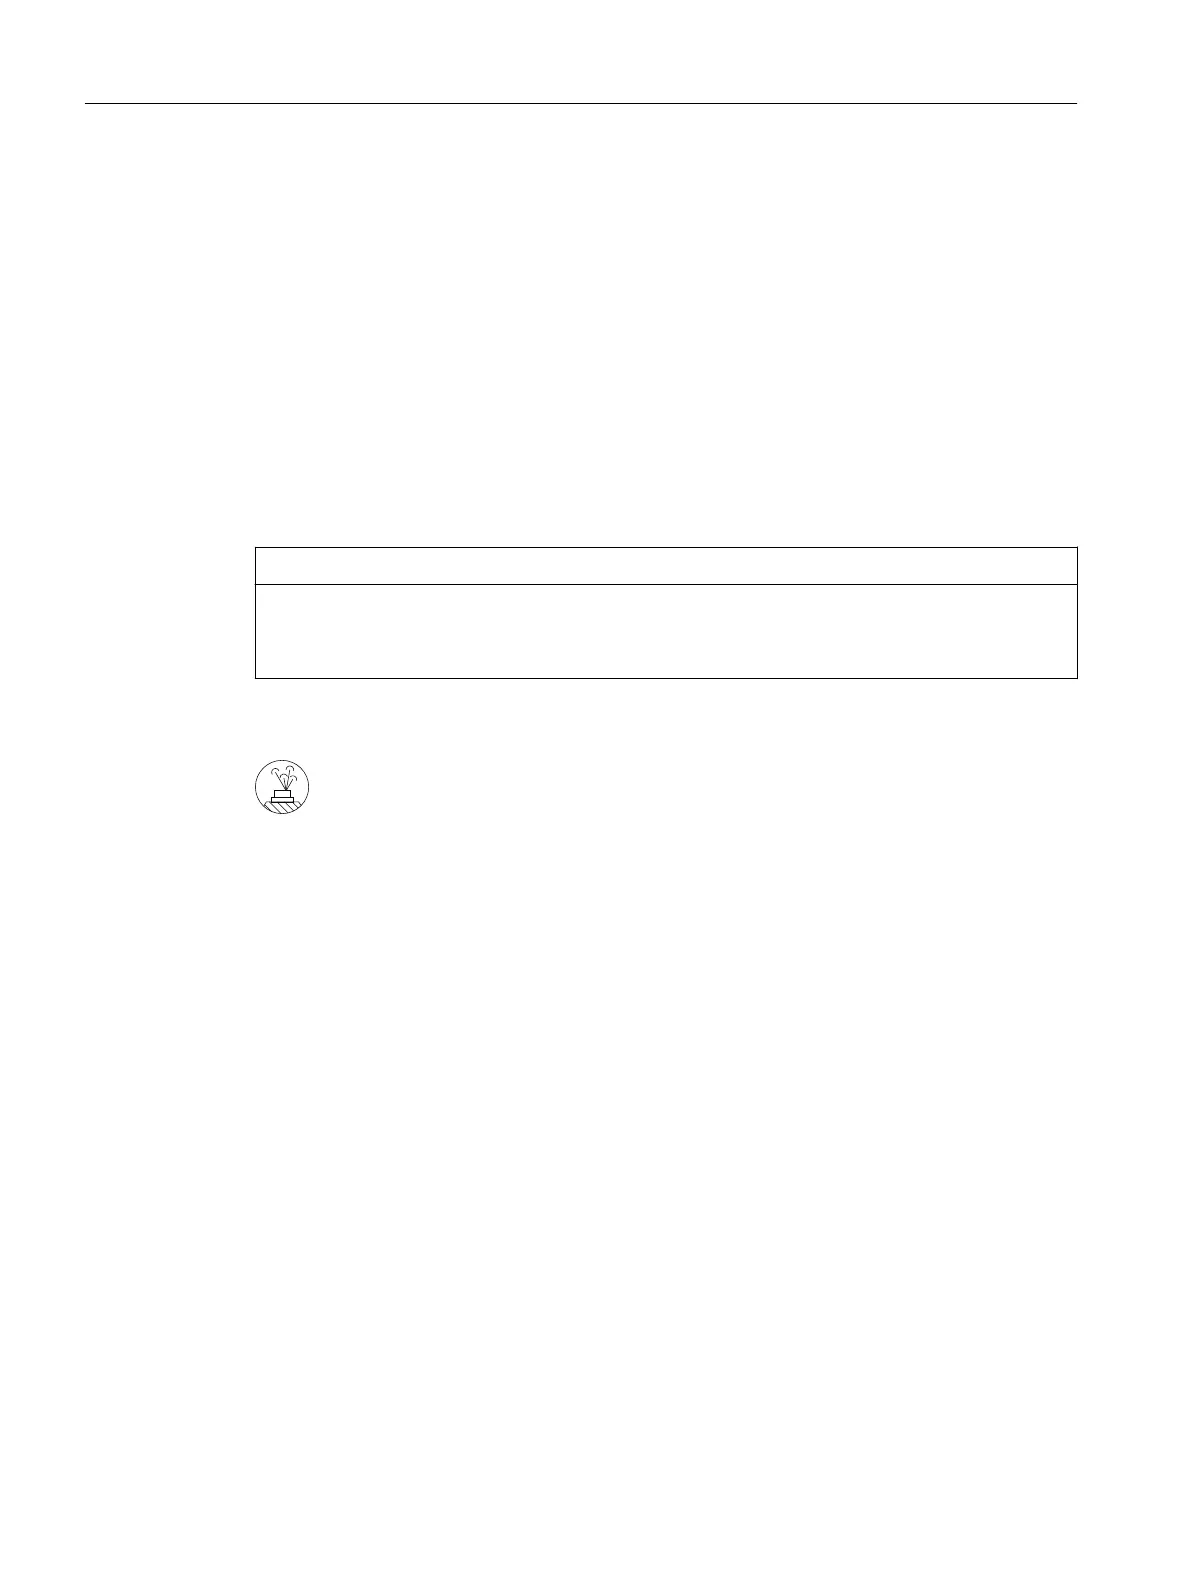
Observe the symbols in the diagrams of theMounting positions (Page527):
Venting
Procedure
1. Unscrew the vent plug.
2. Fill the gearbox with fresh oil. Use a ller lter with mesh of max.25μm.
3. Check the oil level.
4. Correct the oil level if necessary and check it again.
5. Check the state of the sealing ring on the sealing element. If the sealing ring is damaged,
replace the sealing element with a new one.
6. After lling with oil, seal the gearbox immediately using the sealing element.
You have now lled up the gearbox with oil.
12.3.24.10 Topping up with oil
If the mounting position of the gearbox is changed or oil lost because of leakage, check the oil
level. If you notice oil escaping, locate the leak, and seal the aected area. Top up and check the
oil level.
At the time of going to print, the following types of oil are being used when the gearbox is
lled for the rst time:
Additional information on the SIMOGEAR geared motor
12.3Specic data gearbox
SINAMICS G115D Wall Mounted distributed drive
520 Operating Instructions, 07/2023, FW V4.7 SP14, A5E52808211A AA
 Loading...
