7-43
HANDLEBAR
CHAS
WARNING
NOTE:
WARNING
23 Nm (2.3 mkg)
NOTE:
CAUTION:
INSPECTION
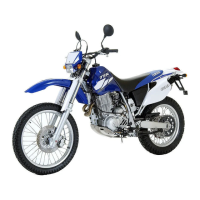
1. Inspect:
Handlebar
Bends/Crancks/Damage Replace.
Do not attempt to straighten a bent handlebar
as this may dangerously weaken the handle-
bar.
Handlebar grip (left) replacement steps:
Remove the handlebar grip.
Apply a light coat of an adhesive for rubber on the
handlebar end.
Install the handlebar grip.
Wipe off excess adhesive with a clean rag.
Leave the handlebar intact until the adhesive
becomes dry enough to make the grip and
handlebar stuck securely.
INSTALLATION
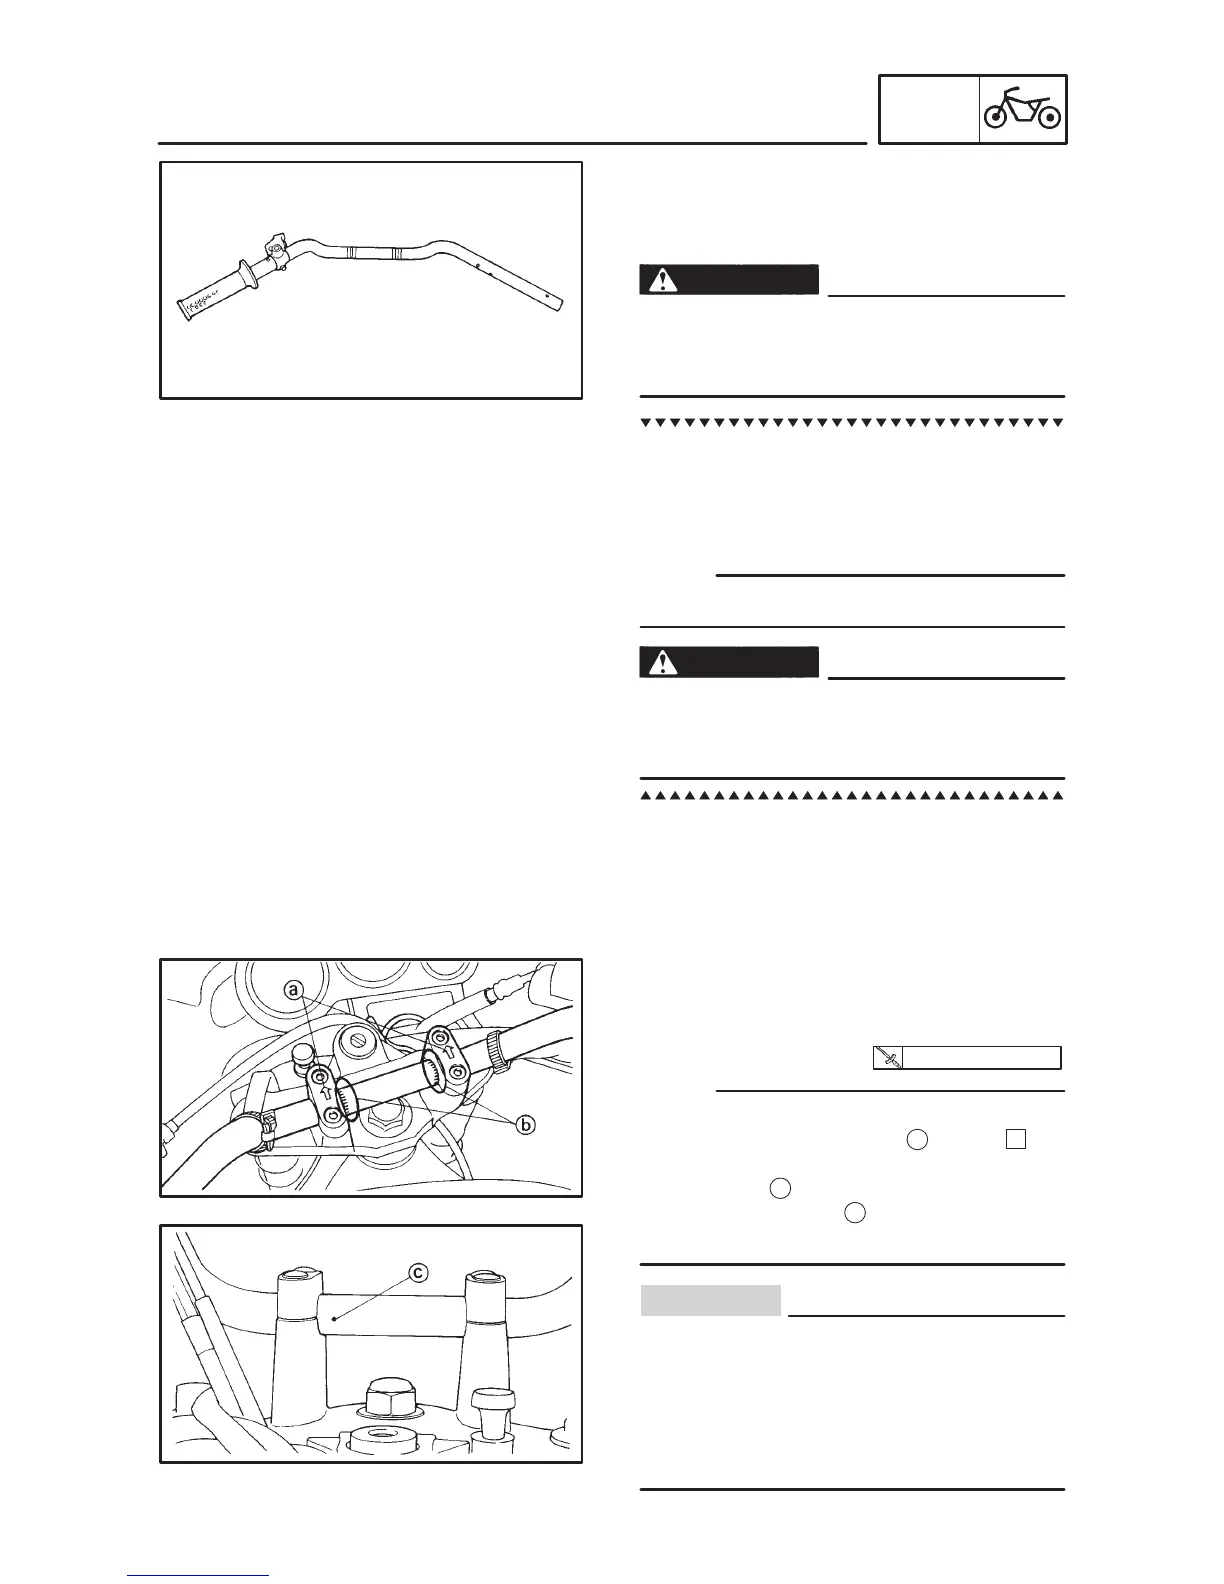
1. Install:
Handlebar
Handlebar holders (upper)
The handlebar holders (upper) should be
installed with the arrow mark
a
forward
A
.
Install the handlebar so that the widths of the
match marks
b are equal.
Align the match mark
c
on the handlebar with
the top of the handlebar holder (lower).
First, tighten the bolt on the front side of the
handlebar holder, and then tighten the bolt
on the rear side.
Check the handlebar by turning it from one
lock to the other. If there is any contact with
the fuel tank, adjust the handlebar position.

 Loading...