9-5
IMPORTANT
Make sure the sensor ribbon cable and internal shroud remain completely free
of the housing as you rotate it. Damage can occur to the cable if the internal
shroud and sensor cable become hung-up and rotate with the housing.
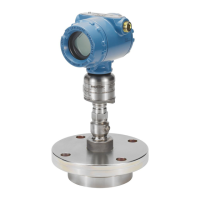
ATTACH THE SENSOR
MODULE TO THE
ELECTRONICS HOUSING
BLOCK
1. Inspect all cover and housing (non-process-wetted) o-rings and
replace if necessary. Lightly grease them with silicone lubricant to
ensure a good seal.
2. Carefully tuck the cable connector completely inside the internal
shroud. To do so, turn the shroud and cable counterclockwise one
rotation to tighten the cable.
3. Lower the electronics housing onto the module; guide the internal
shroud and cable through the housing and into the external
shroud.
4. Turn the housing clockwise to fasten it to the module.
IMPORTANT
To prevent damage to the cable connector, watch the cable and shroud
as you attach the housing to the module. Make sure the cable connector
does not slip out of the internal shroud and begin to rotate with the
housing. Reinsert the cable connector into the shroud if it escapes
before the housing is fully fastened.
5. Thread the housing completely onto the sensor module. To comply
with explosion-proof requirements, the housing must be no more
than one full turn from flush with the sensor module.
6. Tighten the housing rotation set screw using a
9
/64-inch hex
wrench.
NOTE
Electronics board revision 5.3.163 or later (all shrouded designs) have
increased functionality that allows verification testing of alarm current
levels. If you repair or replace the electronics board, sensor module or
LCD meter, it is recommended that you verify the transmitter alarm
level before you return the electronics to service.
 Loading...
