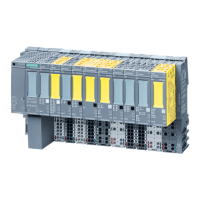
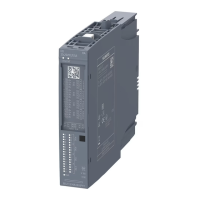
Rules for installation
During installation, make sure that you keep to the following rules:
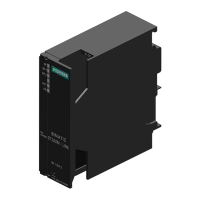
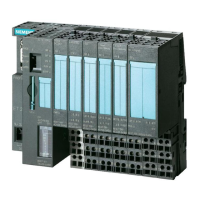
• The mechanical design of the ET 200iSP starts with the terminal module TM-PS-A. Start with
the installation of the terminal module approx. 10 mm right of the grounding pin, in order
that the mounting location on the mounting rail can be optimally used.
• The terminal module TM-PS-A is followed by the terminal module TM-IM/EM.
• These are followed by the terminal modules TM-EM/EM and TM-RM/RM.
• The ET 200iSP is completed by the termination module. The termination module
accompanies the terminal module TM-IM/EM and/or TM-IM/IM. If your ET 200iSP
conguration leaves you with a gap in the last slot, you must install the slot cover or a reserve
module in this slot.
– Install a slot cover if the ET 200iSP will not be expanded in the future. The slot cover is
integrated in the termination module.
Replacing the slot cover with an electronic module during operation will cause a station
failure of the ET 200iSP.
– Install a reserve module if you want to use the free slot for a future expansion (by means
of an electronic module).
Note
Due to integrated coding, the terminal modules can only be installed in the order described.
5.2 Installing the mounting rail
Properties
The ET 200iSP distributed I/O device is mounted on the mounting rail for the S7 mounting
system (see Appendix "Article numbers (Page 419)"). These rails are ready to install and have 4
holes for the securing screws and a grounding bolt.
The following conguration is recommended for optimal use of the rail when mounting the
terminal modules.
Installing
5.2 Installing the mounting rail
ET 200iSP
Operating Instructions, 11/2022, A5E00247483-AK 107
 Loading...
