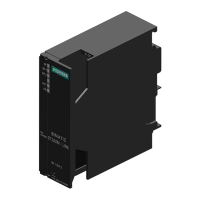
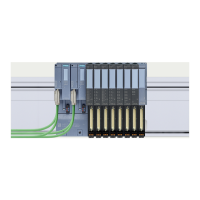
Replacing the interface module on the PROFIBUS DP
Note
Switching the bus terminating resistor
When switching the bus terminating resistor on and o, the PROFIBUS DP line remains
connected.
1. Note the setting of the bus terminating resistor on the IM to be replaced.
2. Ensure that the bus terminating resistor is set to "ON" at exactly one of the adjacent IMs.
3. Ensure that the bus terminating resistor on the IM to be replaced is set to "OFF".
4. Pull out the bus plug on the IM to be replaced.
5. Pull the (defective) IM 152-1DP from the terminal module.
6. Set the PROFIBUS DP address "0" on the new IM 152-1DP and plug it into the terminal module.
7. Switch the supply voltage of the ET 200iSP o and on.
8. Wait until the retentive data of the interface module has been erased (BF LED ashes with
0.5 Hz).
9. Switch o the supply voltage of the ET 200iSP.
10.Now set the PROFIBUS DP address of the old (defective) IM 152-1DP on the new interface
module.
11.Switch the supply voltage of the ET 200iSP on again.
12.Wait until the replaced IM has started.
13.Connect the bus plug to the replaced IM.
14.Ensure that the bus terminating resistor is set to the setting noted in the rst step.
15.Assigning ET 200iSP parameters with STEP 7:
– The ET 200iSP is automatically recongured by the CPU and then changes to data
exchange with the DP master.
If you need the I&M data, you also need to load it into the ET 200iSP (menu command HW
Cong PLC > Modules).
– If you use SIMATIC PDM, you need to download all parameters and I&M into the ET 200iSP
(menu command Device > Full download to device).
– In a redundant station, a mixed conguration (IM 152-1PN together with IM 152-1DP) is
not allowed.
8.5 Maintenance during operation
Properties
Maintenance of the ET 200iSP is essentially limited to visual inspections. The ET 200iSP can be
in operation at the same time.
Maintenance
8.5 Maintenance during operation
ET 200iSP
Operating Instructions, 11/2022, A5E00247483-AK 231
 Loading...