OPTIONS
10--8 27080 Issue 1 Sept 98
RS232 COMMS OPTION KIT A--SERIES
The RS232 Comms option kit enablestheprinterto communicate with
an external computer for remote control. Installation is as follows:
WARNING: Power to the printer must be removed.
CAUTION Anti--static precautions must be taken.
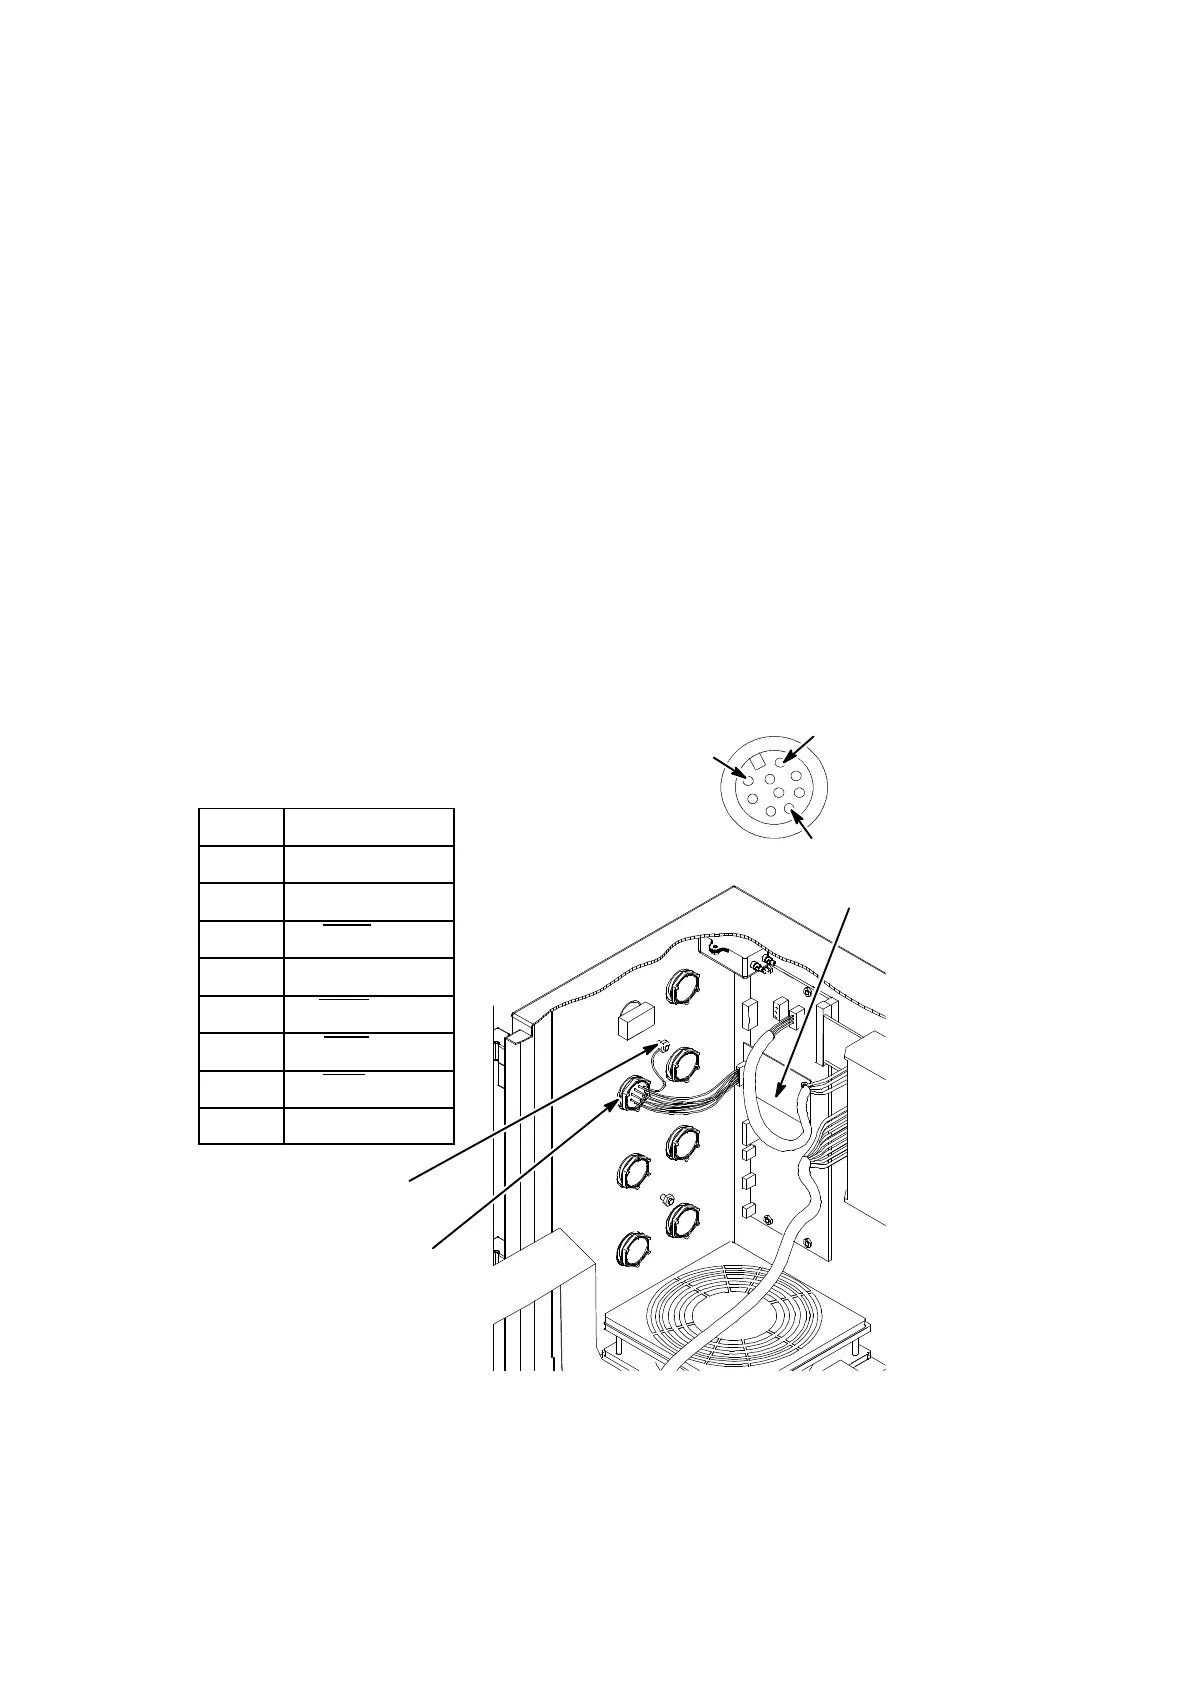
(1) Fit the PCB to SK2 on the External Interface PCB. This is done by
removing the nut fitted to the mounting stud, fit the spacer
supplied in the kit, then the PCB, shakeproof washer and finally
replace the nut.
(2) Remove the blanking plug from the printer (for position see the
diagram on page 10--3).
(3) Feedthe10wayconnectorthroughtheholeintothecabinet. Secure
the round 9way connector in the hole and tighten the nut.
(4) Plug the 10way connector into the plug (PL1) on the
daughterboard PCB.
(5) Fit the earth lead to the earth point.
PINS STATUS
2 RS232 out
3 RS232 in
4 DSR i/p
5 0V
6 DTR o/p
7 CTS i/p
8 RTS o/p
9 GND -- Screen
Spares List --RS232 Communications Kit -- Part Number 37775
Plug IP68 9 Way Cable Mounting -- 13505
4
7
1
External View
Earth Point
Comms Port
Connector
Daughterboard
RS232 Comms Option Kit
MG140_1
 Loading...


