Pre-use Checkout
Instructions for Use Apollo SW 4.5n 93
Part Number: 9053586, 3rd edition
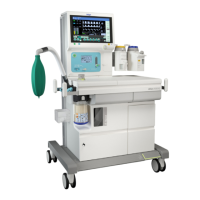
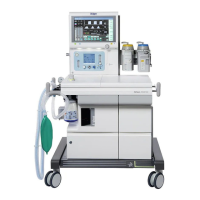
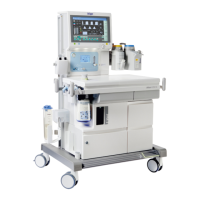
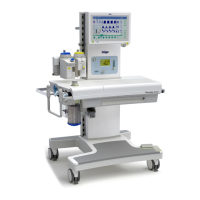
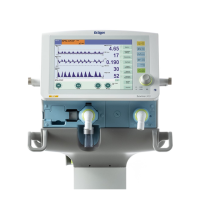
Figure 36. Location of Main Power SwitchPower on
1. Power on the machine by pressing the main
power switch on the front of the machine
(1 in Figure 36). An acoustic tone sounds.
All LEDs and the loudspeakers are tested.
Note: If all LEDs do not light up upon initialization,
contact DrägerService.
The initial screen appears after about
20 seconds. Apollo now loads its software and
tests its internal memory.
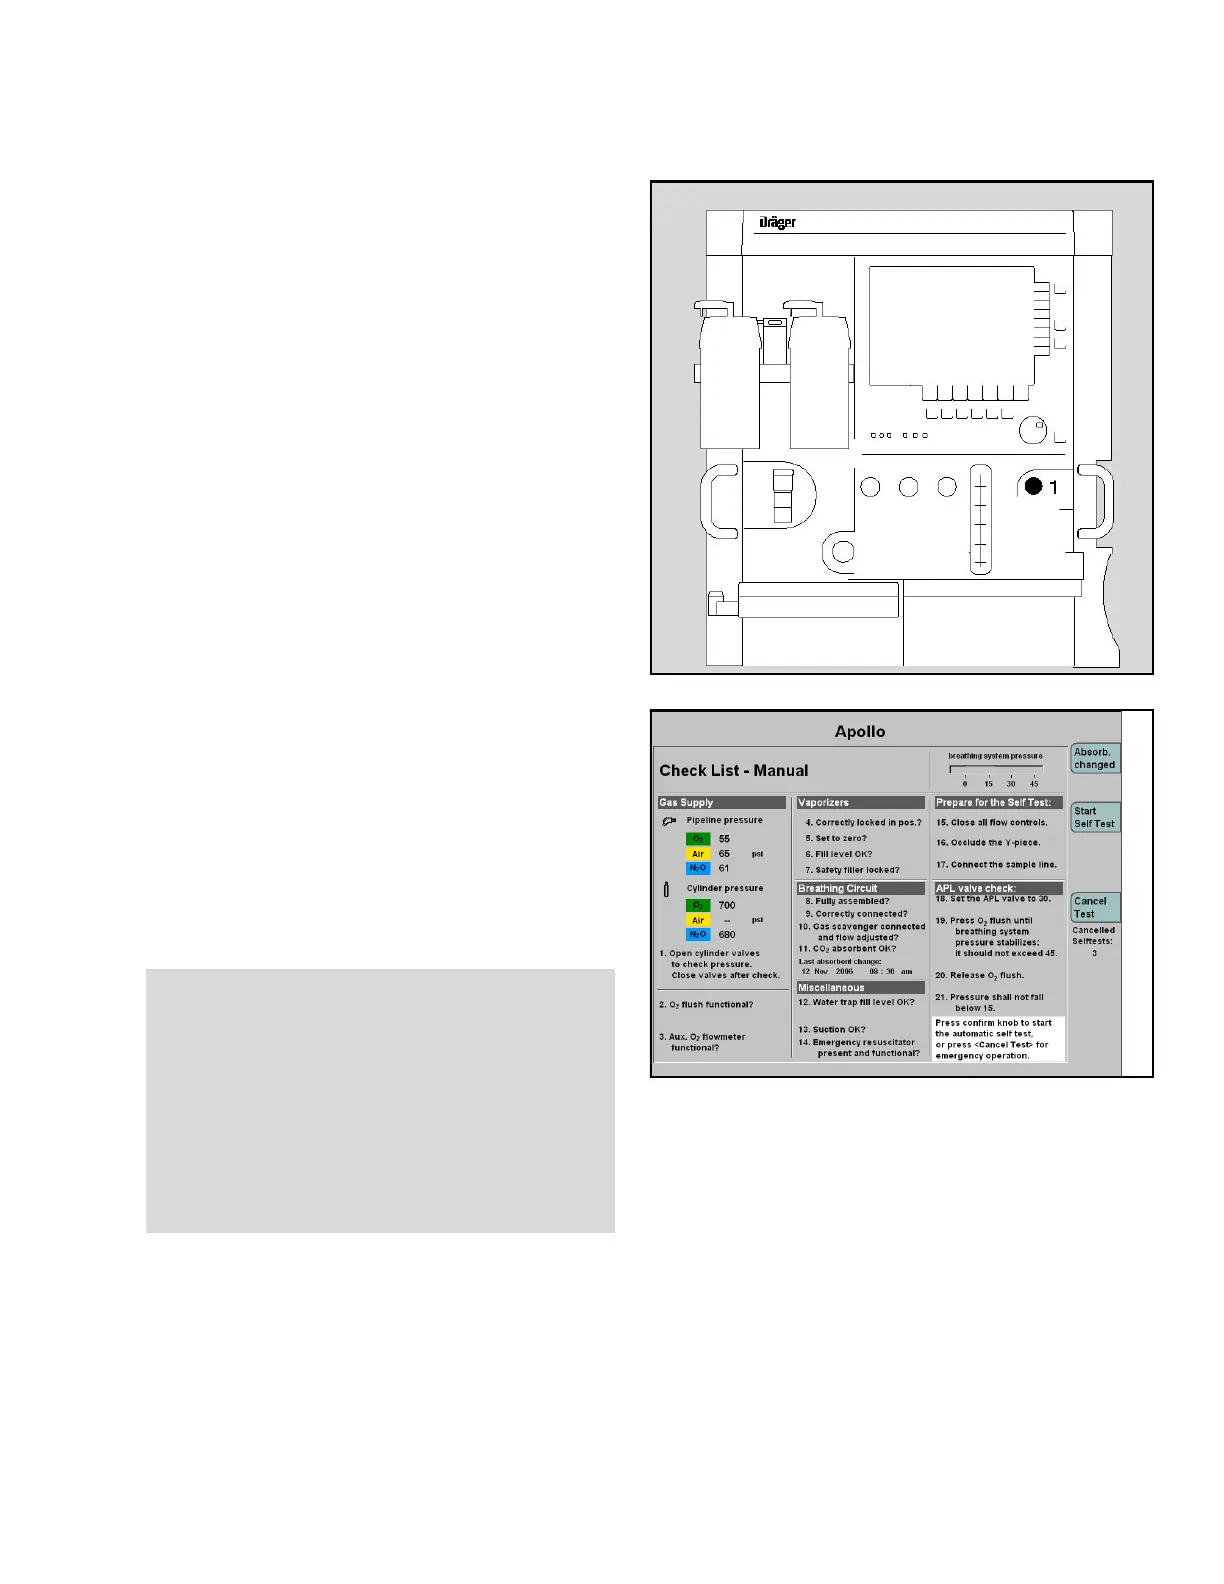
Check list
After about 35 seconds, a check list for manual tests
to be performed by the user is displayed
(see Figure 37).
Figure 37. Check List Screen1. Check the components as instructed in the check
list on the screen and as described in this
procedure.
If the self test has to be interrupted, e.g. for a quick
start in an emergency:
2. Press the button >Cancel Test< (1 in Figure 37),
and proceed as specified in “Emergency start” on
page 107.
The self test can be canceled up to ten consecutive
times.
WARNING!
Risk of device failure and/or patient injury
Canceling the self test may lead to
malfunctions; greater attention is required
during operation.
Always perform a complete self test, unless
acting in an emergency situation. If canceled for
an emergency, carry out a complete self test as
soon as practicable.

 Loading...