GE PROPRIETARY TO GE
D
IRECTION 5308917-100, REVISION 8 LOGIQ P3 SERVICE MANUAL
4-30 Section 4-3 - General Procedure
4-3-14-4 Archiving Images
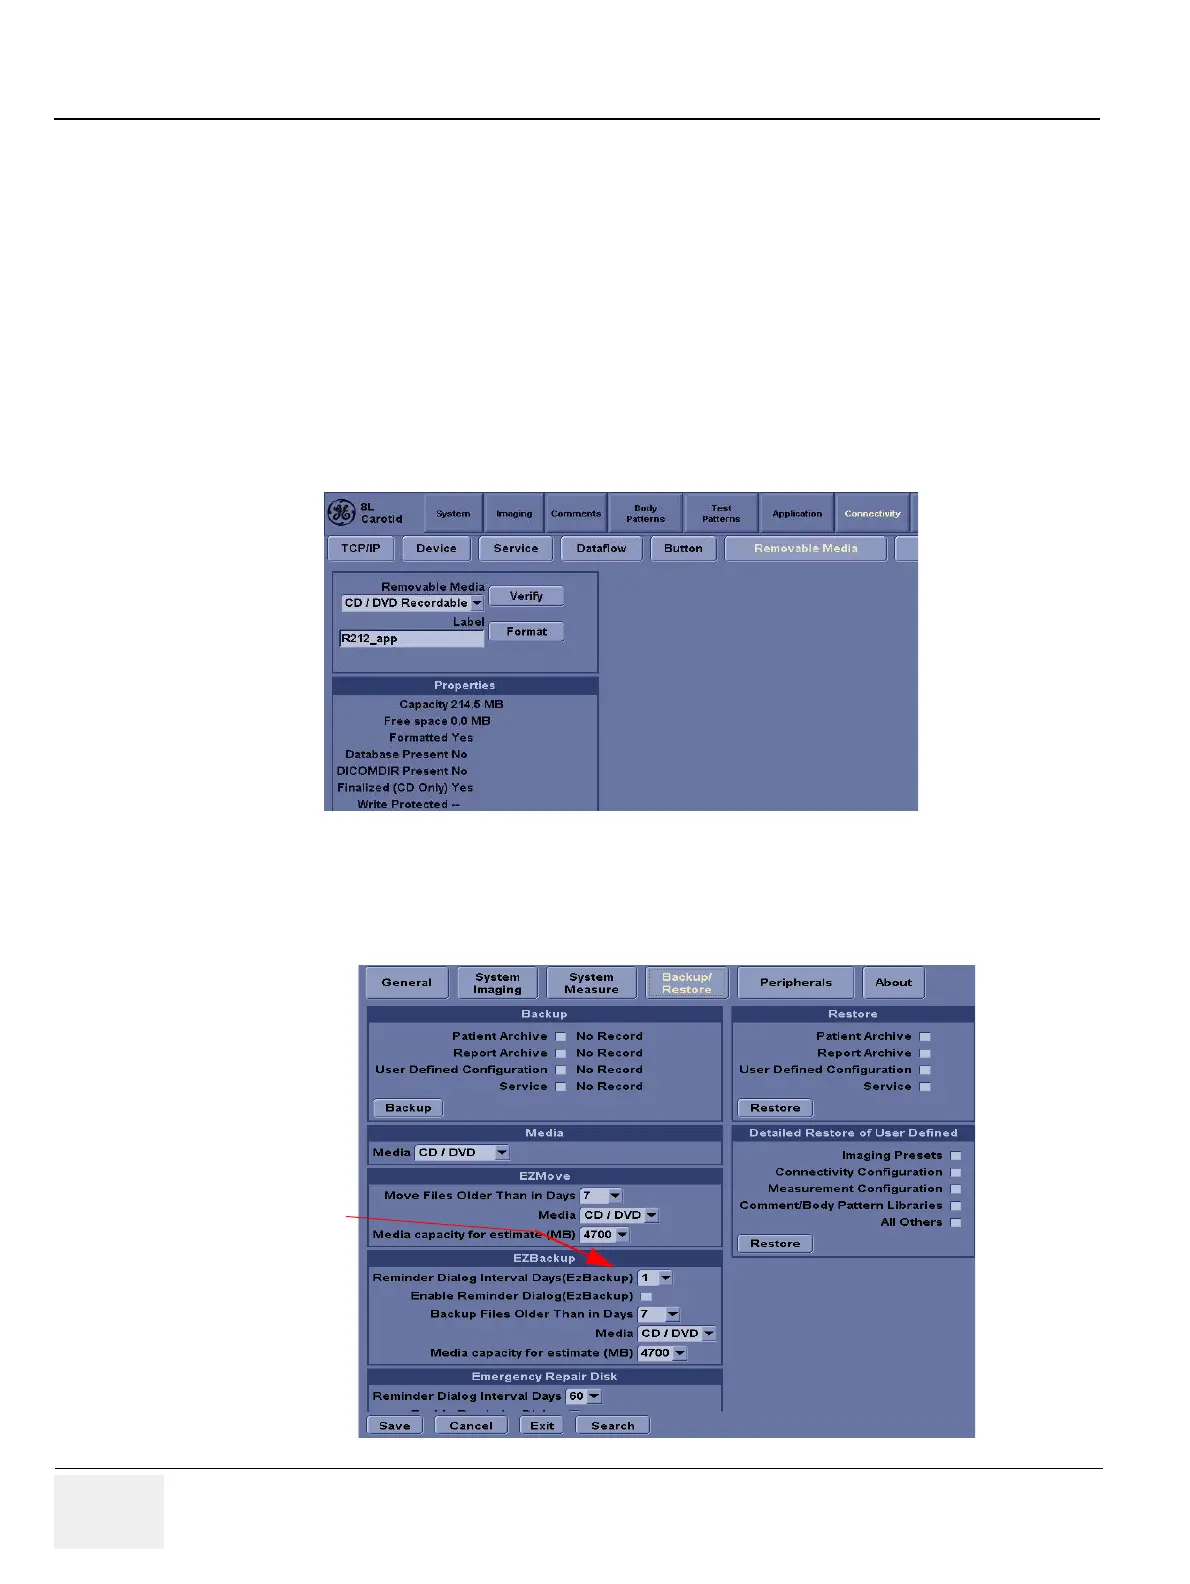
1.) Insert the archive media. To format the archive media, DVD-R, select the Utility button on the
Keyboard.
2.) Select Connectivity, then Tools.
3.) Format the DVD-R. Verify the format if desired.
4.) Images will be moved from the hard drive by date. Therefore, the best way is to label media
by date.
NOTE: Images will be moved from the hard drive by date. Therefore, the best way to label media is by
date. When images are moved to the archive media, they will be deleted from the system hard
drive. However, the patient database (backed up earlier) maintains pointers to the location of
the images on the archive media.
5.) Select Backup/Restore, then EZBackup/Move.
6.) Select “Backup File Older Than in Days”.
Figure 4-20 Format DVD-RW Screen
Figure 4-21 EZBackup/Move
Select the days/exam
to be backed up

 Loading...


